
Have you recently purchased a used Mac and the previous owner forgot to give you the administrator password? Or have you forgotten the password yourself? Whatever the case may be, having the admin access of your Mac is necessary to make changes and install apps, and the macOS experience can be frustrating without it.
One solution is to factory reset your Mac, but this will wipe off all the user data. So what else can you do if you don’t have the admin password? Well, in this guide, we will walk you through step-by-step on how to create a new user on Mac without admin password.
Since all new users have admin rights by default, you can continue to use your Mac with this account without any inconvenience. You can also use this new account to reset the original admin password.
Let’s get started.
How to Create a New User on Mac Without Admin Password
It is not difficult to create a new user on Mac without admin password. Just follow along these steps and you will get back the admin access in no time.
- First of all, you need to shut down your mac. Click on the Apple menu on the top-left corner of the screen and select Shut Down from the drop-down menu.
- Now you need to boot up your Mac in Recovery mode.
The method to boot into Recovery mode is different for Intel-based Macs and Apple silicon Macs. If you don’t know which Mac you have, click on the Apple menu on the top-left corner of your screen and select About This Mac.
Apple silicon Macs have a label named Chip followed by its name. While the Intel-based Macs have a label named Processor followed by the name of an Intel processor.
Once you have figured out which Mac you own, follow these steps to boot into the Recovery mode:
- On Apple Silicon Macs: Press and hold the power button. You will see an Apple logo and a test that says keep holding the power button to access startup options. Keep holding the power then select Options > Continue to open up Recovery.
- On Intel-based Macs: Power on your Mac and immediately press and hold the Command + R keys to enter Recovery.
Now that you are in the Recovery mode, follow these steps to know how to create a new user on Mac without admin password:
- Click on Utilities from the top of your screen and select Terminal from the drop-down menu.
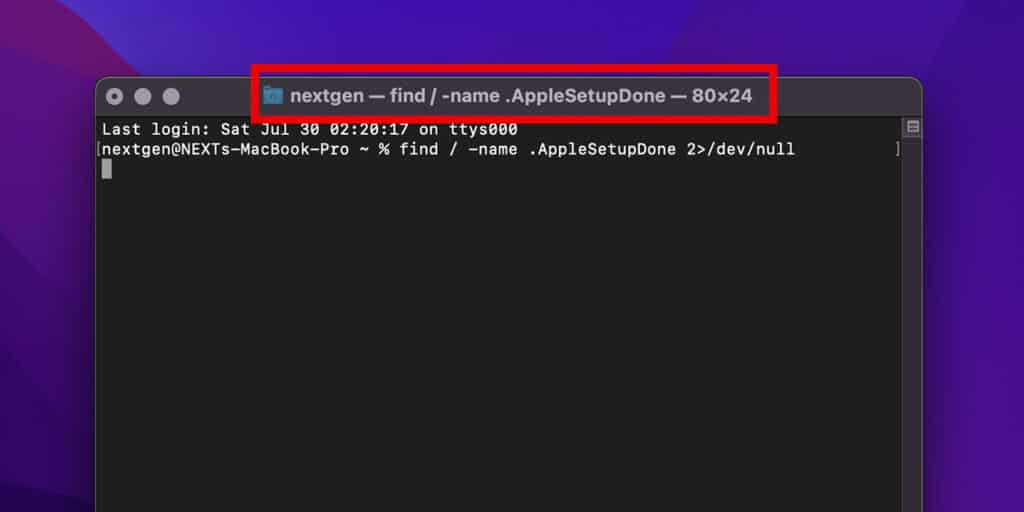
- You need to remove a file called .AppleSetupDone (or .applesetupdone in older macs). Use the Terminal to search and delete this file. Type the command find / -name .AppleSetupDone 2>/dev/null and hit Return.
- Now the Terminal will give you one or more paths of this file. Select the easiest path (or the one with no spaces) from your cursor and click on Edit > Copy.
- Once the path is copied, it’s time to remove this file. Type in the command rm and hit the Spacebar. Do not hit Return yet.
- Click on Edit > Paste to paste the path you copied earlier. The final command should look something like this rm /Volumes/Data/private/var/db/.AppleSetupComplete
- Finally hit Return to remove this file.
- If you don’t see any error messages, it means the command has been executed successfully. Now your Mac will think that the initial user setup was never done.
- Type reboot in the Terminal and hit Return to reboot your Mac.
- Once your Mac reboots, you will be presented with a Welcome to Mac screen.
- Select a language, and enter your information for the new account like location and Apple ID.
- Follow the on-screen instructions and you will be asked to enter a username for the new account. Do not use the old one because doing so will overwrite that account’s user data. Type a unique username and remember the password you choose.
- Once the setup is finished, you can login to your Mac using the newly created username and password. This account will have all admin privileges.
You can use this account to install different apps and make changes to your Mac. You can also use it to restart the password of the old admin account.
Related:
How to Change Wi-Fi Password on Mac
How to Reset Another User’s Password on Mac
When you’re using an admin account, you can reset any other user’s password on your Mac, including other admins. Here’s how:
- Click on the Apple menu on the top-left corner of the screen and select System Preferences from the drop-down menu.
- In the System Preferences window, click on Users & Groups. You can also search for it by typing User & Groups in the search bar.
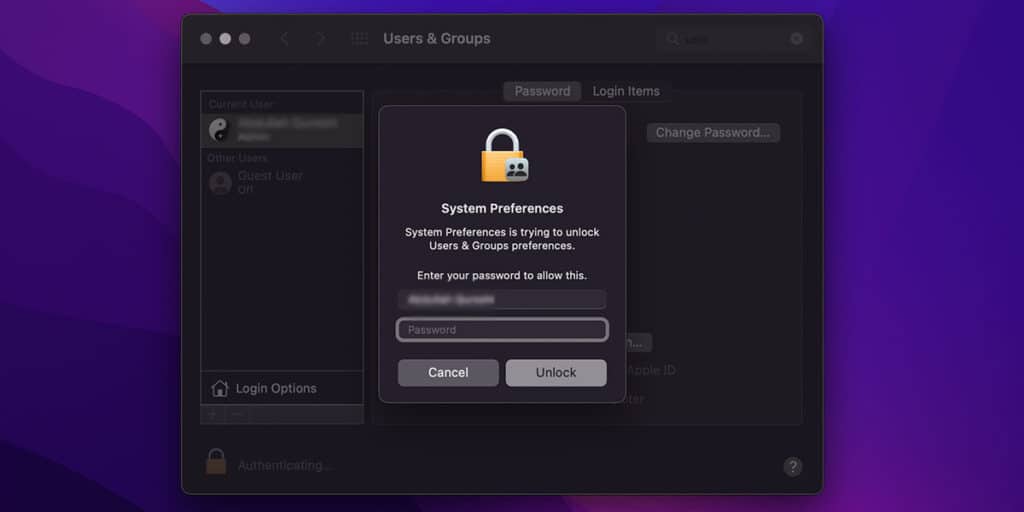
- Once you are in the Users & Groups settings, click on the lock symbol in the bottom-left corner of the screen to start making changes.
- Enter the current account’s password when asked.
- In the left sidebar select the user whose password you want to reset.
- Now click on the Reset Password button.
- Enter a new password for the user account in the New Password and Verify Fields. It is always recommended to set a hint for the password so you don’t forget it in the future.
- Click on Change Password.
That’s it, now you have successfully changed another user’s password.
How to Create a New User on Mac
If you will be sharing your Mac with someone else, then it’s best to create different user profiles for each user to ensure a good and private experience. Here’s how you can create a new user on Mac:
- Click on the Apple menu on the top-left corner of the screen and select System Preferences from the drop-down menu.
- In the System Preferences window, click on Users & Groups. You can also search for it by typing User & Groups in the search bar.
- Once you are in the Users & Groups settings, click on the lock symbol in the bottom-left corner of the screen to start making changes.
- Enter the current account’s password when asked.
- Click on the + (Add) button below the list of users.
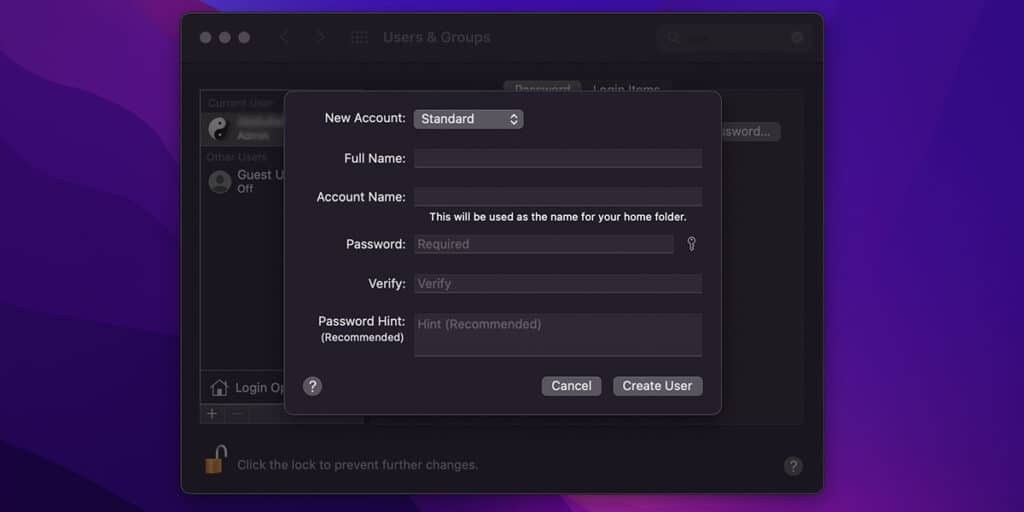
- Click on the New Account pop-up, and select the type of user:
Standard: These users have limited access to the Mac. They can install their apps and change their own settings, but they cannot change other users’ settings or add new users. Standard users also can’t run many admin-only commands.
Administrator: These users have full access to the Mac. They can install apps, and change settings for every user. Many actions require administrator password. You can use an admin account to convert standard users to admins. It is recommended that you don’t set up automatic login for admin accounts because then someone could easily restart your Mac and automatically login as an administrator.
- Once you have selected the type of user, enter a full name for the user. A unique account name will be automatically generated. You can change the account name if you want — but do it now because you can’t change it later.
- Enter a password for the new user account in the Password and Verify fields. It is recommended to set a password hint so you don’t forget it in the future.
- Finally, click on Create User.
After following these steps, this newly created profile will be available as an option when you login to your Mac.
Related:
Should I Turn On FileVault Disk Encryption on Mac
How to Use Touch ID to Login on Mac
If you have a Mac or Magic Keyboard with Touch ID, then you can use it to log into your user account. You can also use it to authorize purchases from the App Store, the iTunes store, and Apple Books, along with purchases on the web using Apple Pay. Here’s how:
- Click on the Apple menu on the top-left corner of the screen and select System Preferences from the drop-down menu.
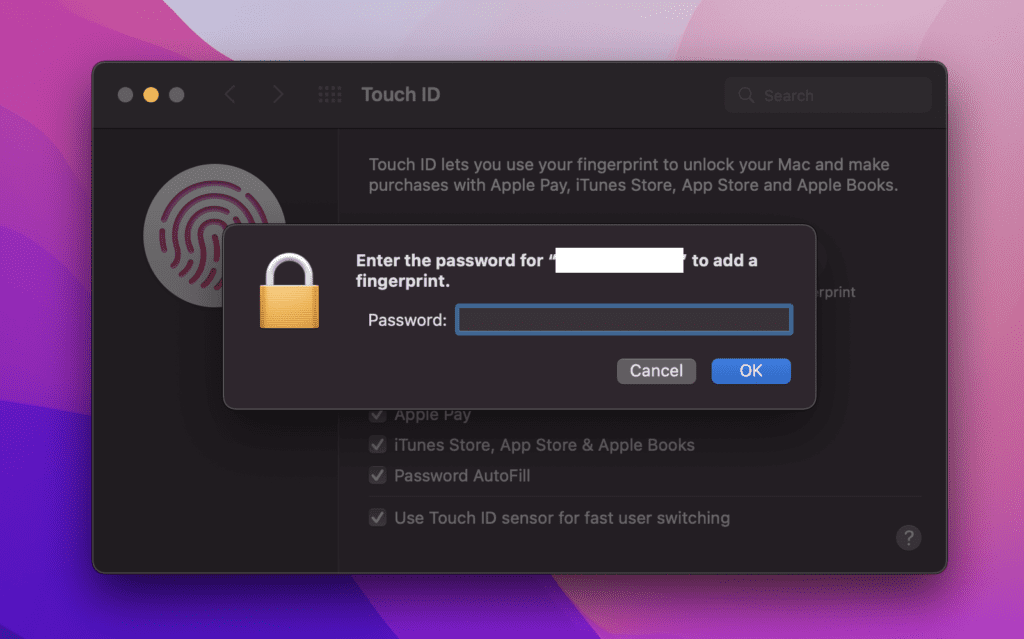
- In the System Preferences window, click on Touch ID. You can also search for it by typing Touch ID in the search bar.
- Select Add Fingerprint and enter your password.
- Place the finger you want to add on the Touch ID key when prompted to do so.
- Lift and rest your finger on the Touch ID repeatedly while slightly repositioning it.
- Continue doing so until the entire fingerprint is red. This means the Touch ID is ready and you can use it to unlock your Mac. Click on Done.
- Make sure Unlocking your Mac is checked under the Use Touch ID for section.
- You can check the Apple Pay, iTunes Store, App Store & Apple Books, and Password Autofill options as well.
Now you can select your account from the login screen and place your finger on the Touch ID to login.
How to Delete a Fingerprint on Mac
You can delete a fingerprint on Mac by following these simple steps:

- Head over to Apple menu > System Preferences.
- Click Touch ID.
- Hover your cursor pointer over the fingerprint you want to delete, and click on the X (cross) button that appears.
- Enter your account’s password and click OK.
- Click Delete.
That’s it, now that fingerprint will be deleted.