
Sidebar packs all of your most used items and gives you easy access to them. However, you may want to get rid of it because it takes up too much space on your screen.
So in this guide, we will walk you through the process that will guide you how you can get rid of sidebar on mac. But before we begin, let’s discuss what is the sidebar.
What is the Sidebar?
The sidebar is technically a source list that is usually available on the left side of a window. It stays separated from the rest of the window by a movable horizontal splitter. A typical sidebar consists of an outline view or a table view that you can use to navigate through different items.
For instance, a Finder window’s sidebar includes a list of tag-based search shortcuts and frequently accessed locations. You can access these contents by clicking on them, and they will be opened in the main portion of the window.
It also comes with great customizability so you can use it according to your needs. However, some people might not be a fan of the sidebar so let’s move on to how we can get rid of it.
Related:
How to Run Steam Games as Administrator on Windows 1
How to get rid of Sidebar On Mac
The process to get rid of sidebar on mac is quite straight-forward. Just follow these steps:
- On your Dock, look for the Finder icon (it is the one with a smiley face) to open a Finder window. You can also press the Command + N key on your desktop to open a new Finder window.
- In the Finder menu bar, click on View.
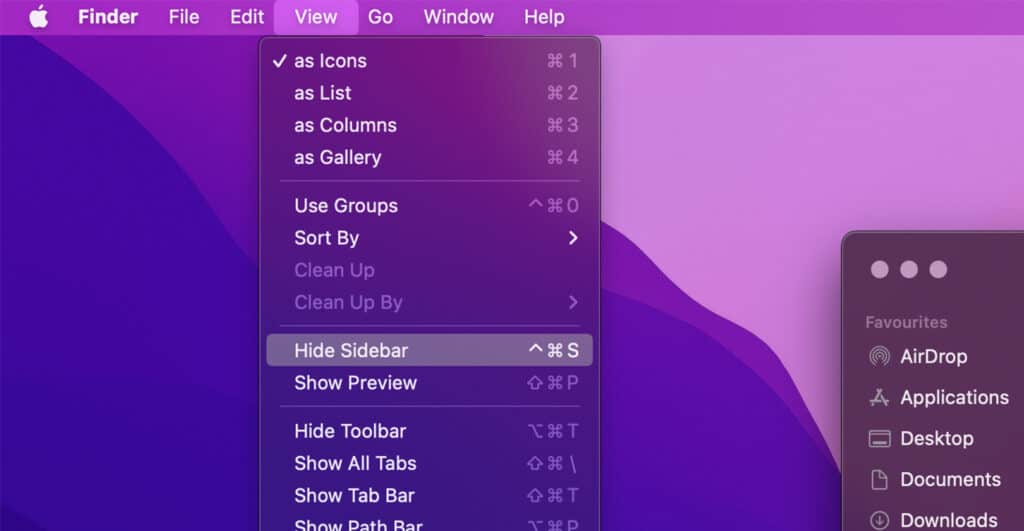
- From the drop-down menu, select Hide Sidebar.
That’s it, now you won’t have a sidebar on your Mac. If you change your mind later, then you can bring it back by following the same steps and selecting Show Sidebar.
How to Customize the Sidebar
If you don’t want to completely get rid of sidebar on mac, you can also customize it to your liking. Just follow these easy steps:
- On your Dock, look for the Finder icon (it is the one with a smiley face) to open a Finder window.
- In the menu bar, click on Finder.
- From the drop-down menu, choose Preferences.
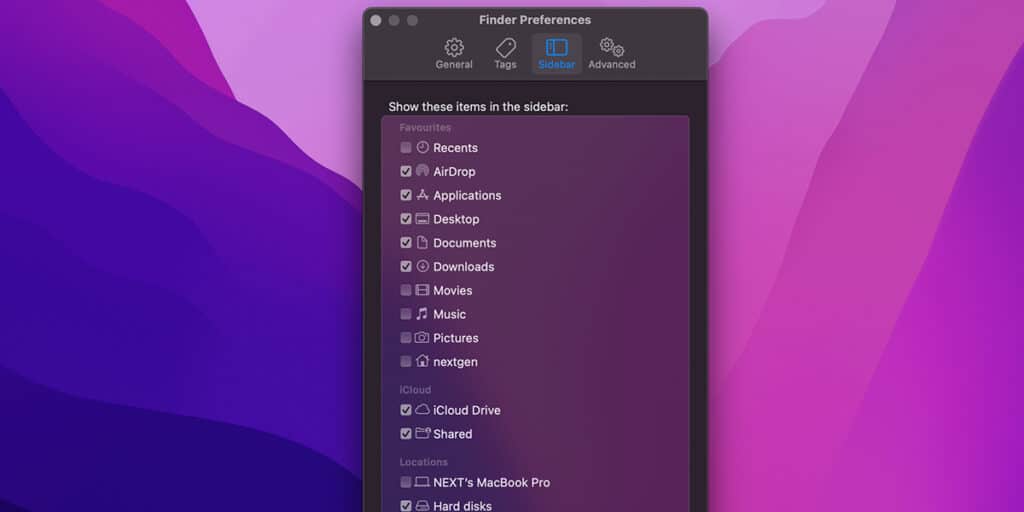
- In Finder Preferences, click on Sidebar at the top of the screen.
- Here you can see the list of items you can view in the Finder sidebar. Check or uncheck them as you like to add or remove them from the sidebar.
- Close the Finder Preferences to save.
The items in the sidebar are divided into four categories: Favorites, iCloud, Locations, and Tags. You can also add your personalized folders in the sidebar.
Related:
How to Disable Mouse Acceleration on Mac
How to Add a Folder to the Sidebar
If you have a folder that you want to access easily from the sidebar, you can add it by following these steps:
- On your Dock, click on the Finder icon to open a Finder window.
- In the main Finder window, locate the folder that you want to add to the sidebar.
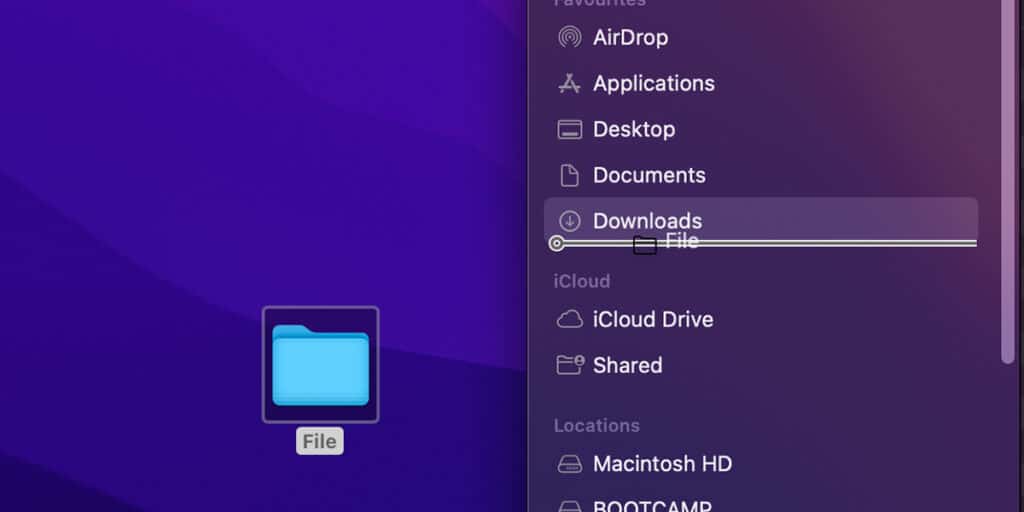
- Drag the folder to the Favorites section of the sidebar. You will see a blue horizontal line that indicates the location your new folder will occupy on the sidebar.
- Release the mouse button to drop your folder to the sidebar.
If you can’t find the Favorites section on the sidebar, then follow the steps that we have discussed on “How to Customize the Sidebar” and select the checkbox for at least a single item in the Favorites section.
Remember that the folder you have moved to the sidebar remains in its original location and you have only created a shortcut to it on the sidebar.
How to Add an Application to the Sidebar
Just like folders, you can also add a shortcut to your most oftenly used applications to the sidebar. But before doing so, make sure your Finder view is set to List. To select List View, follow these steps:
- On your Dock, look for the Finder icon (it is the one with a smiley face) to open a Finder window. You can also press the Command + N key on your desktop to open a new Finder window.
- Now click the “List View” button. It is the second button of the four view buttons from the left.
- You can also select “View, as List” from the Finder menu to set it to List.
Once your Finder window is displaying items in a list view, follow these steps to add an application to the sidebar:
- In the Finder menu bar, click on Go.
- From the drop-down menu, select Applications.
- Locate the application that you want to add to the sidebar. Now press and hold the Command key, while dragging the application to the Favorites section of the sidebar.
- Place the application where you want it to be, and release the mouse button to add it.
Related:
How to Uninstall Cinema 4D on Mac
How to Remove Items From the Sidebar
If you have added too many folders or applications to the sidebar, then you can easily remove them by following either this method:
- Click and hold the item’s icon, then drag it out of the sidebar. Release the mouse button and it will disappear in a puff of smoke.
Or this method:
- Press and hold the Control key.
- Select the item you want to remove.
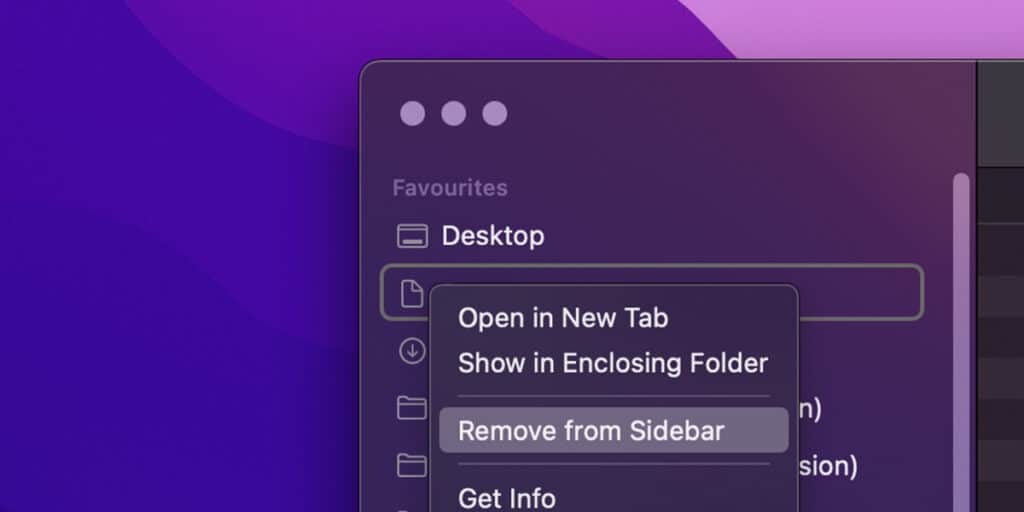
- Click on Remove from Sidebar.
How to Show Devices in the Sidebar When Connected to Mac
If you are connecting your iPhone or your iPad to the Mac, then first of all make sure the Locations section is visible in the sidebar. If it isn’t visible, then follow the steps we have discussed in “How to Customize the Sidebar” and select the checkboxes under the Locations category.
Now also check that:
- The cable is properly connected, and your device is charging.
- The device is unlocked.
By following these steps, your connected devices will be visible in the sidebar when connected to Mac.