
Are you tired of seeing the same old Dock color on your Mac? What if I tell you that you can change the color and customize your Mac’s Dock according to your preference? Yes, you read that right. Although there is no direct way to change dock color on mac, you can still do so using other methods.
We have compiled a comprehensive guide on how to change Dock color on Mac, where we will also walk you through different ways to customize your Dock on Mac, and some incredibly amazing tips that will help you give a new touch to your Mac’s Dock.
So, let’s dive in!
How to Change Dock Color on Mac
Before you begin adding a personal touch to your Dock, you will have to turn off System Integrity Protection (SIP). Else you will not be able to go ahead. Once you have disabled it, follow the steps below:
- Launch Finder.
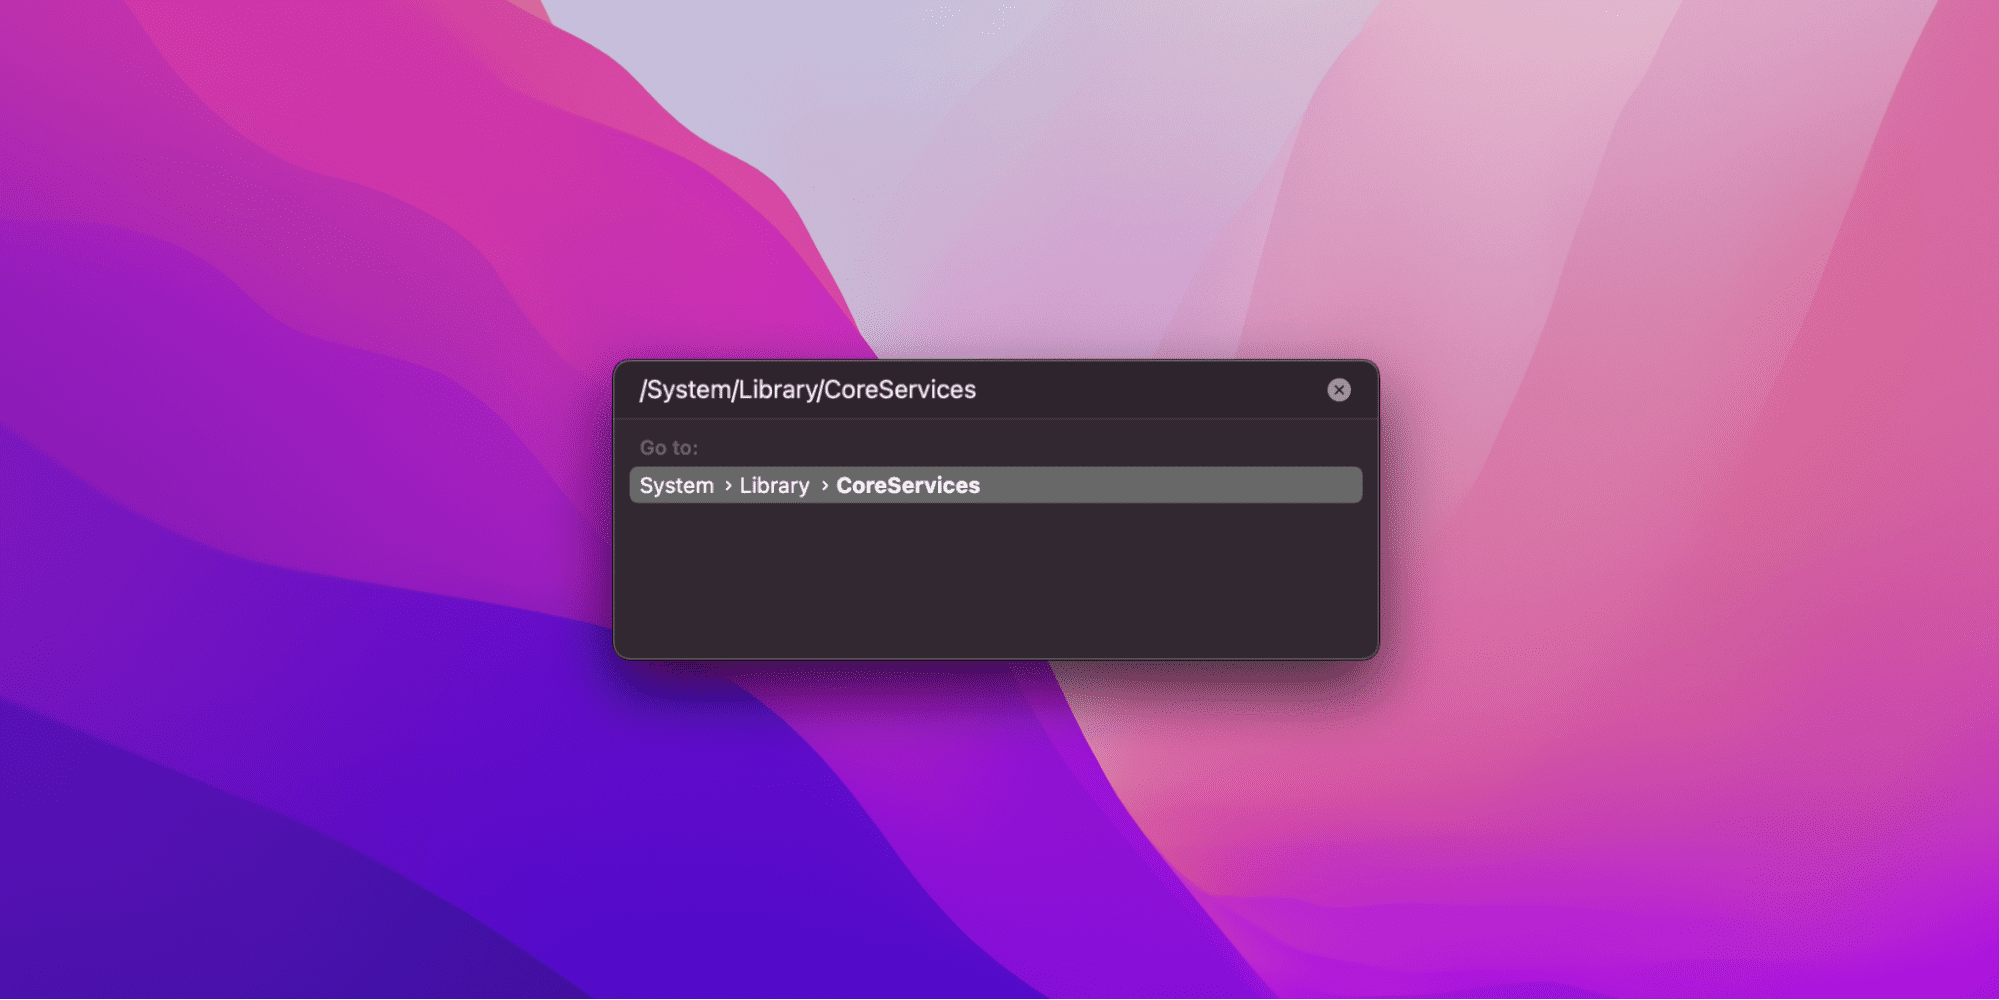
- Open the Go menu and click on the Go to Folder from the drop-down list.
- Type /System/Library/CoreServices in the field box.
- Click on Go. This will help you navigate to /System/Library/CoreServices.
- Right-click on the Dock.app
- Select the Show Package Contents option from the drop-down list.
- Navigate to /Content/resources.
- Copy and paste these files on your desktop or folder.
dockbackground.png
dckbackgrounddark.png
[email protected]It is better to create a new folder named Backup and paste these four files into it. Doing so will ensure that the backup files are safe, and you can use them if you want to undo the changes in the future
- To change the color of the copied files, use a photo editing software. Open any photo editing software, click on the paint bucket tool and then the transparent box to add color to it. Do the same for all files, and remember to keep the color the same.
- Paste and replace the edited files in the resources folder. The system may prompt you to enter a password.
- In the Terminal, type sudo killall Dock to launch the Dock.
That’s all. You have now changed your dock’s color.
9 Ways to Customize Dock on Your Mac
You cannot only change the Dock color on mac but also customize it in many other ways too! Let’s figure them out and give your Mac a new look.
1. Changing Position
By default, the position of the Dock is at the bottom of the window on your Mac. If you want, you can change the position to the right or left; you can do so by following the procedure below:
- Hold down the Shift key.
- Click and drag the vertical dividers
- Pull your mouse to either left or right of the screen where you want to relocate the Dock.
You can also change the position of the Dock by opening System Preferences from the Apple menu and then clicking on the Dock menu. Once you open it, select from the right, left, or bottom options to move the Dock over there.
2. Changing the Dock’s Color
If you don’t want to follow the difficult process of changing the Dock color above, Mac also gives you an option to change the Dock color easily. However, this way, you will be only limited to dark gray or black color.
So, to change the Dock color to dark gray or black, all you need to do is turn the night mode on; here is how:
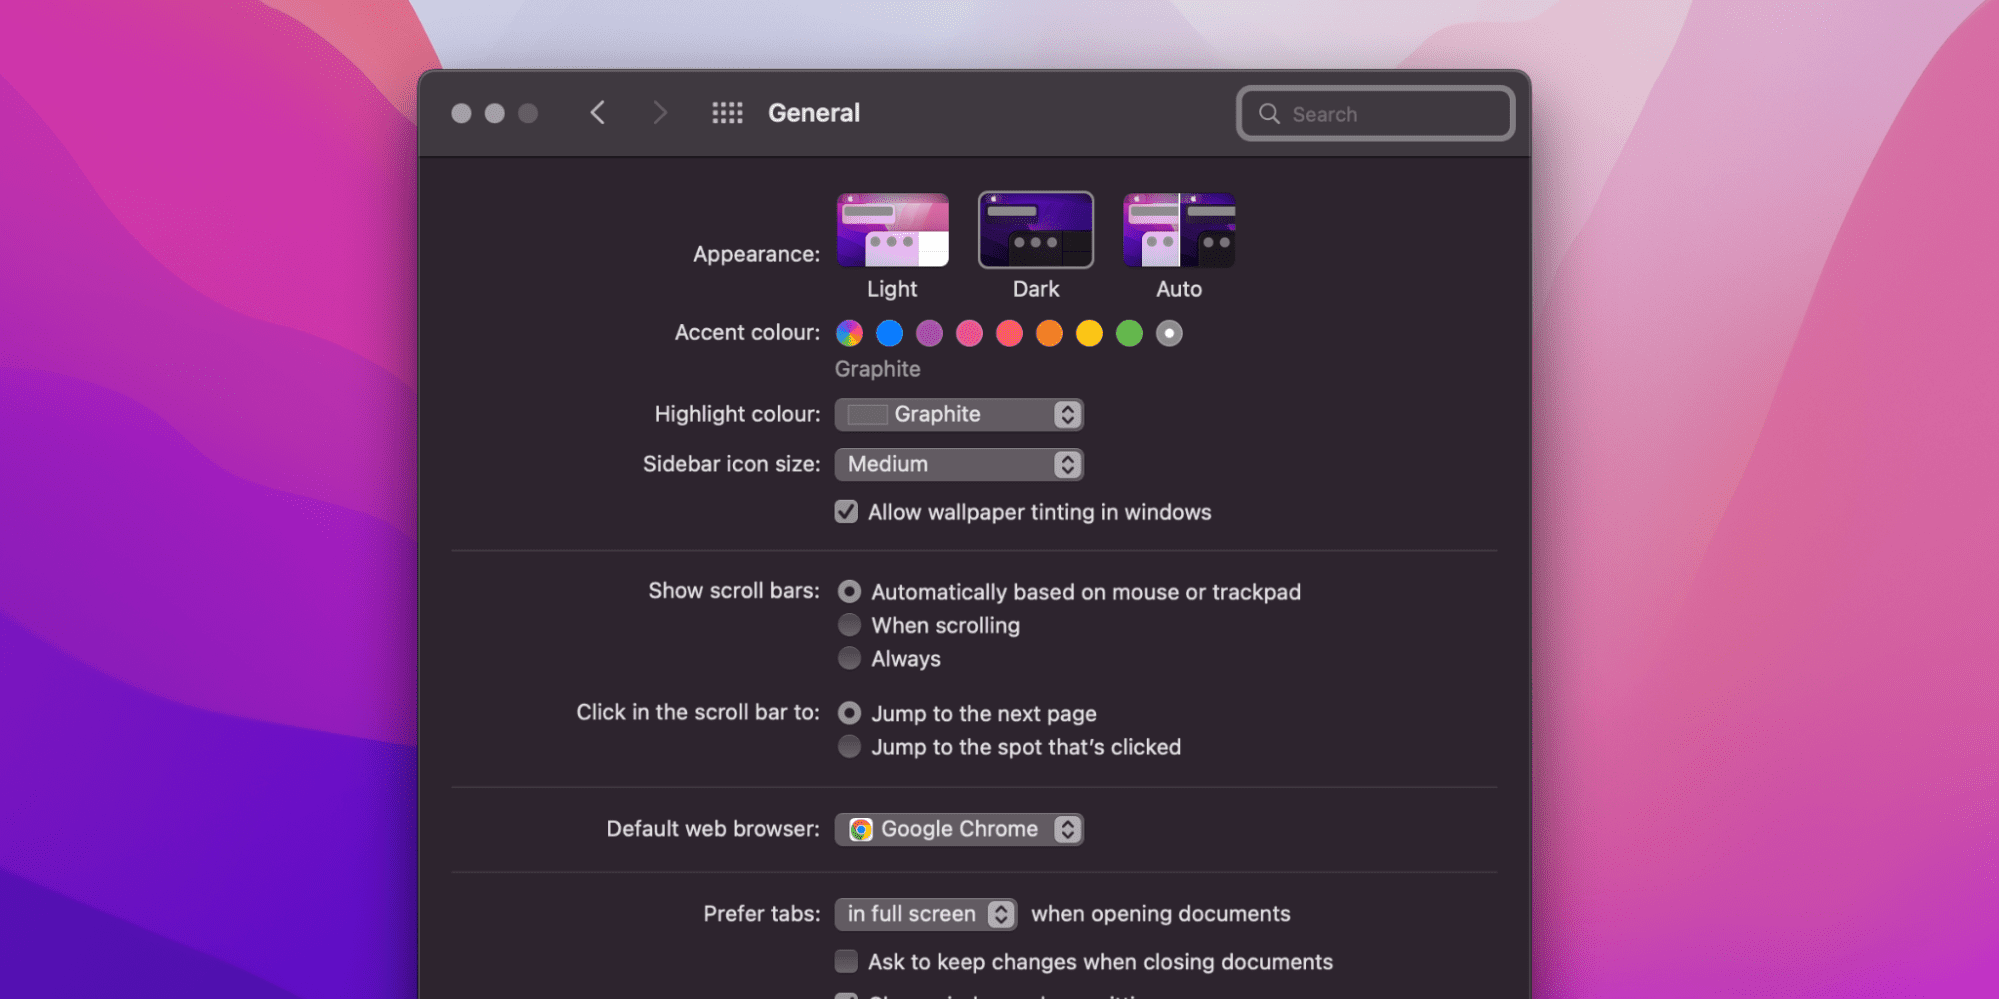
- In the System Preferences, go to the General menu.
- On the top of the window, there will be an Appearance option.
- Here, select the Dark mode.
That’s all. You have now changed the Dock’s color according to the Dark mode.
3. Magnifying the Dock Icons
You can also change the Dock’s settings such that it magnifies an icon when you put the cursor on it. To modify the settings and turn on magnification, follow the steps below:
- Open System Preferences.
- Go to the Dock menu.
- Check the Magnification checkbox.
- Set the slider as you desire. The more you slide, the more the icons magnify.
This feature is the best when you have many icons on your Dock, or if you have a weak eyesight.
4. Favorite Applications
Mac allows you to easily access your favorite applications. In fact, your Dock will mostly consist of these icons. You can add, remove or arrange the icons by dragging as you desire. To rearrange the icons, simply click and drag them as you like.
To add your favorite icons, drag the application from the Finder window to the Dock. You can also drag from the recent applications to the Favorites part. Similarly, to remove them, simply drag the icons out of the Dock or put them in Trash. Remember, putting them in the Trash doesn’t mean you have completely lost that application. It will just get off the Dock.
5. Recent Applications
There is a section located between stack files and favorites, which is for recent applications. It shows the latest three applications you have used. The user can turn this on or off according to their desire. To turn it on or off, you need to:
- Launch System Preferences.
- Open the Dock menu.
- Select or unselect the box along Show recent applications in the Dock option.
Related:
How to open MBOX File on Mac
6. Changing Dock Size
The Dock can automatically resize depending on the number of applications you put in. However, you can also change the Dock size manually. You can make the desired changes by opening System Preferences and clicking on the Dock option. At the top of the window, you will see the slider. Adjust it to adjust the size of your Dock.
Alternatively, you can quickly move the mouse over any vertical dividers on the Dock and drag the mouse up or down to increase or decrease the Dock’s size. This is a comparatively difficult method compared to the first one.
7. Hiding the Dock
If you don’t like the Dock hanging on your screen, and you want more space, then you can hide it. This won’t remove the Dock, which means you can easily access it when needed. It will just be hidden in a place that is easy to reach on the screen. All you need to do is place the mouse on the edge of the screen, and you will be able to see the Dock.
To hide the Dock, press cmd, alt, and D keys simultaneously. It will hide the Dock if it is on screen and bring it back if it is hidden. Alternatively, you can go to the Dock menu in the System Preferences and check the Automatically hide and show the Dock option.
8. Indicators
You can also change your Mac’s settings in such a way that it shows whether an application is running or not. To turn these settings on or off, launch System Preferences and check or uncheck the Show indicators for the open applications box. If you have turned it on, you will be able to see if an application is running or not from the round dots located below the icons.
9. Animations
If you want the icons on your Dock to bounce once you open them, open System Preferences and check the animate opening applications checkbox. To turn it off, simply uncheck the same option.
Dock Customization Tips to Boost Productivity
Since we have discussed the ways to customize the Dock, let’s move to customize it in such a way that it boosts productivity.
- You can drag and add a folder in the Dock. Surprisingly, it will allow you to access all the files and data inside when you click it on the Dock. You can also customize the way you want to see the items in it.
- You can quickly access your favorite websites from the Dock. To do so, click on the favorite icon or link in the address bar and drop it on the Dock. Once you put the cursor in the icon you have recently made, it will show the website address it is a shortcut for.
Related:
How to Change Hostname on Mac
How to Group Icons on Mac Dock
Grouping the icons on the Dock is a less known but incredibly amazing organizing method on Mac. You can insert spaces between icons and group them such that applications of each type like entertainment or productivity stay separate. Below is the procedure on how you can group icons:
- Launch the Terminal app
- In the Terminal window, type defaults write com.apple.dock persistent-apps -array-add ‘{“tile-type”=”spacer-tile”;}’; killall Dock and then press Return key. Doing so will add one space to the Dock. You can drag it to your desired location.
- If you want to insert more spaces, repeat typing the same command in the Terminal app. Drag the icons and spaces to group them as you desire.
Using this method will increase your productivity such that you will not have to spend extra time looking for your desired app in those many apps in the Dock.