
Unwanted or old desktop pictures can make your Mac feel cluttered. Especially if you are trying to tweak the desktop background settings. Now you may be wondering, is there a way to delete the desktop pictures on Mac?
Yes, you can delete them, including the default desktop pictures that your Mac comes with, and that’s what we’ll be talking about in this guide. Follow along as we walk you through the steps to delete desktop pictures on Mac.
Le’ts get started.
How to Delete Desktop Pictures on Mac
MacOS stores all of your previously set desktop pictures, and you can access or delete them later by following these steps:
- On the top-left corner of the screen, click on the Apple menu.
- Select System Preferences from the drop-down menu.
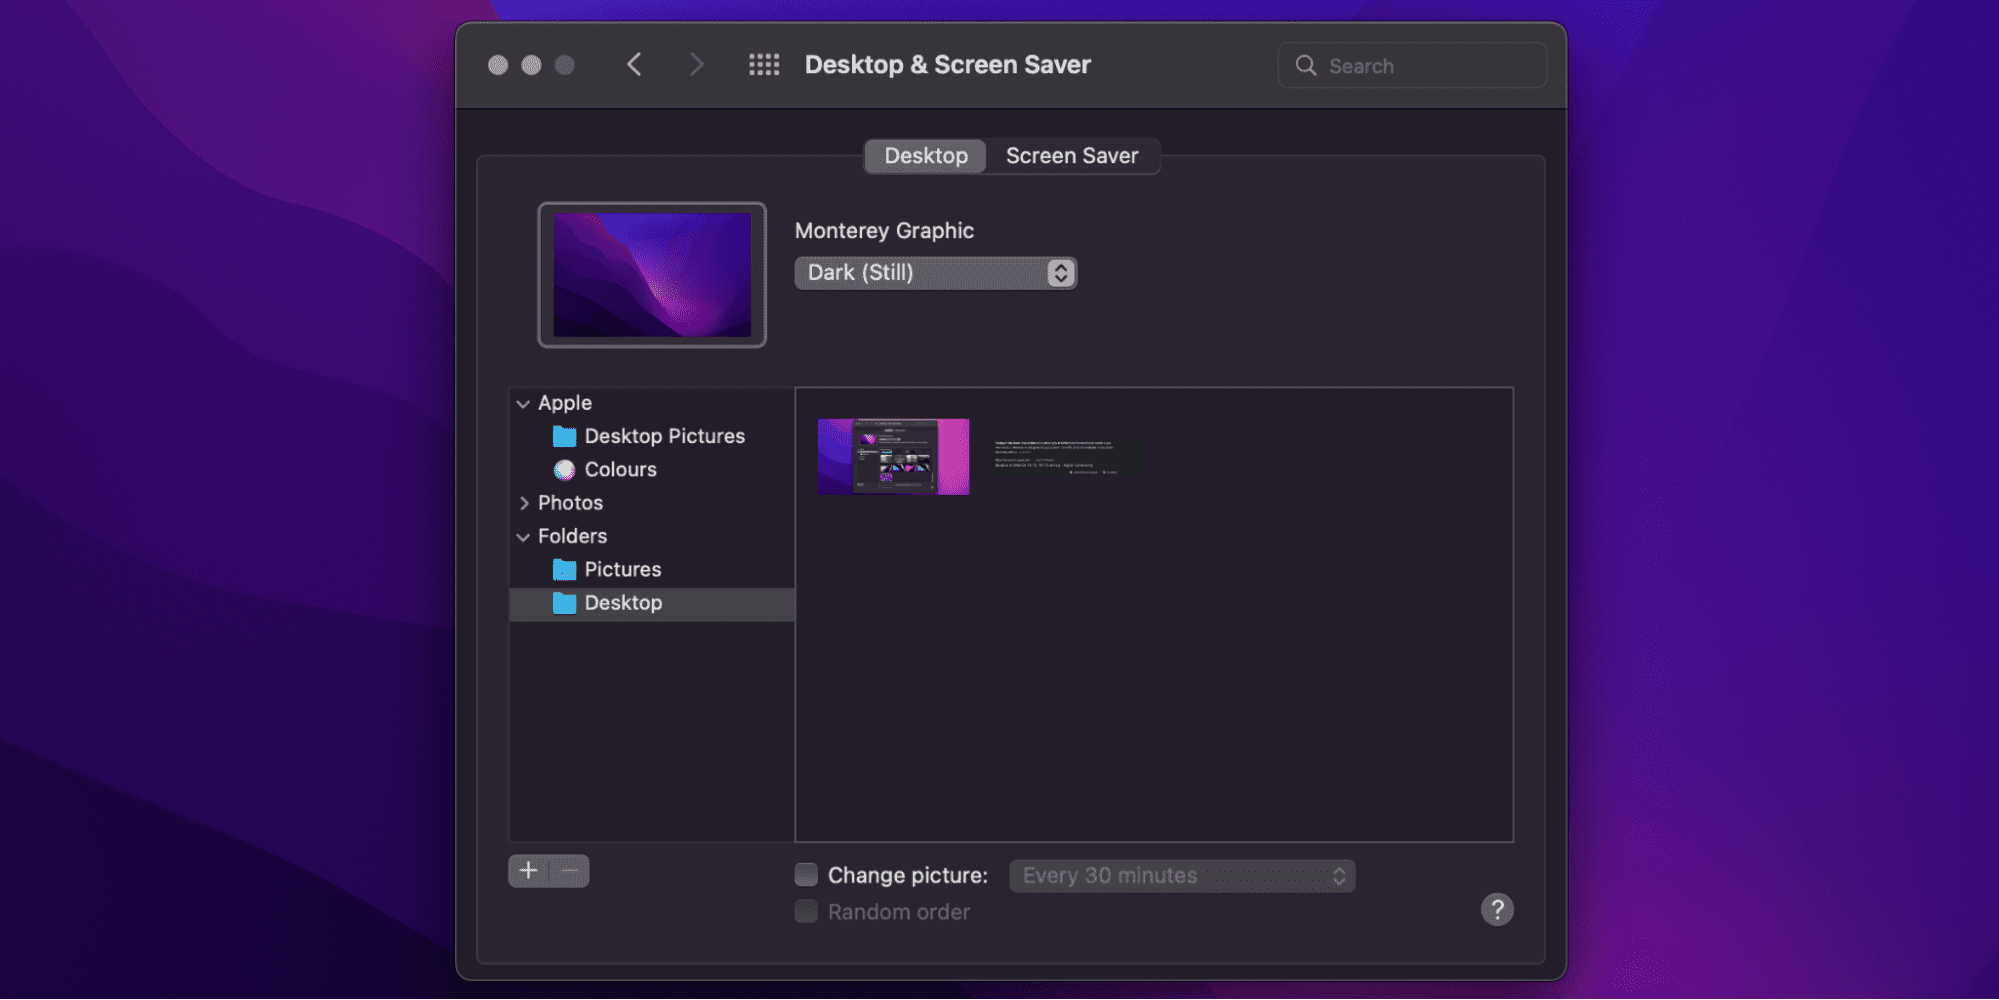
- Open Desktop & Screen Saver. You can look for it using the search bar.
- Navigate to the Desktop tab.
- In the left sidebar, you’ll see multiple folders that contain desktop pictures, double-click on the folder you want to delete.
- The folder will open in a Finder window.
- Once you’re in the Finder, select the picture you want to delete.
- Right-click on it, and click Delete from the drop-down menu.
That’s it, after following these steps, your selected desktop pictures will be deleted. You can remove them permanently by:
- Right-click on the Bin icon on the dock.
- Select Empty Bin from the menu
Related:
How to Show Macintosh HD In Finder and Desktop
How to Delete the Default Desktop Pictures on Mac
The default desktop pictures on your Mac are read-only system files that cannot be tempered with easily. We advise against deleting them as it is never a good idea to tweak around with system files for no immediate reason.
If you are on macOS Big Sur, then this method may not work for you. In that case, you will have to mount the root filesystem as writable first. This method is highly complicated and the end result might make certain features of your Mac like FileVault to stop working.
However, if you are not using macOS Big Sur, and you still want to delete the default desktop pictures, then you can do so by booting in the Recovery mode and removing them with the Terminal.
To boot into Recovery mode, you need to check whether you’re using an Apple Silicon Mac or an Intel-based one.
Check Your Mac’s Processor
If you already know your Mac’s processor, then skip these instructions. If you don’t, then follow along:
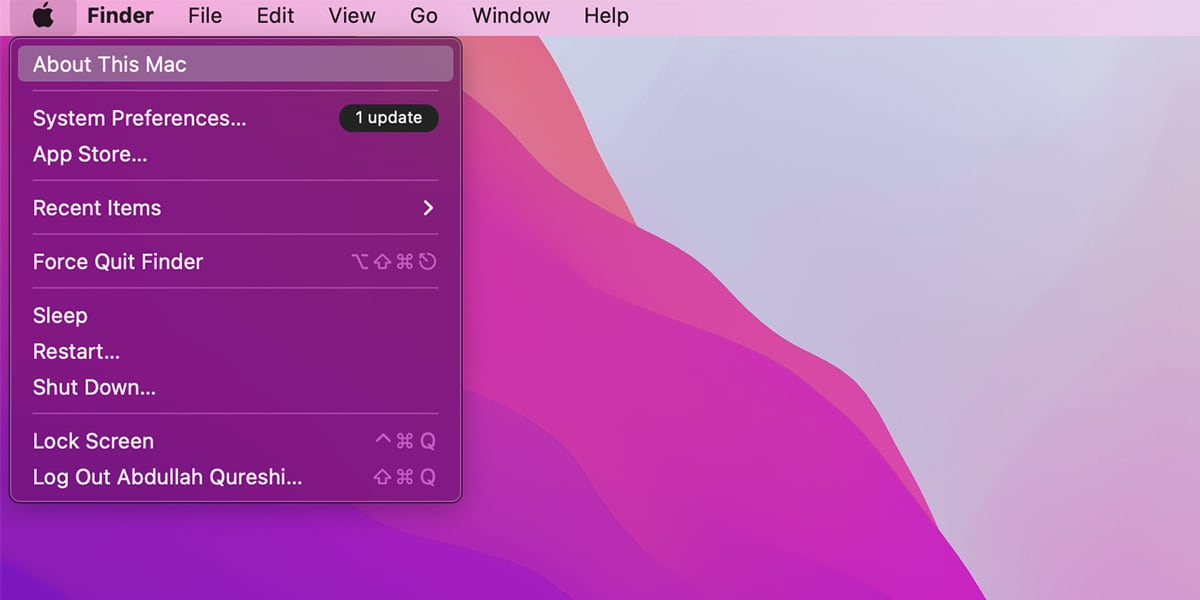
- Click on the Apple menu on the top-left corner of your screen
- Select About This Mac from the drop-down menu.
The About This Mac window will open. Intel-based Macs have a label named Processor followed by the name of an Intel processor. While the Apple silicon Macs have a label named Chip followed by its name.
Now that you know what type of Mac you have, you can boot it into Recovery mode.
Launch the Terminal in Recovery Mode
This method is different for Intel-based and Apple silicon Macs. Follow along as we walk you through both:
- First of all, you need to shut down your mac. Click on the Apple menu on the top-left corner of the screen and select Shut Down from the drop-down menu.
- Next, you need to boot up your Mac in Recovery mode.
On Intel-based Macs: Power on your Mac and immediately press and hold the Command + R keys to enter Recovery.
On Apple Silicon Macs: Press and hold the power button. You will see an Apple logo and a text that says keep holding the power button to access startup options. Keep holding the power then select Options > Continue to open up Recovery.
- Once you’re in the Recovery mode, click on Utilities on the top of your screen.
- Select Terminal from the drop-down menu.
- Once you are in the Terminal window, type the command cd /Volumes/Macintosh\ HD/System/Library/Desktop\ Pictures and press Return.
- After that, type the command rm *.heic and press Return
Now the default desktop pictures will be removed. You can exit the Recovery mode by entering the command reboot in the Terminal. You can also restart by clicking on the Apple menu, then selecting Restart.
Related:
How to Clear Terminal Screen on Mac
How to Add a Folder of Your Own Images for Desktop Background
Once you have deleted the default desktop pictures, you can add a folder of your pictures to use as desktop background. Here’s how:
- On the top-left corner of the screen, click on the Apple menu.
- Select System Preferences from the drop-down menu.
- Open Desktop & Screen Saver. You can look for it using the search bar.
- Navigate to the Desktop tab.
- In the left sidebar, click on the + (add) button on the bottom-left corner.
- Choose a folder that contains your images.
It is recommended that you store the folder on your startup disc, otherwise the desktop background might not load quickly.
How to Set a Screen Saver on Mac
Screen Savers are useful when you want to hide your Mac screen or desktop contents from others. Suppose you work in an office, and you went to drink water, your Mac screen will be available for every passing person to see, but if you have turned on a Screen Saver, then your privacy will be protected.
Here’s how you can set a Screen Saver on Mac:

- On the top-left corner of the screen, click on the Apple menu.
- Select System Preferences from the drop-down menu.
- Open Desktop & Screen Saver. You can look for it using the search bar.
- Navigate to the Screen Saver tab.
- Mark the Show screensaver after option, then select the time period after which the screen saver will turn on.
- On the left, select a screen saver, you can also mark the Use random screen saver option.
- Depending on the screen saver, you will get various options on the right. In the Source option, you can choose the pictures you want to show in the screen saver. Click the Screen Saver Options to set the speed and color for the selected screen saver.
- You can also set a hot corner shortcut to start the selected screen saver whenever you want by clicking the Hot Corners button.