Your MacBook contains all the confidential information that needs to be protected from being tampered with. Also, pets and small children often play with the keyboard, which might be fun for them, but can cause trouble for you. However, you can avoid these hassles by going through this guide. This guide will help you to lock and unlock keyboard on mac.
The easiest way to lock and unlock keyboard on mac at any time is to use third-party apps like Karabiner-Elements and Keyboard Locker. You can also use the Hot Corners feature to put your entire mac on sleep.
How to Lock and Unlock Keyboard on Mac
Knowing how to lock and unlock keyboard on Mac keyboard is extremely important to protect your personal information from others. Here are two different methods to do it.
1. Using Third-Party Apps

There are many third-party apps like Karabiner Elements, Keyboard Locker, and Lockey that help you lock and unlock keyboard on mac while leaving the display running. Downloading these apps is ideal in case you want to watch a video without needing a keyboard.
However, these apps might stop working after the Mac system updates. So, if you’re unable to lock the keyboard after the update, you’ll have to find a new app to use. Here’s how you can lock your keyboard with the help of a third-party app.
- Download and open the app.
- Go to the search bar and type disable in it.
- Check the box next to the internal keyboard.
- You can uncheck the box later when you are ready to use the keyboard again.
2. Enabling the Hot Corners
If you are not interested in downloading a third-party app, you cannot only lock the keyboard on your Mac. However, you can put the entire laptop to sleep using the following method.
- Open the Apple menu located at the top-left corner of the screen.
- Go to System Preferences and click on the Security & Privacy option.
- Go to the General tab and check the box labeled Require Password after Sleep.
- You can also select Immediately from the drop-down box for tighter security.
- Click the Show All button at the top of the Security & Privacy preference. You will now be redirected to the main system preference screen.
- Go to the Desktop & Screen Saver option.
- Select Screen Save and click on the Hot Corners button located at the bottom left corner of the pane.
- Choose a hot corner out of the four corners that will trigger the screen saver to appear.
- Open the drop-down menu and activate the Start Screen Saver option by clicking the OK button.
- The setup is now complete. You can now exit the System Preferences.
- To lock the keyboard, move the cursor to the hot corner that you selected during the setup. Press any key from the keyboard. Your laptop will be put to sleep and a dialog box will appear on the screen.
- The box will have a username according to your MacBook user. You only need to type in the password that you had set above.
- This will unlock your laptop and the keyboard.
This methods also comes handy to lock and unlock keyboard on mac but this method puts your entire laptop to sleep.
Related:
How to Change Screen Timeout on Mac
How to Enable Num Lock on a Mac Keyboard
While the standard Mac keyboard doesn’t feature a Number Lock key, you can still lock the number pad with the help of the following steps.
- Go to the Apple logo and click System Preferences.
- Choose Universal Access in the System category.
- Go to the Mouse tab and select the On option next to Mouse Keys.
- Check the box labeled Press the Option key five times to turn the Mouse keys On or Off.
- This will enable the shortcut for turning the Num lock on and off.
How to Turn On Sticky Keys on Mac
Sticky keys can be highly beneficial to Mac users as they enable them to enter the keys combination consecutively rather than simultaneously. Usually, these keys are enabled by default in System Preferences. However, if they are not, here’s how you can turn them on.
- Go to System Preferences in the Apple menu.
- Go to Universal Access and open the Keyboard tab.
- There will be On and Off buttons right next to the Sticky Keys option.
- You can easily turn them on by checking the On button.
Troubleshooting a MacBook Keyboard Not Working
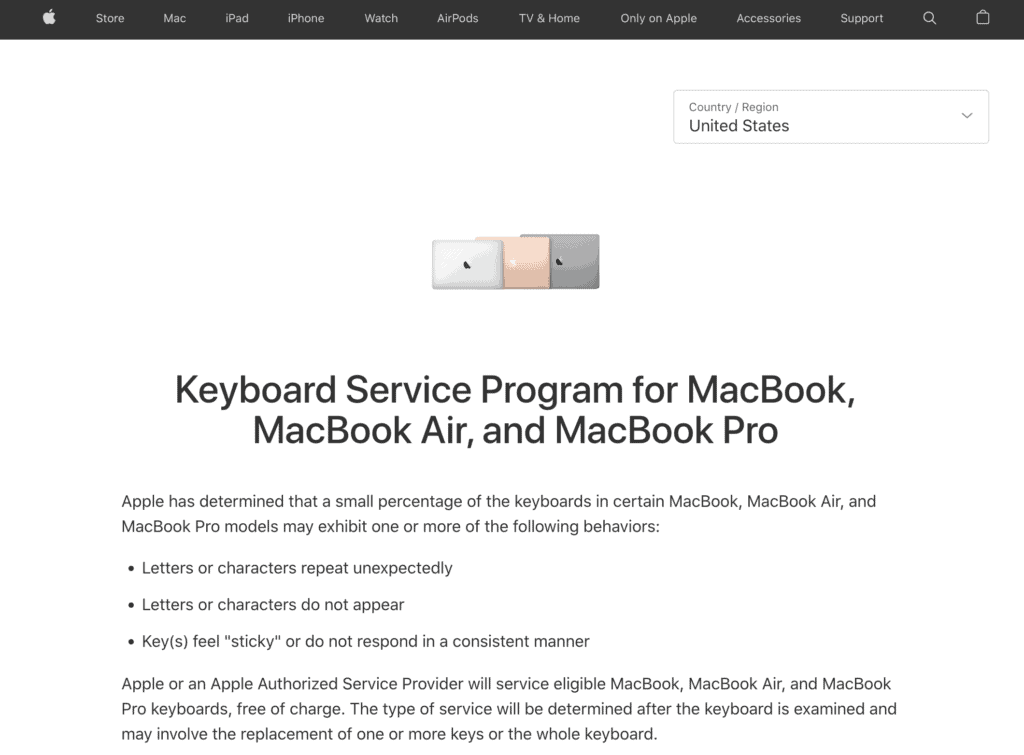
Your Mac keyboard might stop working due to dust and other contaminants. Additionally, if you own a newer MacBook that features Apple’s butterfly keyboard, even the smallest amount of contamination such as food, dust, or liquid can cause problems to it. In fact, these keyboards were such a problem that Apple even issued a Keyboard Service Program for MacBook, MacBook Pro, and MacBook Air.

So, if your Mac keyboard has stopped working, you can try to fix it with some of the solutions mentioned below. However, you shouldn’t try any advanced repairs or disassemble the keyboard yourself as Apple fixes the majority of these problems for free.
Clean Your Keyboard
Dust and debris are the most common reason for the malfunctioning of Mac keyboards. So, you should start by cleaning the keyboard to the best of your ability.
Put Your MacBook on Charge
Sometimes, if your MacBook’s battery is low, the keyboard might stop working. In this case, you should try plugging in your laptop and let it charge for a while. You can see if the keyboard is working once the Mac is a bit charged.
Turn Off Mouse Keys
If you’ve accidentally turned on the Mouse Keys, the number pad on your keyboard might stop working. So, make sure that the keys are turned off by going to the Mouse tab in System Preferences.
Turn Off Slow Keys
If Slow Keys are turned on, you’ll have to press each key longer than you normally do before the system registers them. This can give the impression of the keyboard not working at all if you press each key for only a short period. Here’s how you can turn the Slow Keys off:
- Go to the Apple menu and open System Preferences.
- Click the Accessibility tab and navigate to Keyboard and then Hardware.
- Turn off the Slow Keys.
Related:
How to Uninstall Spotify on Windows 10 and macOS
