
Do you have an .EXE file that you want to open and extract data from it. EXE files are self-extracting files that are mainly used and created for Windows operating system. There is no direct way to extract .exe files on mac.
Extracting .exe files on Mac requires third-party software due to compatibility issues. Three methods include using WineBottler, Keka, or Parallels Desktop to extract .exe files. Each method offers unique functionalities to extract exe files on Mac.
Let’s get into it.
Difference Between Self-Extractable and Executable
There are two types of files that have the .exe extension. So, make sure you know the difference between them.
Both files are used in the windows environment. The first one is called Self-Extractable file that is an archive or package which contains multiple files or folder as like the .zip file.
While the second one is the executable file that is used to start and run the application. For example: Ms Word or Internet Explorer.
3 Ways to Extract EXE Files on Mac
Struggling to extract .exe files on your Mac? Learn three effective methods to handle Windows-based files seamlessly on macOS. Whether through WineBottler, Keka, or Parallels Desktop, discover the solution that suits your needs best.
1. Using WineBottler

WineBottler is an awesome app available for mac to open windows based programs on macOS. As we know, we cannot extract EXE files on mac because they are windows based file so Winbottler can be used to extract EXE files on mac. To get started, follow these steps:
- First, head over to the WineBottler’s website from Safari.
- For OS X, click on WineBottler 4.x.x Development, otherwise click on WineBottler 1.8.6 Stable.
- In the small prompt, click on Download and after waiting for 5 seconds click on skip add to start downloading WinBottler.
- If WineBottler does not start downloading automatically, click on the “WineBottlerCombo_4.x.x.x-rc4.dmg” link to force start the download and wait for WineBottler to finish downloading.
- Install the WinBottler application and navigate to EXE file.
- Select Open With from the drop-down menu and click on Wine.
- In the new window, check the Run directly in option.
- Click on the blue Go button.
That’s it, after following these steps, your EXE file will be loaded if it’s supported by Wine. If it’s not, then move onto the next method.
Related:
How to Open MSI File on Mac
2. Using Keka

Keka is a great tool for file archiving and compression. It comes very handy to open different to types of files on mac. It has multiple features that allows to compress files into different formats. Here’s how:
- Head over to Keka’s website from Safari.
- Download & install it in your mac.
- Now, navigate to the EXE file, and right-click on it.
- Select Extract using Keka from the drop-down menu.
After extracting, Keka will create a folder that contains all the contents of that EXE file. If Keka is unable to extract EXE files on mac, then it is an extractable file not a self-extracting file. Such EXE files can only be opened in a Windows environment. So, let’s talk about that.
Related:
How to Open MBOX File on Mac
3. Using Parallels Desktop
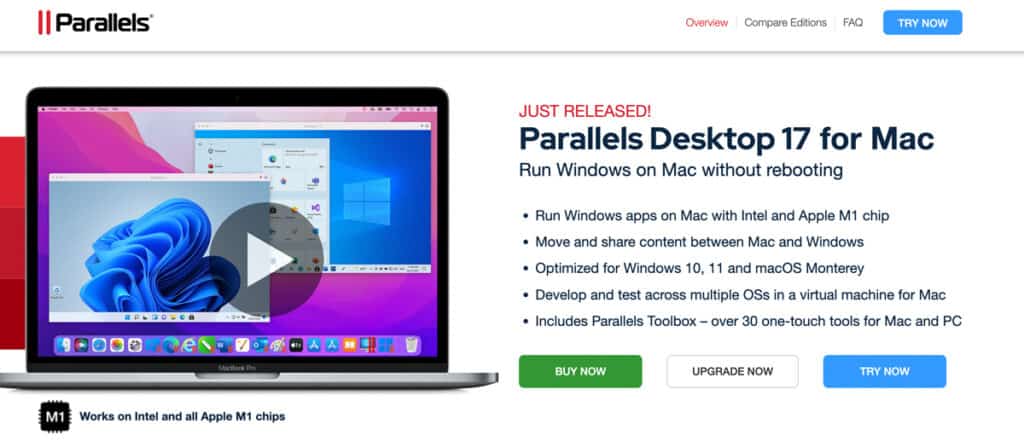
Parallels Desktop is a virtual machine that allows you to run windows on mac. It provides more functionalities like you can switch between the two operating systems. Also, you can run applications of both operating systems simultaneously.
Parallels Desktop is not a free software. It provides a free trial for 14 days and after that you have to purchase it. The Standard Edition is for $79.99 that gives you 8GB of vRAM and 4 vCPUs.
Make sure you have downloaded an ISO file of Windows 10 and copied it into a USB, before downloading the parallels Desktop. After that, follow these steps:
- Download the Parallels Desktop and install it in your mac.
- Open Parallels Desktop from the Applications folder.
- Go to File > New to create a virtual machine for Windows 10 and select Install Windows or another OS from a DVD or image file. Click on continue.
- Click on Locate Manually if parallels desktop is unable to find ISO file automatically.
- From here you will have three options: DVD, Image File, or USB Drive. You can select Image File and locate the ISO file on your Mac, or you can insert your USB and select the USB Drive option.
- Enter the Windows Product key and click Continue.
- In the next window, select Productivity and click Continue.
- Enter a name for your virtual machine and select a location. You can leave it to its default setting and change it later as well. Click Continue.
- Finally, your Mac will start installing Windows 10. Follow the on-screen instructions until it’s finished installing.
- After that, click on the list of virtual machines on Parallels Desktop to launch Windows.
- The first time you run Windows, your Mac will install Parallel Tools. It makes sure you can switch between the two operating systems seamlessly. Once it has finished installing, restart Windows.
- At last, navigate to the EXE file in the File Explore and double-click on it to extract it.