
Level up your mailing game this year by skipping the handwriting part and switching to making print mailing labels on Mac. This might sound surprising at first, but making mailing labels digitally is way easier and offers a lot more customization options than writing manually.
But the real issue is how would you make one? Especially for someone who is not into tech, doing so might be a little tricky. Well, worry not because we have got your back. This blog covers a detailed guide on how to print mailing labels on mac, create templates, and much more on Mac.
So, stick around till the end!
How to Print Mailing Labels on Mac
Mac provides you with a facility for printing mailing labels, envelopes, and lists of contacts using the Contact application. Doing so will reduce the manual work you have been doing before and make the process time-saving and less complex.
Here is a step-by-step guide on how to print mailing labels on mac:
- Open the Contacts app on your Mac.
- Select the contact you want to print a label for. Remember that you can only choose the contacts who have addresses.
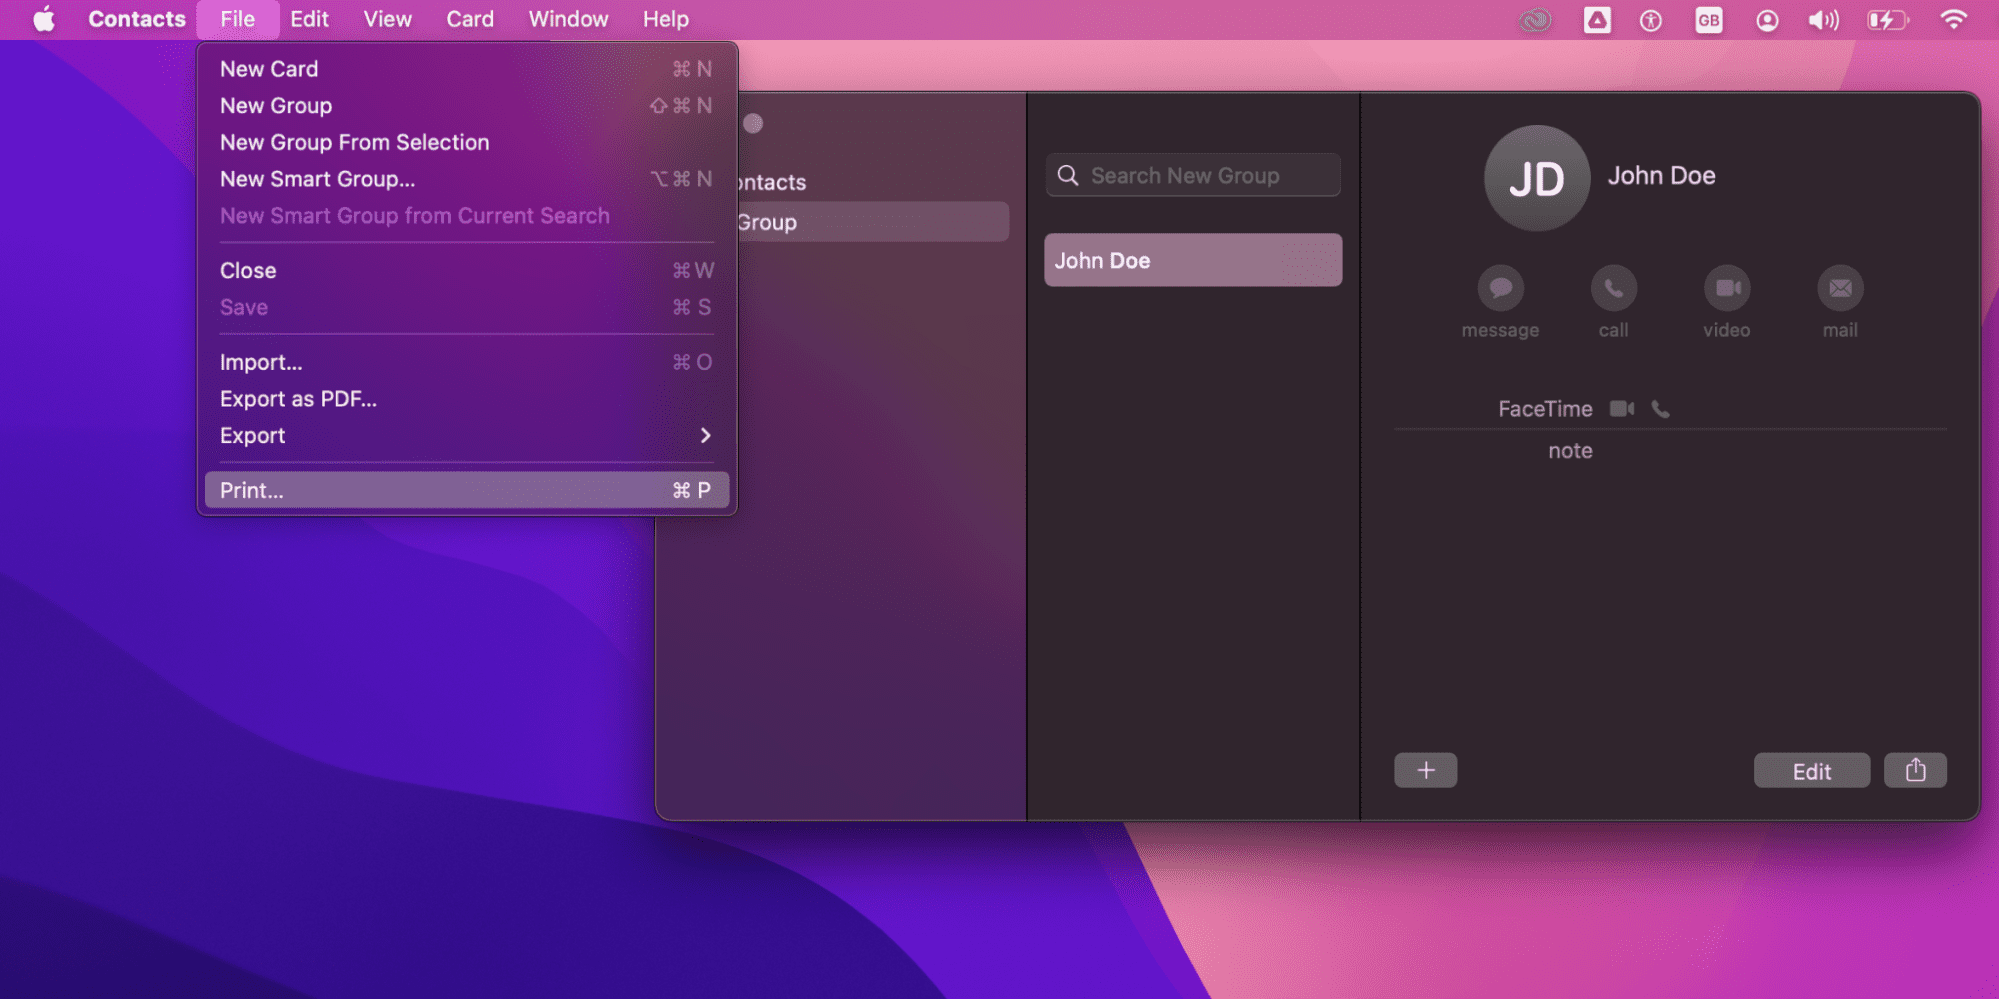
- Click on File.
- Select the Print option.
- Select the Style pop-up menu. If you cannot find the Style pop-up menu, you can click on the Details button in the bottom left corner of the window.
- Click on Mailing Labels.
- Click on Label or Layout. This will help you customize postage labels.
If you choose the Label option, you will have to select other items to include or modify on labels, such as adding an image, changing the font style and font color, including the company’s name, region or country, or printing the labels alphabetically or by postcode.
On the other hand, if you choose the Layout option, you will have to choose a label type or Define Custom if you want to make and define your own label.
- Finally, click on the Print option and you are successfully done with print mailing labels on mac.
Other features mailing labels provide include the option to change the sequence of first and last names. You can do so by modifying the settings from Change General Preferences.
Related:
How to View iPhone Photos on Mac Without Importing
How to Print Multiple Labels From the Same Address on Mac
Printing multiple labels from the same address on mac has almost the same procedure as above, except that you’ll first have to make a group of contacts. Here is the procedure to follow that will definitely help you out.
- Open the Contacts application on your Mac.
- Go to File from the menu bar.
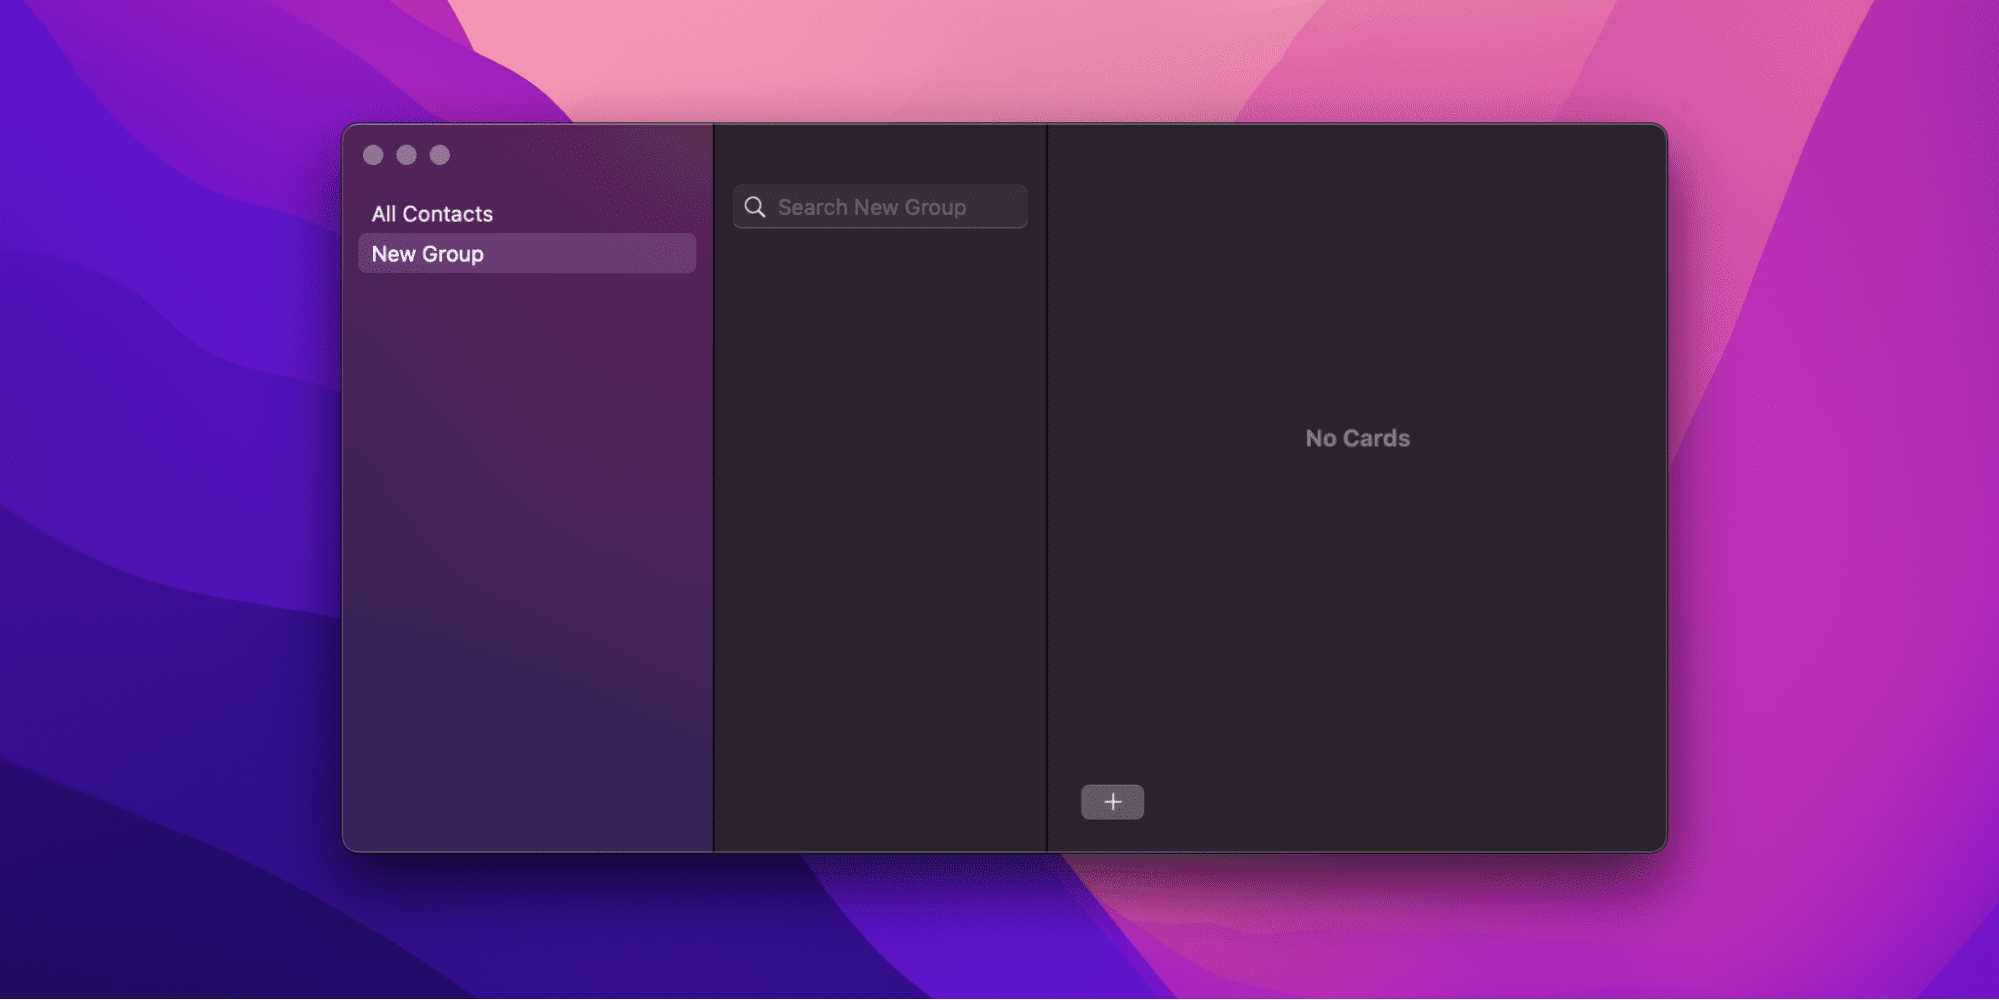
- Click on the New Group option. A new folder will display. Here, name the group.
- Select all the contacts you want to add and drag and drop them in the group you have just created.
- Open the group, and click on the center of the window, which contains all the contacts.
- Press the Command + A keys simultaneously.
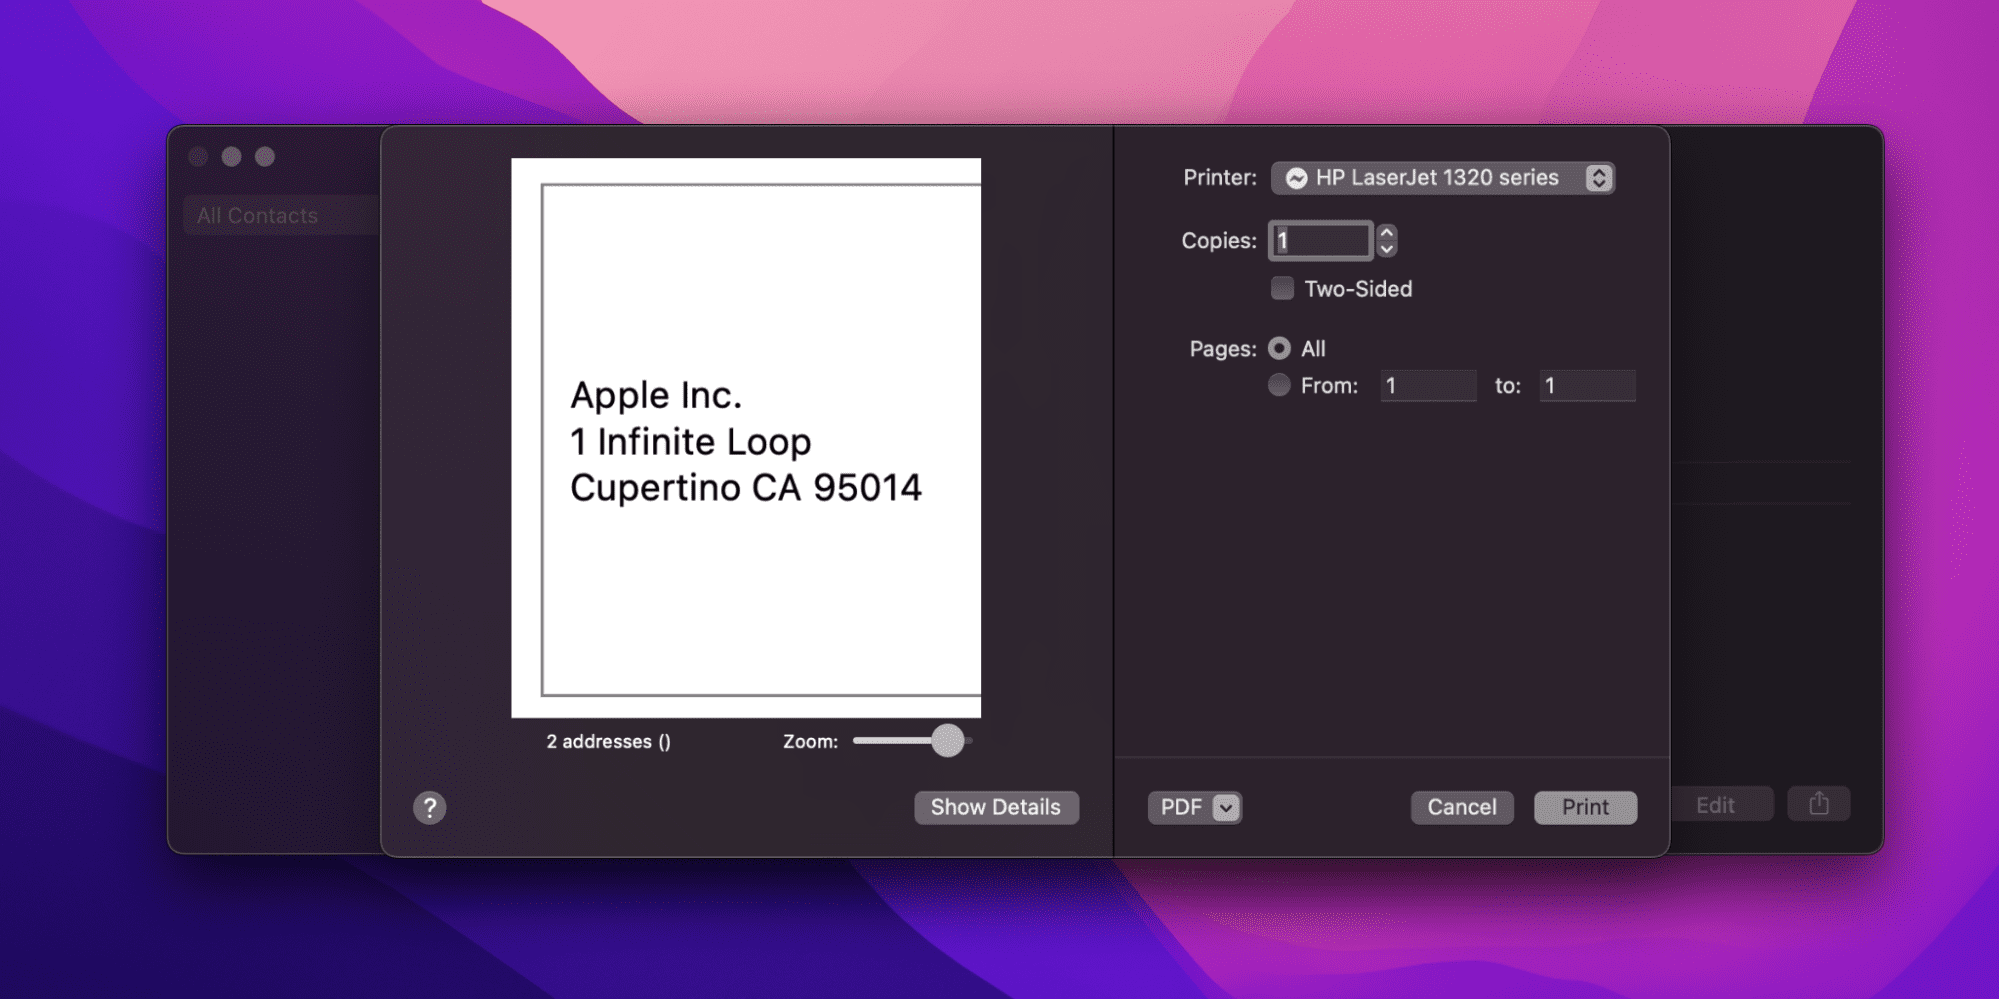
- Go to File and select the Print option.
- Click on the Show Details option on the bottom left corner of the pop-up window that has just appeared.
- Here, make sure the style is Mailing Labels.
- Click on the Print button.
How to Create a Template for Labels
If you don’t want to go with the previously set label measurements, you can modify it and add new measurements for the label as you desire. For this, follow the steps below:
- Click on the Options button, which will open a new window.
- The new window will have a Label Options box.
- Here, click on New Label, which opens another dialogue box – Label Details.
- Here, you can remove the previous measurements and add new ones according to your need.
- Click on the OK button.
Tip: Do not forget to name the new template you created.
Related:
How to Merge Partitions on Mac
How to Print the Same Address on a Page of Labels
Here is what to do if you want to print the same address on a page of labels:
- Make a group that has the address you want to print on a page of labels along with the contact card.
- Keep copying and pasting the card in the group according to your need.
- Select the group you want to print.
- Click the print button, and you are all good to go.
How to Make Labels Using Pages on Mac
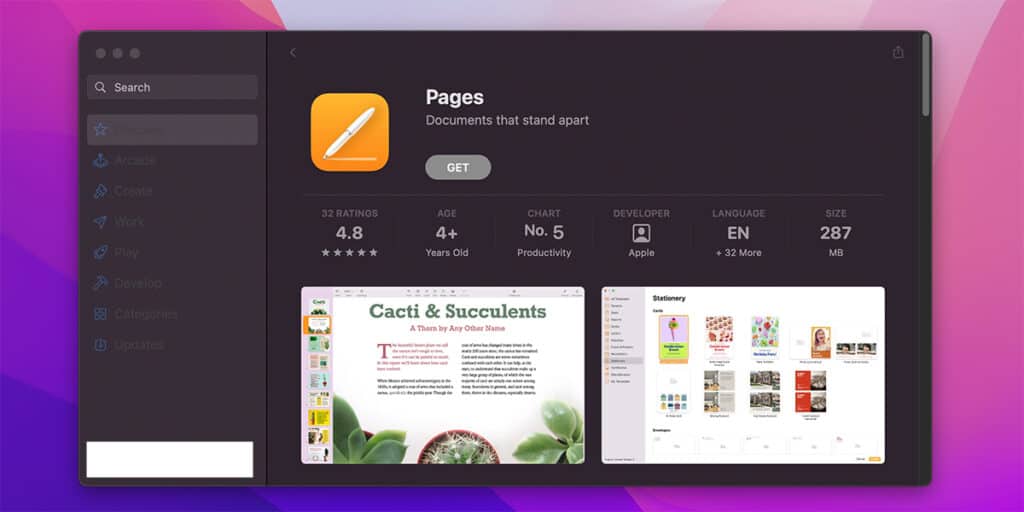
If you are looking for a good alternative to Microsoft Word that is compatible for printing labels, Apple’s Pages should be your go-to software. Apple Pages has some of the most incredible layouts and design options that will help you create labels for your business, holiday invitation, or anything you like.
To make labels using Pages on Mac, follow the procedure below:
- Decide the size for labels. You can do so by looking for a package for measurement information. Else, you can also take the sizes yourself using a ruler.
- Launch the Apple Pages and create a new document.
- Click Show and then select Inspector. Doing so will show the inspectors.
- Click on View and then select Inspector. Doing so will make an Inspector.
- Press the Document icon and type the size you have previously decided. To get extra space, you can uncheck the header and footer box.
Create a Table
Next, you need to create a table. Here’s how:
- Select the Table option on the Toolbar to help you create a new table.
- Select the Table option in the Inspection too.
- Change the number of Body Columns and Body Rows you want in the table.
- Click both Header and Footer buttons and choose zero.
- You should set the Column Width to 1.5 and Column Height to 0.5 in their respective sections.
- Uncheck the Automatically Resize to Fit Content box.
- Select the table.
- From the Cell Borders option on Table Inspector, click on None.
- Type the data and you can now print the labels.
Tip: If your template doesn’t match the label sheet, you can redo the steps to modify the sizes and check again.