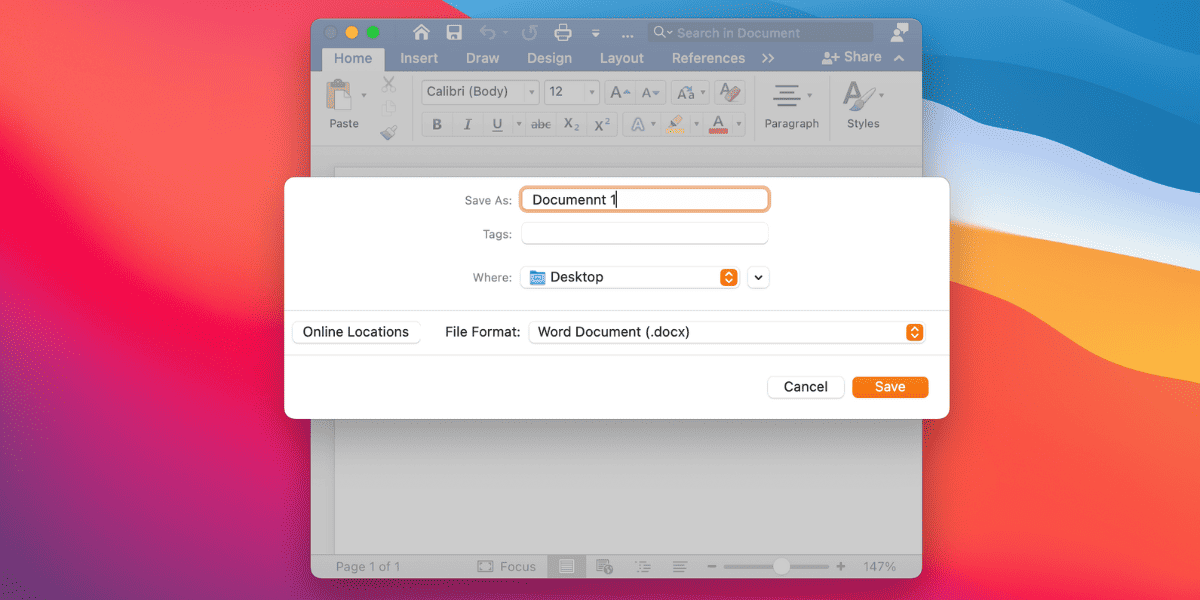
Whenever we create a document on the Mac, we choose a specific name and path where we want to store that document. The path can be a desktop or folder or any hard disk. Therefore, let’s see how to save a Word document to a desktop on mac.
Saving the document is necessary during creating it because if we don’t save the document, we will lose it if we get any power loss or pc shuts down. So, save it after writing some content whether it is an article, document, report, or assignment.
Let’s see how to save Word documents to a desktop on mac.
How to Save Word Document to Desktop on Mac
There are two different and easy methods to save Word documents to a desktop on mac. The first method is to use the save Menu option and the second method is the Keyboard shortcut Keys.
Let’s see how both methods work.
1. Use Save Menu to Save Your Document
When you have written the Word document and want to save it on a specific path, you can use the below steps.

- Select the Save option from the top right menu. It will open a dialog box.
- In the name field, type the name of your document.
- Now, select the Where drop-down to select the location where the file will be saved. It can be either a desktop or any other folder.
- Also, make sure that the file format of the word file (.docx) is selected.
Select save to confirm. This will save Word documents to the desktop on mac.
Related:
How to Make icons Bigger on Mac
2. Use the Keyboard shortcut to save the document
You can use the Command + S shortcut key to save Word documents on Mac. Follow the below steps to do that.
- Hit the Command + S from the keyboard when you are on your Word document. This will open the save file menu.
- In the Name box field, write the name of the document.
- Click on the Where drop-down menu and select a location where you want to save the Word document.
- The file format of the document must be (.docx) as this is the default format for MS Word files.
Using this method you can also save Word documents on your desirable path in Mac.
Also, you can check the Apple Support website to know how to save and name a document.
How to rename the Word Document on Mac
To rename the Word document on Mac, follow the below steps.

- Right-click on the file and Select the Rename option.
- Now, write the name which you want to replace with the previous one.
- Click on Return to save the name of the file.
This will update the name of the Word Document.
Related:
How to Charge Macbook Without Charger
Conclusion
After reading the above article, now you can easily save any document in any place on the Mac. The desirable path can be selected for all the documents whether it is a WORD file, PDF file, or XML file. Both methods are almost the same as you have to write your name and select the saving address in both methods.
