
Mac is considered to be among the most powerful operating systems available in the market, and it holds this place rightfully so because not only does it provide great utility to users, but it also provides them with a vast amount of applications and features available at their disposal.
But since it comes with a huge number of applications, there are bound to be some among them that might not be of use to some people, and they want to get rid of it completely. In this article, we will see how to delete iMovie on Mac.
Let’s get started.
What Is iMovie, and What Are Its Features
iMovie, sometimes referred to as iMovie HD, is a video editing software that comes pre-installed on every macOS, iPadOS and iOS device. It was designed by Apple to allow its users to edit their recorded clips on their devices without needing additional applications.
It came with many functions and features, of which some of the notable ones include the following:
Video Effects
It comes with many pre-installed video effects that can be used according to the user’s necessities, and some of them are:
- Modification and enhancements
- Cropping and rotations
- Stabilization for shaky videos
- Video transitions (including doorway, fade, slide, swap, cube, mosaic and page curls)
- Video speed
- Multi-clip video effects
- Audio enhancements
Importing and Exporting
It allows users to import and export different video projects between their iOS and macOS devices as long as both have the iMovie app installed. In addition, for further advanced editing, you can also export your project directly to Final Cut Pro X.
Trailers
Users can utilize iMovie to create different movie trailers by using the built-in templates. They can also add different titles and credit pages to their respective trailers.
App Previews

It can also create app previews for the App Store applications that developers can use to give users a simple overview of their respective applications via a video clip.
Related:
How to Delete Songs on iTunes Mac
2 Best Ways to Delete iMovie on Mac
Although iMovie is quite a useful app as it provides a wide arsenal of video editing features, many users still don’t use their Macs for it. So the app does not necessarily provide them with any benefits, and it just hoards unnecessary space that can be used for other purposes.
Luckily, there is a solution, and we have listed the two best ways to delete iMovie on Mac below. Let’s check them out one by one:
1. Deleting It Manually
The first method is done through manual uninstallation, and it doesn’t require any third-party application. However, it can be a little hectic and tricky for some users who have just recently purchased a Mac.
Still, if you follow all the instructions properly, the process should be a walk in the park, and you should be able to execute it without any errors. Here are the steps that you can use to delete iMovie on Mac manually:
- Exit the iMovie app completely.
- Now head to your Finder and open the Application folder.
- Navigate to iMovie from the list of applications, press Right-click and select Move to Trash from the context menu.
Even though iMovie is technically removed from your system, it still has many leftover files and cache currently stored on your Mac. Most of the time, these get stored in the Library folder by default. So let’s see how you can get rid of them.
- Open Finder and hit Command + Shift + G.
- Once you see the search bar appears, paste the following ~/Library, and tap Go.
- Now once you are in the Library folder, check the following directories, and delete any reminiscent files or folders of iMovie:
~Library/Caches
~Library/Preferences
~Library/Containers
~Library/Application Support
~Library/Application Scripts
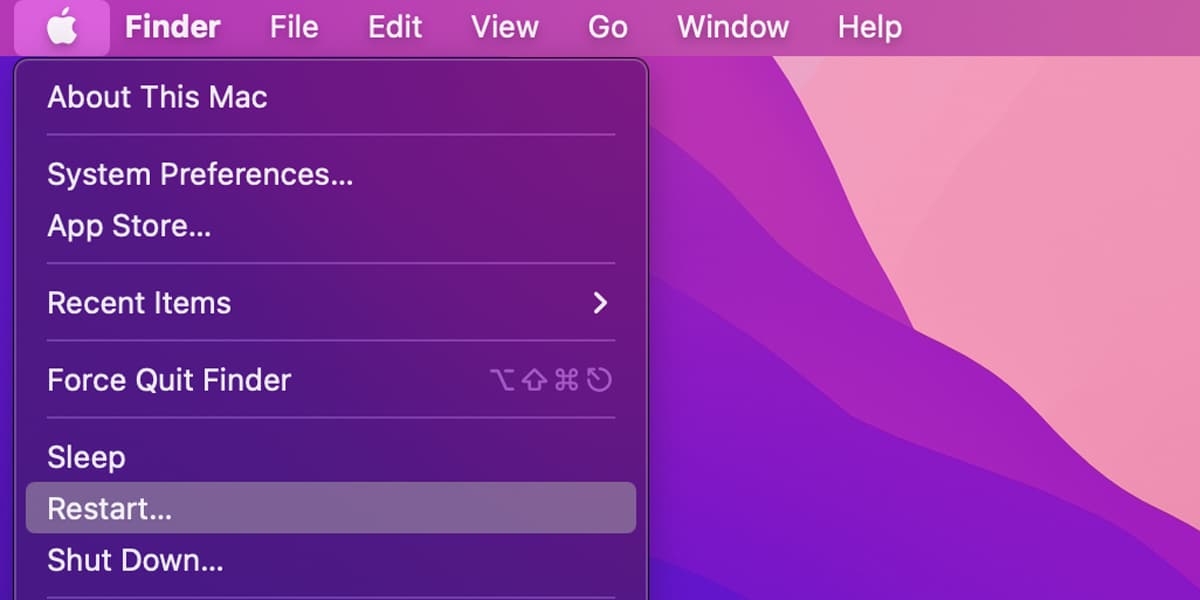
After you have deleted all the relevant files and folders, empty your Trash, and Restart your Mac.
In some cases, iMovie also scatters different files around the system, which are usually hidden and can’t be accessed by normal means. To delete these files, you have to download a third-party application. Here’s how you can do so:
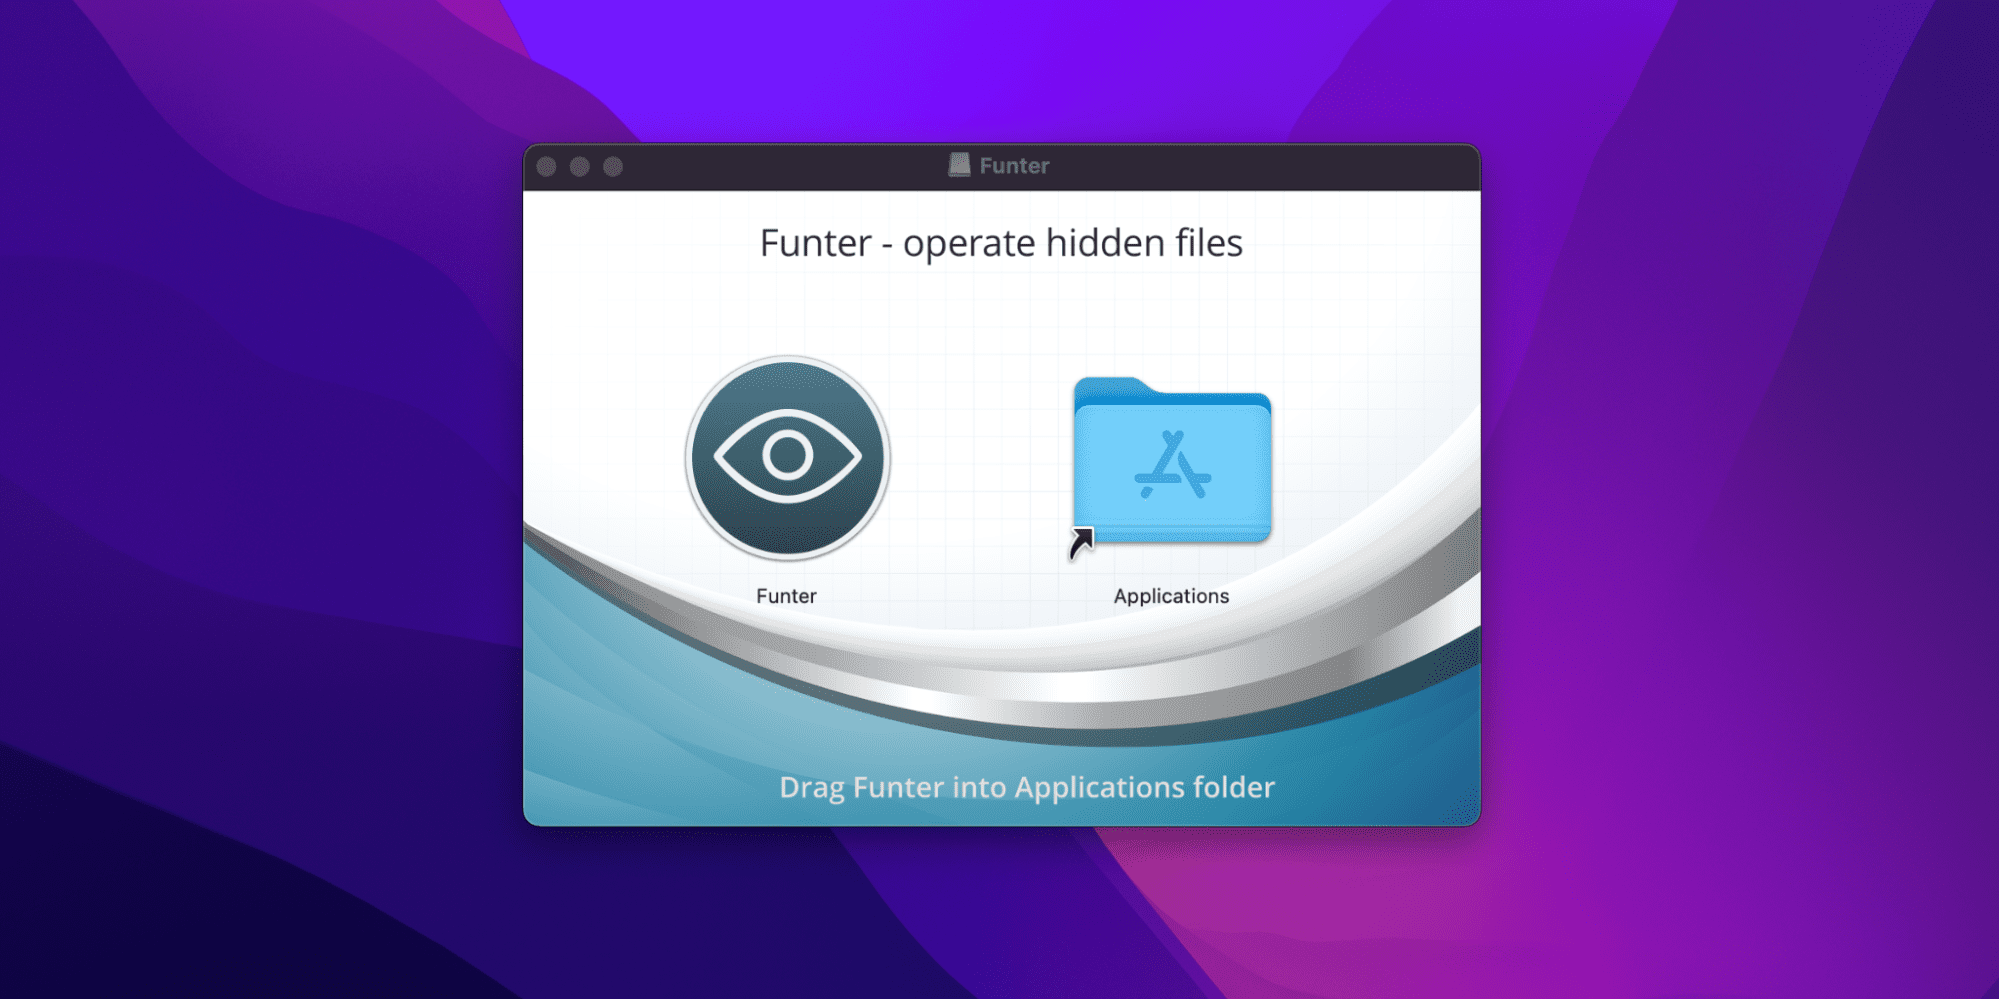
- Head to the official website of Funter to download and install the application.
- Once the application is installed, go to the Menu Bar and open the application.
- After this, click the Search Bar, type iMovie and tap the Return Key.
- Allow the app to complete the search process, and you should be able to see all the hidden files related to iMovie.
- Now Select all of these files and click on the Trash icon present at the bottom right corner of the window.
- Once done, empty your Trash and Restart your Mac.
That’s it! You have successfully deleted iMovie on Mac manually.
Note: Since, during this process, you will be dealing with many locations which contain crucial system files and folders, you should double-check everything before you delete it because deleting a wrong file can cause more harm than good to your Mac’s performance and health.
Related:
How to Delete Drivers on Mac
2. Deleting It via a Third-Party Application
If you are unfamiliar with how Mac works or don’t know anything about the important files required to run macOS, then we would highly recommend you not to carry out the manual uninstallation as it can pose a great threat to the integrity of your macOS.
On the other hand, we have another method that you can utilize to achieve the same results. You are only required to install a third-party application and let it do the rest of the work for you flawlessly.
Here are the steps that you can follow to delete iMovie on Mac via a third-party application:
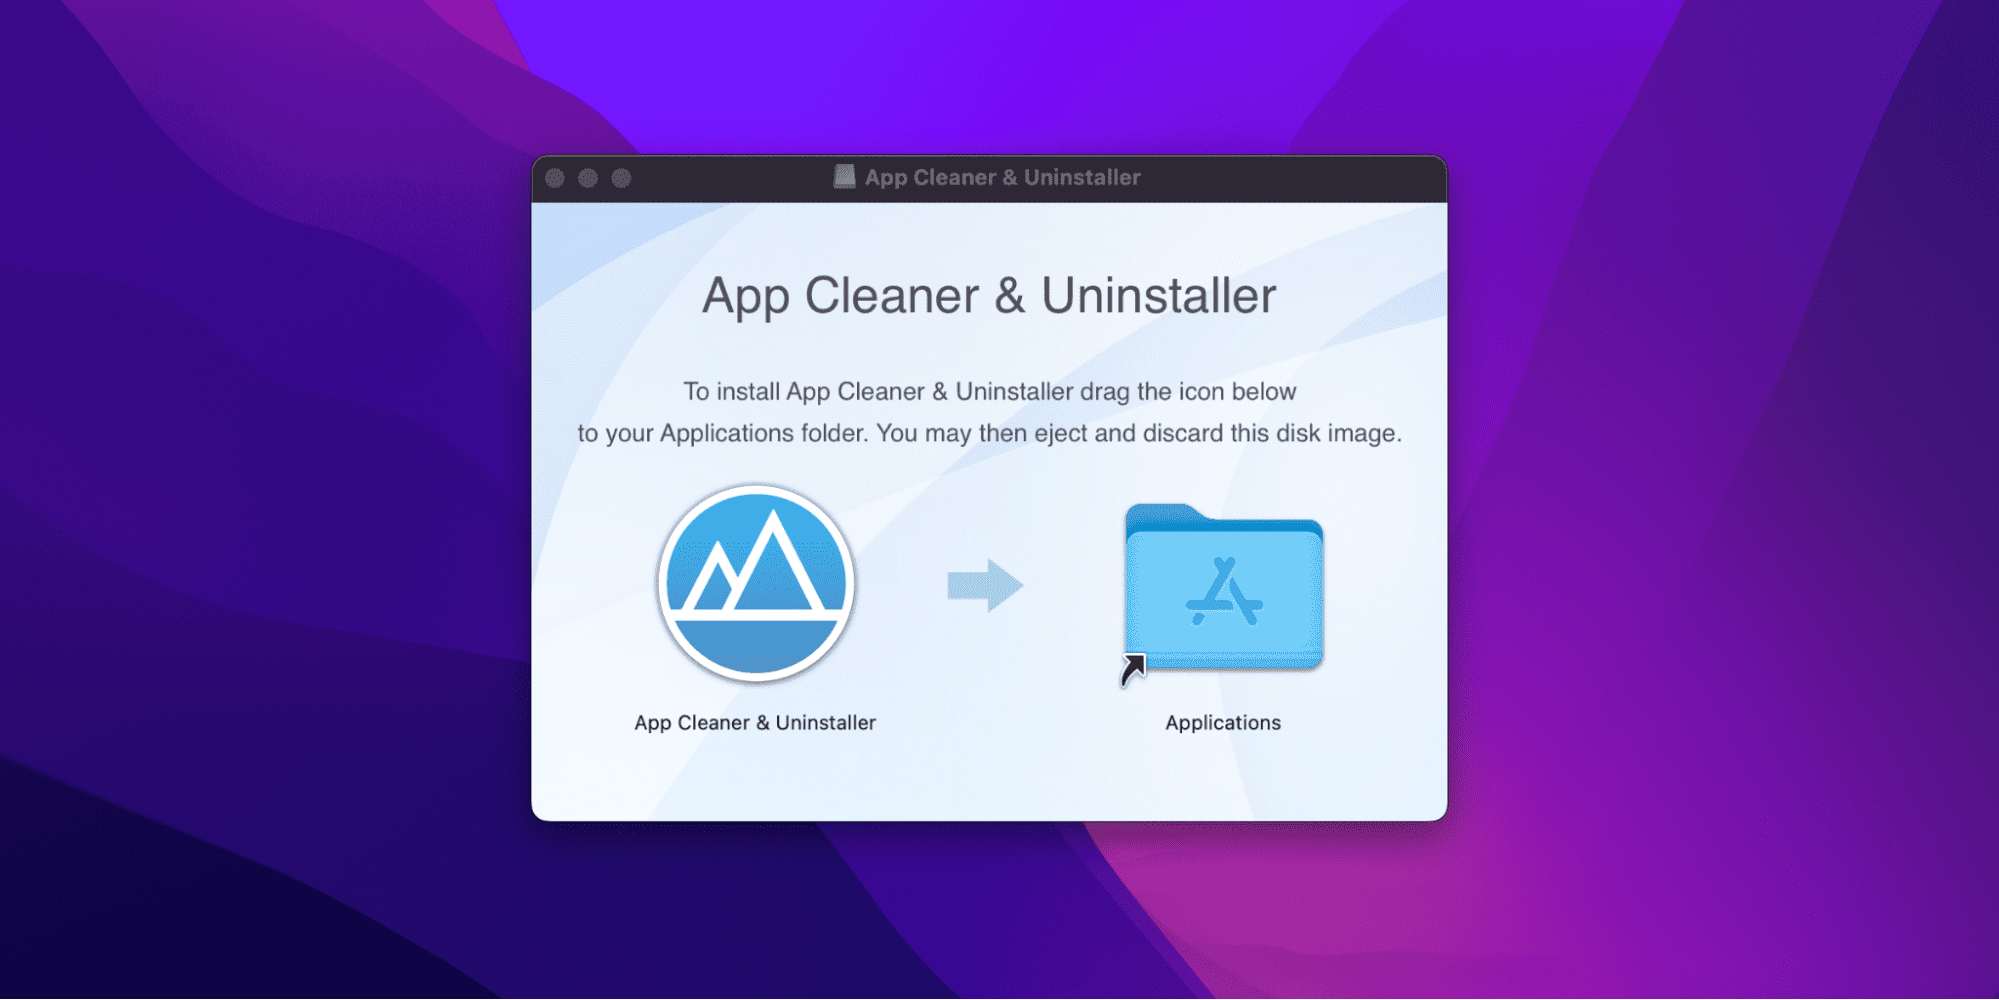
- Visit the App Cleaner & Unistaller’s official website to download and install the application.
- Once the app is installed, head to the Menu Bar to open the respective application.
- After this, click on the Applications tab inside the app and let it scan all the applications on your device.
- Once the search is finished, navigate to iMovie from the list of applications and Select it.
- Now click on the Uninstall button present in the bottom right corner of the application window.
- After this, if prompted, Confirm the removal.
- Now navigate to your Trash and empty it.
To delete any remaining files, follow these steps:
- Once the application is uninstalled, click on the Remaining Files tab.
- Select iMovie from the left pane and checkmark all the files and folders related to iMovie.
- Finally, click on Remove present on the bottom right corner of the application window.
Effective immediately, iMovie and its remaining files have been deleted from your Mac.
How to Uninstall an App on Mac
In case, after uninstalling iMovie, you have found other applications that you would like to uninstall on your Mac, we have come up with two different methods that can be used to delete various applications from your Mac easily. Let’s discuss them one at a time.
Use the Finder
Here are the steps that you can follow to uninstall an application on Mac via the Finder:
- Open your Finder and locate the respective application that you want to uninstall. Most of the time, it will either be in the Applications folder, or you can use Spotlight to find it.
- Once you find the applications, Click and Hold the Command key
- Now Double-click the respective application and drag it to the Trash.
- If prompted, provide your Admin Credentials and hit the Return key.
- Finally, empty your Trash and Restart your Mac.
Effective immediately, the respective application is no longer available on your system.
Use the LaunchPad
You can also achieve the same results via the LaunchPad app. It is considered to be one of the best methods to uninstall any application or software that is downloaded from the App Store on your Mac. Here are the steps that you can utilize to carry out this task:
- Open your LaunchPad, and you can do this via the Dock, the Applications folder, or by pinch closing your Trackpad with your thumb and three fingers.
- Navigate to the application that you want to uninstall. You can also use the Search Box at the top if you have difficulty locating it.
- Now Press and Hold the Options key or click the app and hold your click until the icon jiggles.
- After this, you should see a Delete option popup next to the application. Click the respective button to start the deletion process.
That’s it. The respective application has been deleted from your Mac. If you want to delete other applications, you can repeat the same steps to execute this without any problems. You can use the Finder method explained in the next section if you don’t see any delete option.Note: Deleting any application won’t affect your current subscriptions to the respective app. So you might still get charged again after each cycle. So each time you uninstall any such application, kindly head to its relevant website in order to delete any past subscriptions or payment plans.