
Similar to other devices, Macs also have a limited storage space that can easily run out if you don’t manage your disc space. To save storage, you can uninstall some applications. However, many applications tend to store residual files even after getting uninstalled.
Even though these files mostly hold little to no space, they can still accumulate if you don’t start to uninstall your software properly. In this article, we will discuss a similar software and see how you can uninstall Avira on Mac without running into any issues.
Let’s get started.
What Is Avira
Back in the days when the Internet was not mainstream, you had to purchase discs to install software and games or watch movies. But nowadays, all of it is done through the Internet. Even though the Internet has made our life easier, downloading files from it also comes with its fair share of risks and dangers.
This is because many hackers and malicious individuals put corrupted files on the Internet with fake names and file extensions. So whenever someone searches for a file, they are at a high risk of compromising their complete system.
Once your Mac gets compromised, hackers can launch different attacks on you, ranging from stealing your crucial data and financial information to encrypting your files to asking you for ransom money in return.
This is where Avira comes in, as it is not only an antivirus scanner but can also provide you online security, which you can utilize to keep your web activities safe and secure from any malicious groups.
It is an award-winning software that allows users to conduct a complete health inspection of their Mac with the press of a button. Once the scan starts, Avira goes through each file and folder on your system to find out any breach of security and even helps you neutralize it.
Some salient features of Avira Security include:
- Antivirus Scanner
- Email Protection
- Nightvision
- Device Scanner
- Pua Shield
- No Ads
- Web Protection
- Customer Support
- Firewall Manager
- Browser Tracking Blocker
- Ad Blocker
How to Uninstall Avira on Mac
Although antiviruses are quite useful and provide many benefits, sometimes they can also be the reason for your Mac’s degraded performance. If you are suffering from this problem, then we have written down three different methods to completely uninstall Avira on mac. Let’s check each of them in detail.
1. Using the Applications Folder
The first method to uninstall Avira on Mac revolves around the Application folder. Here are the steps to do it:
- Navigate to the Application folder via the Finder available on your Mac.
- Now find Avira and drag the icon to Trash and drop it.
- If prompted for Administrative Password, enter your credentials and hit Return.
Let the deletion process finish. Once it’s done, you can switch to deleting the remaining folders.
- Head to your finder and visit the following directories one by one:
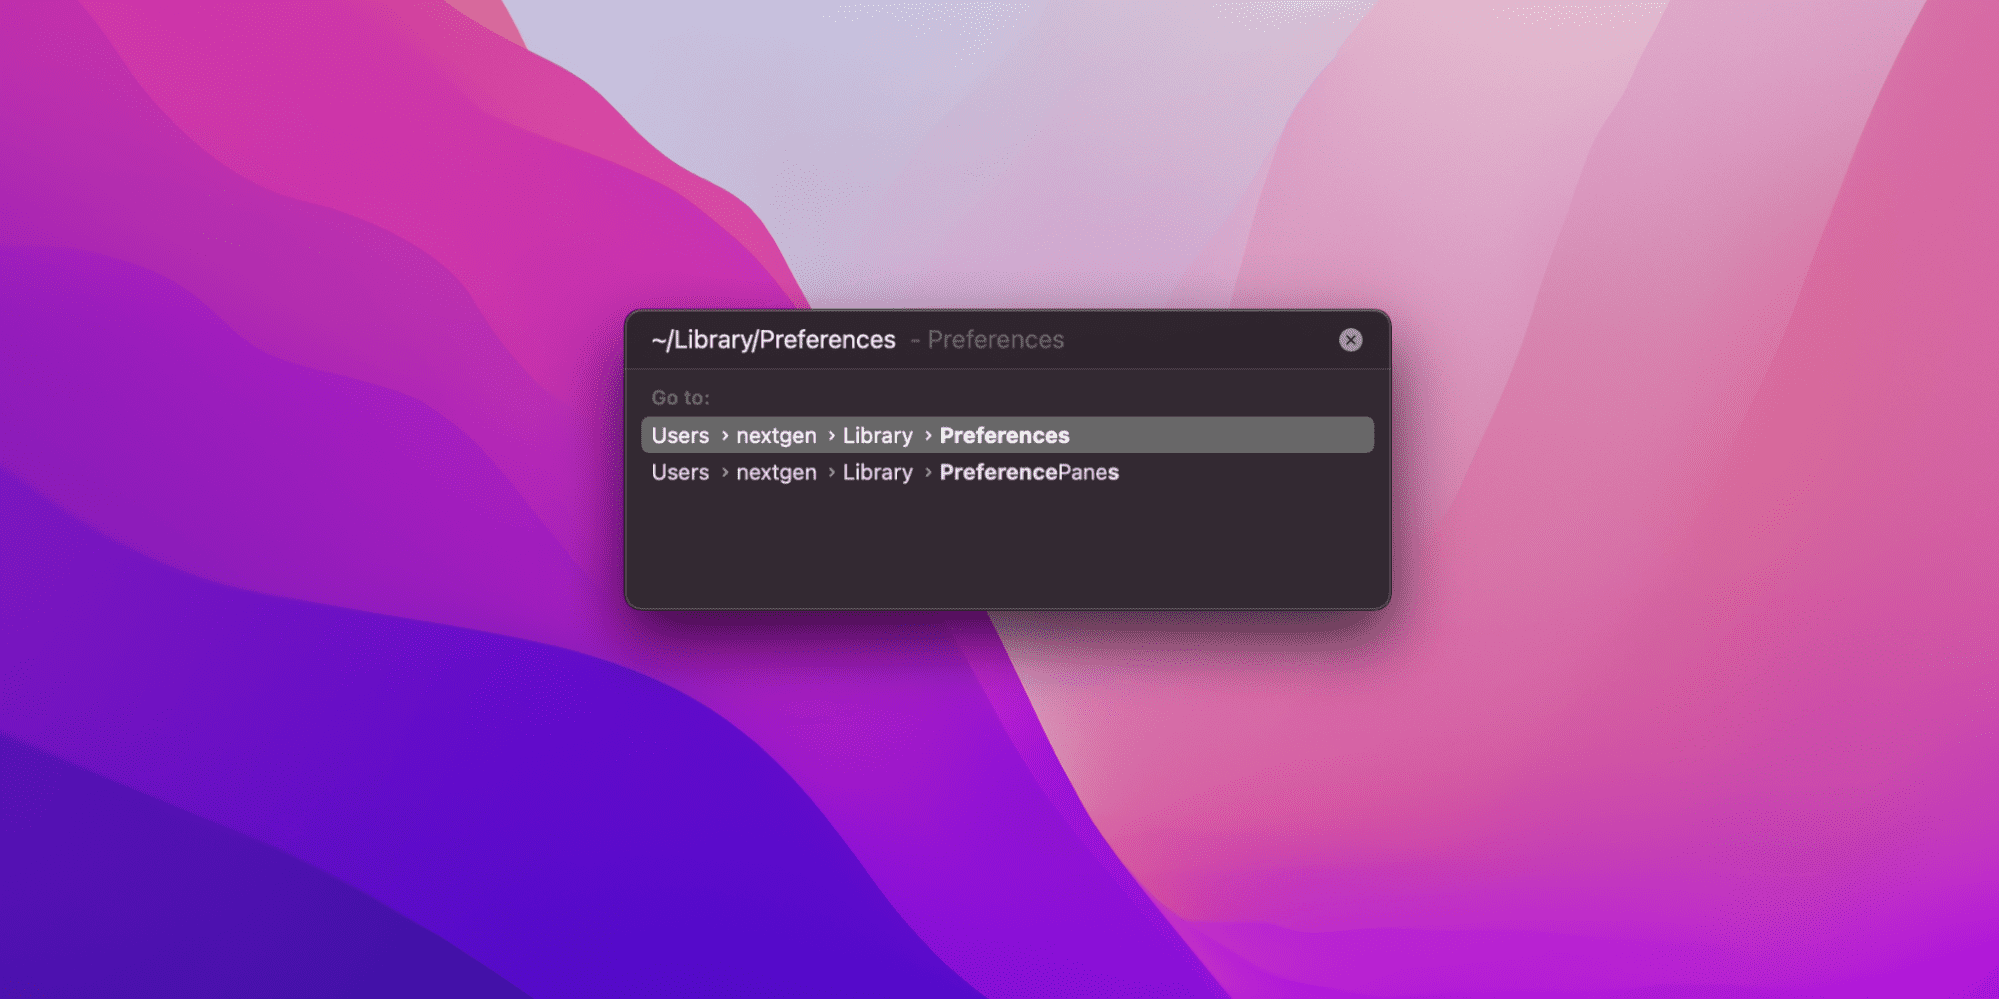
~/Library/Preferences
~/Library/Logs
~/Library/Caches
~/Library/Application Support
~/Library/Cookies
~/Library/Containers
- When you visit each of these directories, look for any files and folders related to Avira and Delete them.
- After you are finished deleting them, head to Trash and empty it.
- Finally, Restart your Mac.
Congrats, you have successfully uninstalled Avira on your Mac.
Related:
How to Uninstall Adobe Lightroom on Mac
2. Using Avira Uninstaller
If you are having trouble trying to remove Avira manually from your Mac, there is another method available on hand that utilizes Avira’s self-uninstaller. Here are the steps to execute it:
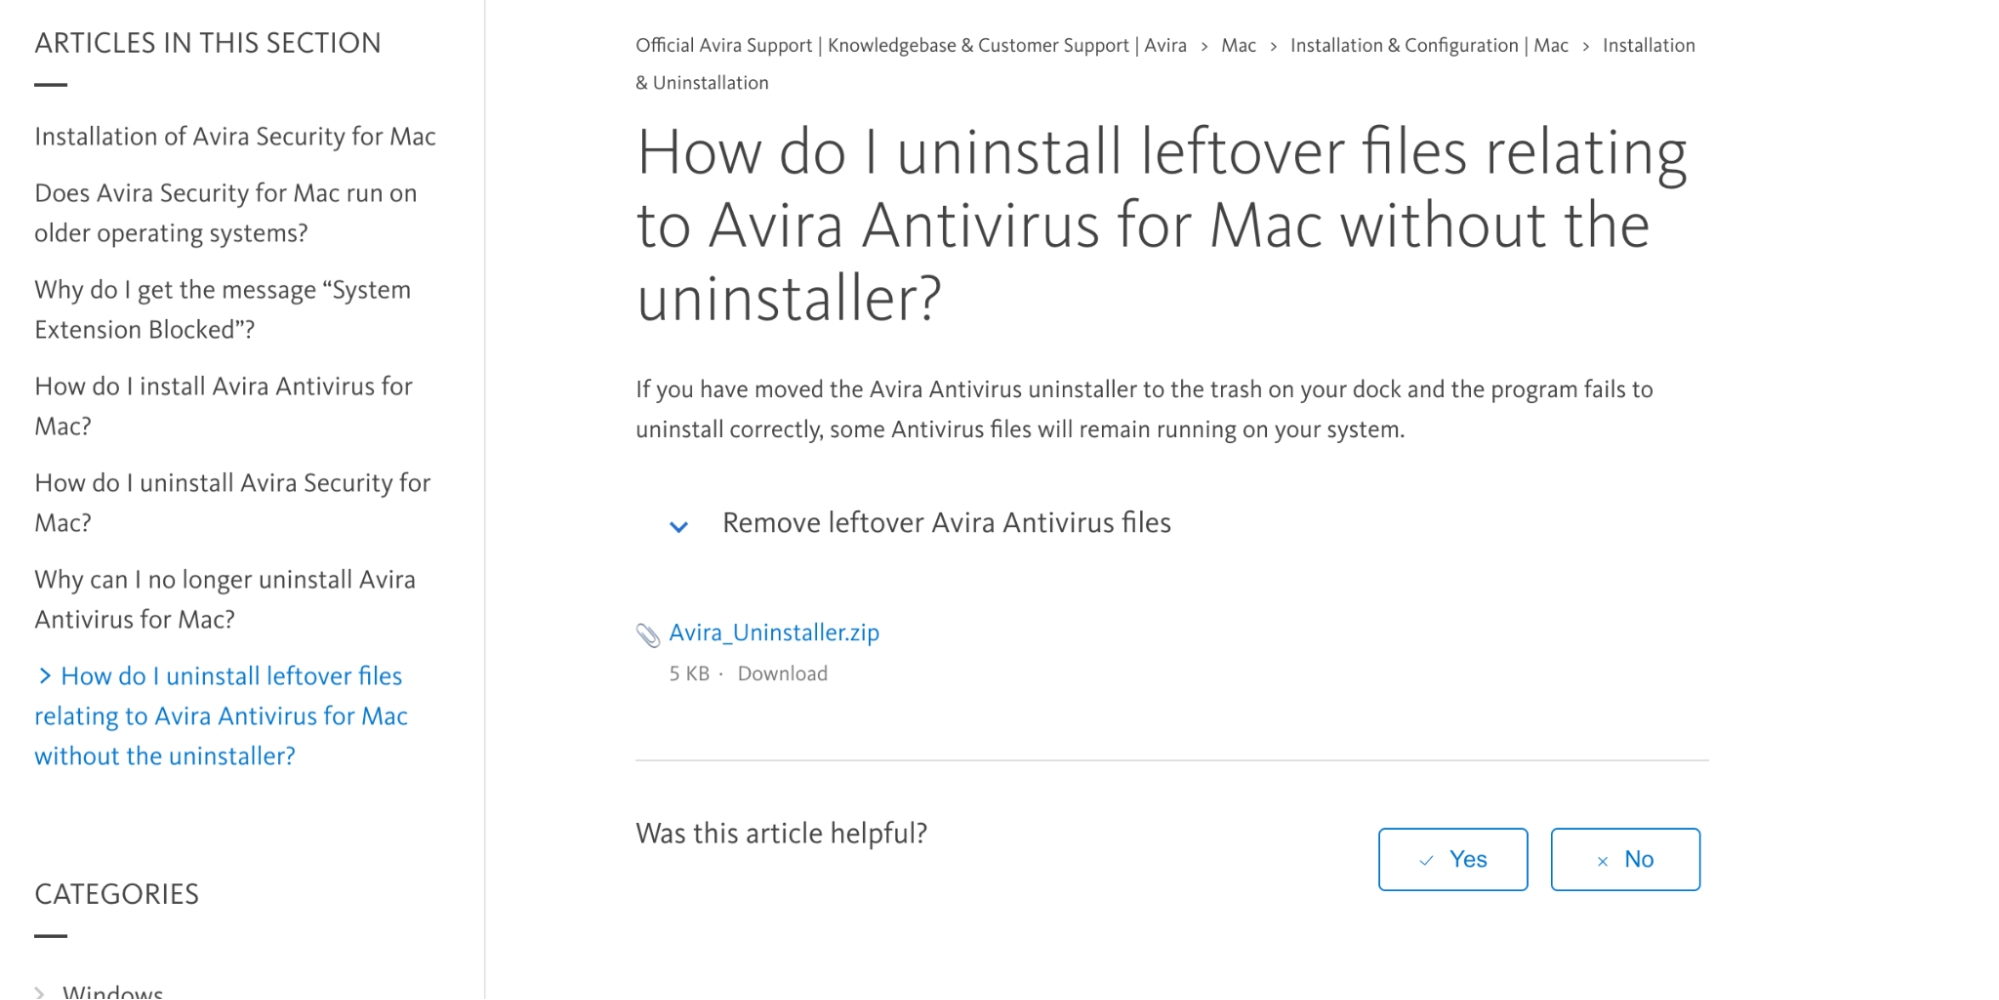
- Visit this link to download Avira’s Uninstaller.
- Once you have downloaded the zip file, unzip it and extract its content on any suitable location.
- After this, run the file within the zip, and it will open your Terminal application.
- If prompted for Administrative Password, fill it out and hit Return.
- Now Terminal will start the process of uninstallation.
- Once finished, you will receive a confirmation on the Terminal application.
Effective immediately, you have successfully uninstalled Avira and all its leftover files from your Mac.
3. Using Third-Party Uninstaller
Suppose you have issues with the above-mentioned methods and can’t get rid of all the files related to Avira, then you might have to rely on a third-party uninstaller, and we have the perfect app for the job. Here are the steps to uninstall Avira on Mac using Third-party application:

- Visit the official website of PowerMyMac to download and install the application.
- Once the application is installed, launch it and click the Uninstaller tab.
- Now press Scan, and wait for the app to inspect every application available on your Mac.
- After the scanning is completed, press All Applications and then navigate to Avira from the list of options.
- Now click the Checkbox next to Avira app and press the Clean button at the bottom right corner of the window.
- Let the uninstallation process finish. Once done, you will receive a notification.
Congratulations, Avira Security is no longer present on your Mac.
Related:
How to Uninstall TeamViewer on Mac
How to Disable Avira on Mac
Since Avira offers users security and protection during their web surfing sessions, it would be unwise not to recommend its usage unless you run out of storage or it’s slowing down your Mac.
But if that’s not the case, then you can always disable Avira Web Protection and enable it later according to your needs. Here are the steps to do it:
- Tap the Avira icon from your system tray to open its user interface.
- Once inside, press the Security option in the left menu.
- Now click Protection options.
- Finally, press On/Off to Enable or Disable Web Protection.
How to Reinstall Avira on Mac
In case you have changed your mind and want to reinstall Avira back on your Mac, here are the steps that you can follow to complete this task:

- Visit Avira’s official website and download the latest version of the application.
- Now head to your downloads folder and double-click on the application to start the installation process.
- After this, accept the software licensing agreement and select Continue.
- If prompted, provide your Administrative Password in the required field and hit Return.
- Let the installation process finish. Once done, Avira will start automatically.
That’s it! You have successfully reinstalled Avira on your Mac.