
If you want to disable Macbook keyboard to prevent accidental key presses and data loss, or because you spilled something on it and now you have to use an external keyboard.
From typing a single script to using a third-party software, there are several methods to disable Macbook keyboard, and even though they sound complicated at first, their steps are quite straight-forward.
Just follow along as we walk you through step-by-step on how to disable Macbook keyboard. Let’s get started.
1. Disable Macbook Keyboard using Karabiner-Elements
The best and the easiest way to disable Macbook keyboard is to use Karabiner-Elements. It is a powerful keyboard customizer for macOS that works on both Intel-based and Apple silicon Macs.
From function and modifier keys to standard keys, you can use Karabiner-Elements to modify the behavior of every single key on your Macbook’s keyboard. On top of that, you can also use it to disable the built-in keyboard of your Macbook. Here’s how you can download Karabiner-Elements:
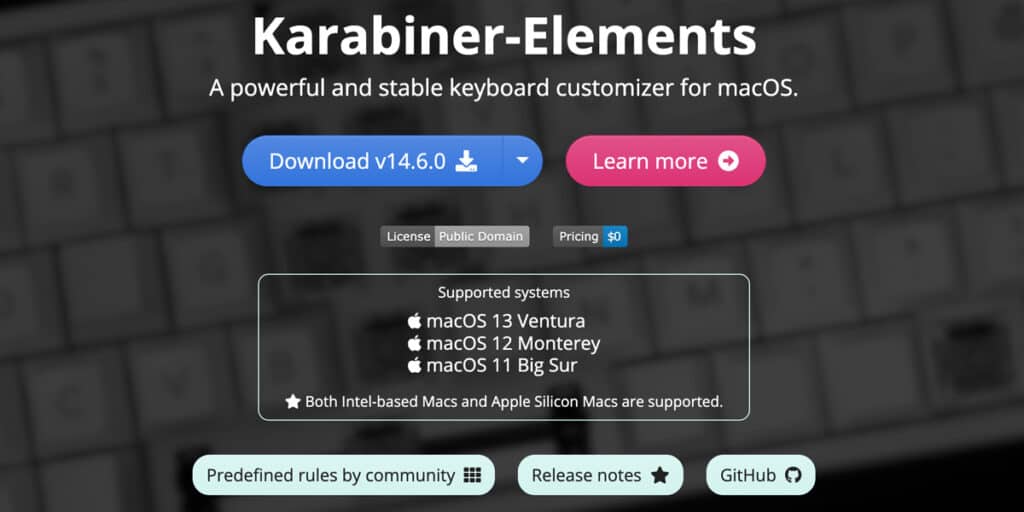
- Head over to this website using Safari.
- Click on the blue button that says Download v14.x.x or click on the arrow next to it to download an older version.
- Once the downloading is finished, double-click on the Karabiner-Elements setup file to install.
- Follow the Karabiner installer’s instructions.
- Click on Continue and launch the tool.
Once you have opened Karabiner-Elements, here’s how you can disable Macbook keyboard using it:
- In Karabiner, head over to the Devices tab.
- From there click on Advanced.
- Look for the external keyboard you are using in the list, tick the checkbox next to it and the built-in keyboard will disable automatically.
Remember, it is necessary to have an external keyboard connected so your macOS can connect to it once the built-in keyboard is disabled. If you don’t want to use a third-party app to disable mackbook keyboard, then you can also use the Terminal to do the job.
Related:
How to Lock and Unlock Keyboard on Mac
2. Disable Macbook Keyboard using the Terminal
It can be a bit scary to use the Terminal at first. However, if you know what you’re doing, then you can use it to perform various tasks very quickly. For instance, you only have to write a single line of code on the Terminal window to disable Macbook keyboard.
When it comes to using the Terminal, you should always keep in mind that it is a powerful tool. You can use it to control your entire Macbook, including deleting your entire data. That’s why you shouldn’t type anything on it on your own, unless you’re 100% of what the script does.
Here’s how you can use the Terminal to disable Macbook keyboard:
- Launch the Terminal from the dock.
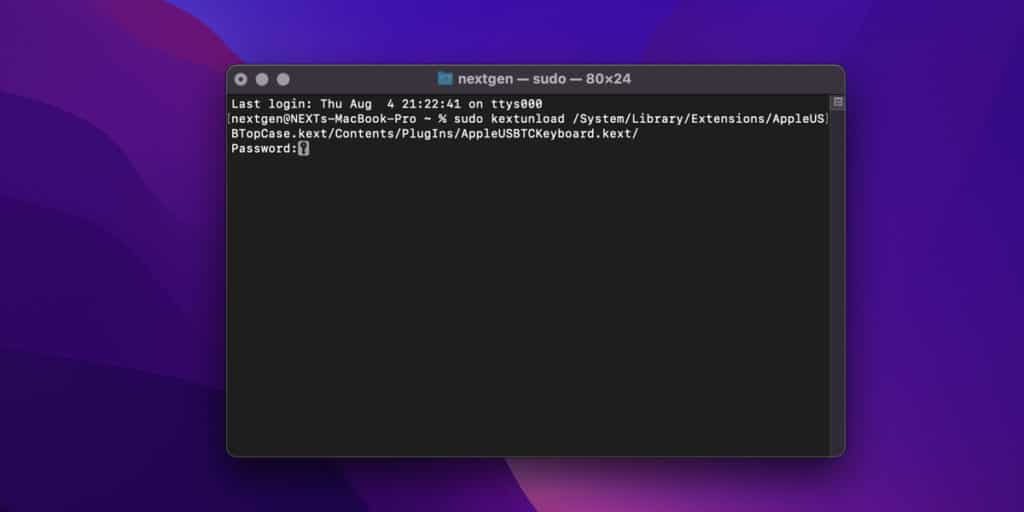
- In the Terminal window, type this command sudo kextunload /System/Library/Extensions/AppleUSBTopCase.kext/Contents/PlugIns/AppleUSBTCKeyboard.kext/ exactly as written and hit Return.
- Now macOS will ask you to enter your administrator password. Enter the password you use to login to your Mac. The Terminal window will not show you the password as you type so don’t worry about that.
- Again make sure that the command you wrote is exactly as the one we’ve mentioned. Now finally hit Return and your Macbook’s built-in keyboard will be disabled.
When it comes to enabling your keyboard, you can type the command sudo kextload /System/Library/Extensions/AppleUSBTopCase.kext/Contents/PlugIns/AppleUSBTCKeyboard.kext and press Return.
3. Using Mouse Keys
This method does not work for Macbooks running macOS Big Sur or above. So, if you are running an older version of macOS, you can use Mouse Keys to do the job. The main purpose of this feature is to assist you with a mouse or trackpad. With Mouse Keys, you can use the numeric keypad of the keyboard to move the cursor.
However, this feature can also help you prevent accidental key presses as it disables the rest of the keyboard along with the trackpad. Here’s how you can use Mouse Keys:
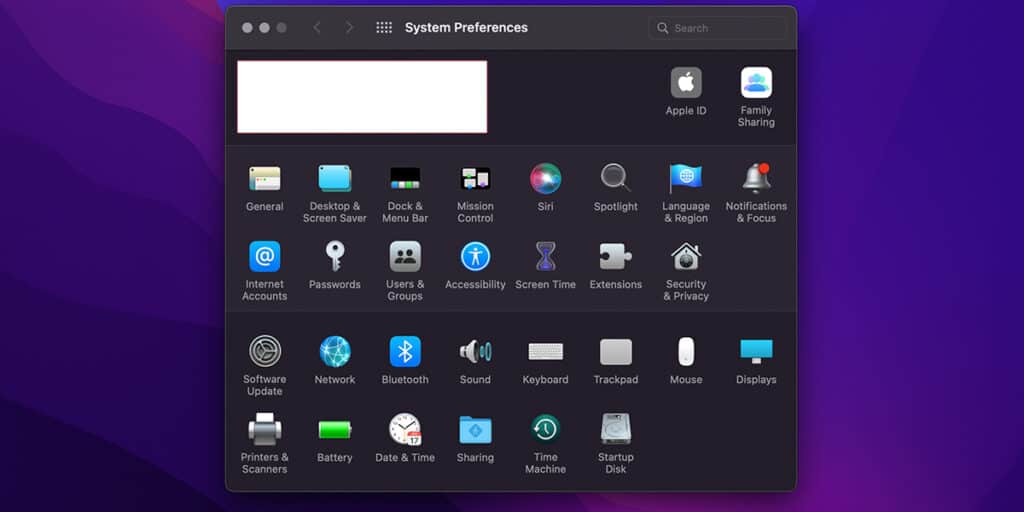
- Click on the Apple menu on the top-left corner of your screen.
- Select System Preferences from the drop-down menu.
- Head over to Universal Access. You can also search for it using the search bar.
- Once you are in the Universal Access window, click on the Mouse & Trackpad tab
- Click the On option for Mouse Keys.
- Make sure the Press the Option key five times to turn Mouse Keys on or off option is selected.
Once Mouse Keys is on, you will notice the rest of your keyboard is disabled. Remember, this method will only disable the trackpad and not the keyboard on macOS Big Sur or above.
Related:
How to Create a New User on Mac Without Admin Password
How to Modify Macbook Keyboard Using Karabiner-Elements
As we have mentioned earlier, you can do a lot with Karabiner as it allows you to map every key on your keyboard individually. For instance, you can use it to create your custom keyboard shortcuts.
But before we begin, let’s set it up first:
- First of all, launch Karabiner-Elements.
- Now click on the Open Security & Privacy System Preferences button. If you are opening it for the first time then it will appear as an alert.
- In the Security & Privacy window, allow system software access by clicking on the Allow button on the bottom-right corner of the screen.
- You will get two Keystroke Receiving alerts after you’ve allowed the kernel extension.
- Click on the Open System Preferences button on both of these alerts.
- Head over to the Security & Privacy window and click on the Privacy tab.
- Click on the lock icon on the bottom-left corner of the screen to start making changes.
- In the left-pane window, select Input Monitoring and mark the checkbox next to karabiner_grabber and karabiner_observer.
- Click on the lock icon again to prevent further changes.
After following these steps, the Keyboard Setup Assistant window might come up. Click on Continue to let it configure your keyboard layout.
1. Simple Modifications
Simple Modifications is a core feature of Karabiner-Elements that allows you to change the behavior of normal keys to others. For instance, you can make the Shift key on your Macbook function like the Caps Lock key.
Here’s how you can make Simple Modifications in Karabiner-Elements:
- In the Karabiner-Elements Preferences window, head over to the Simple Modifications tab.
- Select a Target Device. It is the device you want your key modification to work on.
- Click on the Add Item button.
- In the From key drop-down menu, select the key whose behavior you want to change.
- In the To key drop-down menu, select the key you want the From key to act as. For example, to make the Shift Key function like the Caps Lock key, select right_shift or left_shift as the From key, and caps_lock as the To key.
That’s it, now you have successfully changed the behavior of a key using Simple Modifications. You can confirm the results of your modification by using Karabiner-EventViewer — a built-in event viewer that shows you your mouse and keyboard events.
Just open it from the Launchpad and confirm the result by pressing the Shift key. You will notice the key_code says caps_lock.
2. Complex Modifications
With Complex Modifications, you can really go above and beyond with your keyboard. For instance, you can send different key events when a key is pressed once or simultaneously, and change a key to a combination of modifiers or vice versa. You can even change the behavior of your mouse keys.
In short, from auto-closing brackets and quotes to inputting alternate characters without pressing the Shift key, you can modify your keys however you want with the right set of rules and enjoy the true capabilities of Karabiner-Elements.
If you’re new to Karabiner-Elements, then instead of creating rules, you should import them from a pre-built rules library and change them around to suit your purpose. Here’s how:
- In the Karabiner-Elements Preferences window, head over to the Complex Modifications tab.
- Click on the Add rule button, and then click Import more rules from the internet in the new window. Your default browser will take you to the official rules site.
- Look around and select a rule that fits your requirement. Click on the Import button next to it.
- Click Allow on the confirmation dialog.
- The rule will open in Karabiner-Elements, click on the Import button to add it to your library.
- Finally, look for the Enable button next to the newly imported rule and click on it.
3. Function Keys
With function keys, you can perform various operations on your Macbook. However, many of these keys will remain unused for most of the time. Instead of letting these unused keys eat the dust, you can remap them to get the most out of your keyboard.
- In the Karabiner-Elements Preferences window, head over to the Simple Modifications tab.
- Select a Target Device. It is the device you want your function key modification to work on.
- Select the behavior of the key by choosing it from the drop-down menu next to the Physical key.
- You can also mark the Use all F1, F2, etc. keys as standard function keys checkbox if you want to press the Fn key to use the special features.
That’s it, now you have successfully remapped the unused function keys to the behavior of your choice.