
Screenshots take up a lot of space and deleting them can be a nightmare when you’ve saved them in numerous places.
Deleting the screenshots on Mac is as easy as a walk in the park. All you need to do is drag and drop the screenshot to the Trash and it’s done.
Apart from this, there are some methods that tell you how to delete screenshots on Mac which we’ll be discussing in this guide. So, let’s start.
How to Delete Screenshots on Mac?
While an individual screenshot file isn’t large, together they can consume gigabytes of your disk memory. Therefore, deleting them regularly is the best solution. Here’s how you can delete screenshots on Mac through various methods.
1. Via Drag and Drop Option
Deleting the screenshots on Mac through the drag and drop option is as easy as it sounds. Here’s how you can do it.
- Select the screenshot that you want to delete.
- Drag and drop it in the trash.
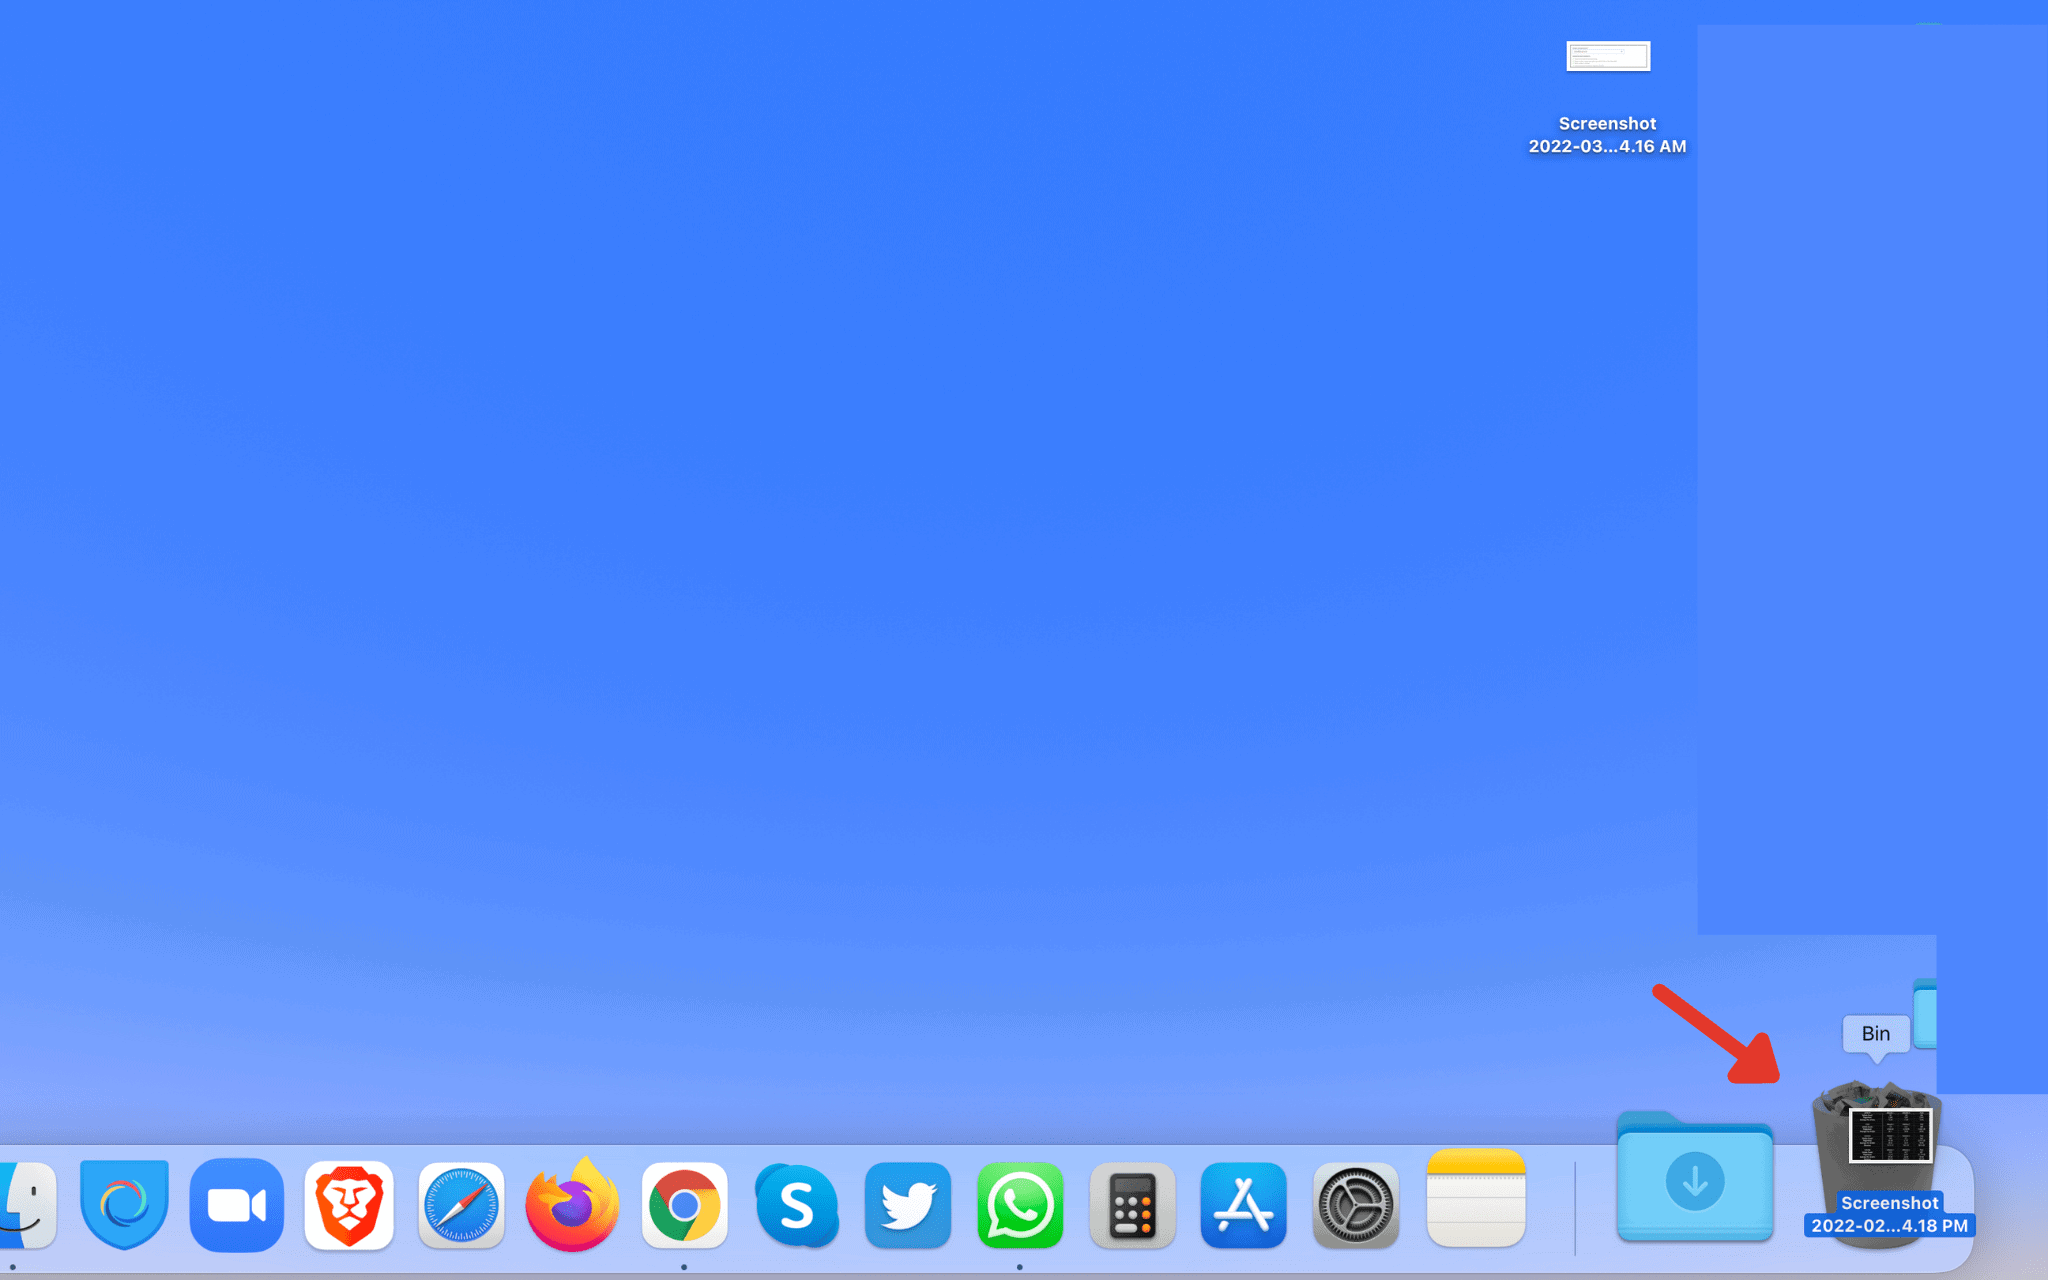
- The screenshot will now be deleted from your Mac.
2. Via Finder Menu
Let’s find out how to delete screenshots on Mac with the help of the Finder menu.
- Open the Finder menu and click on the magnifier icon.
- Check the box next to the screenshots you want to delete.
- Click Select All to delete all the screenshots on your laptop.
- Click the Review and Remove button.
- Skim the screenshots that need to be deleted and click the Remove button.
- The selected screenshots will now be deleted.
3. Via Cleaner App
You can also download the Cleaner-App software tool to get rid of unwanted screenshots on your laptops. Here’s how to delete screenshots on Mac through the Cleaner-App.
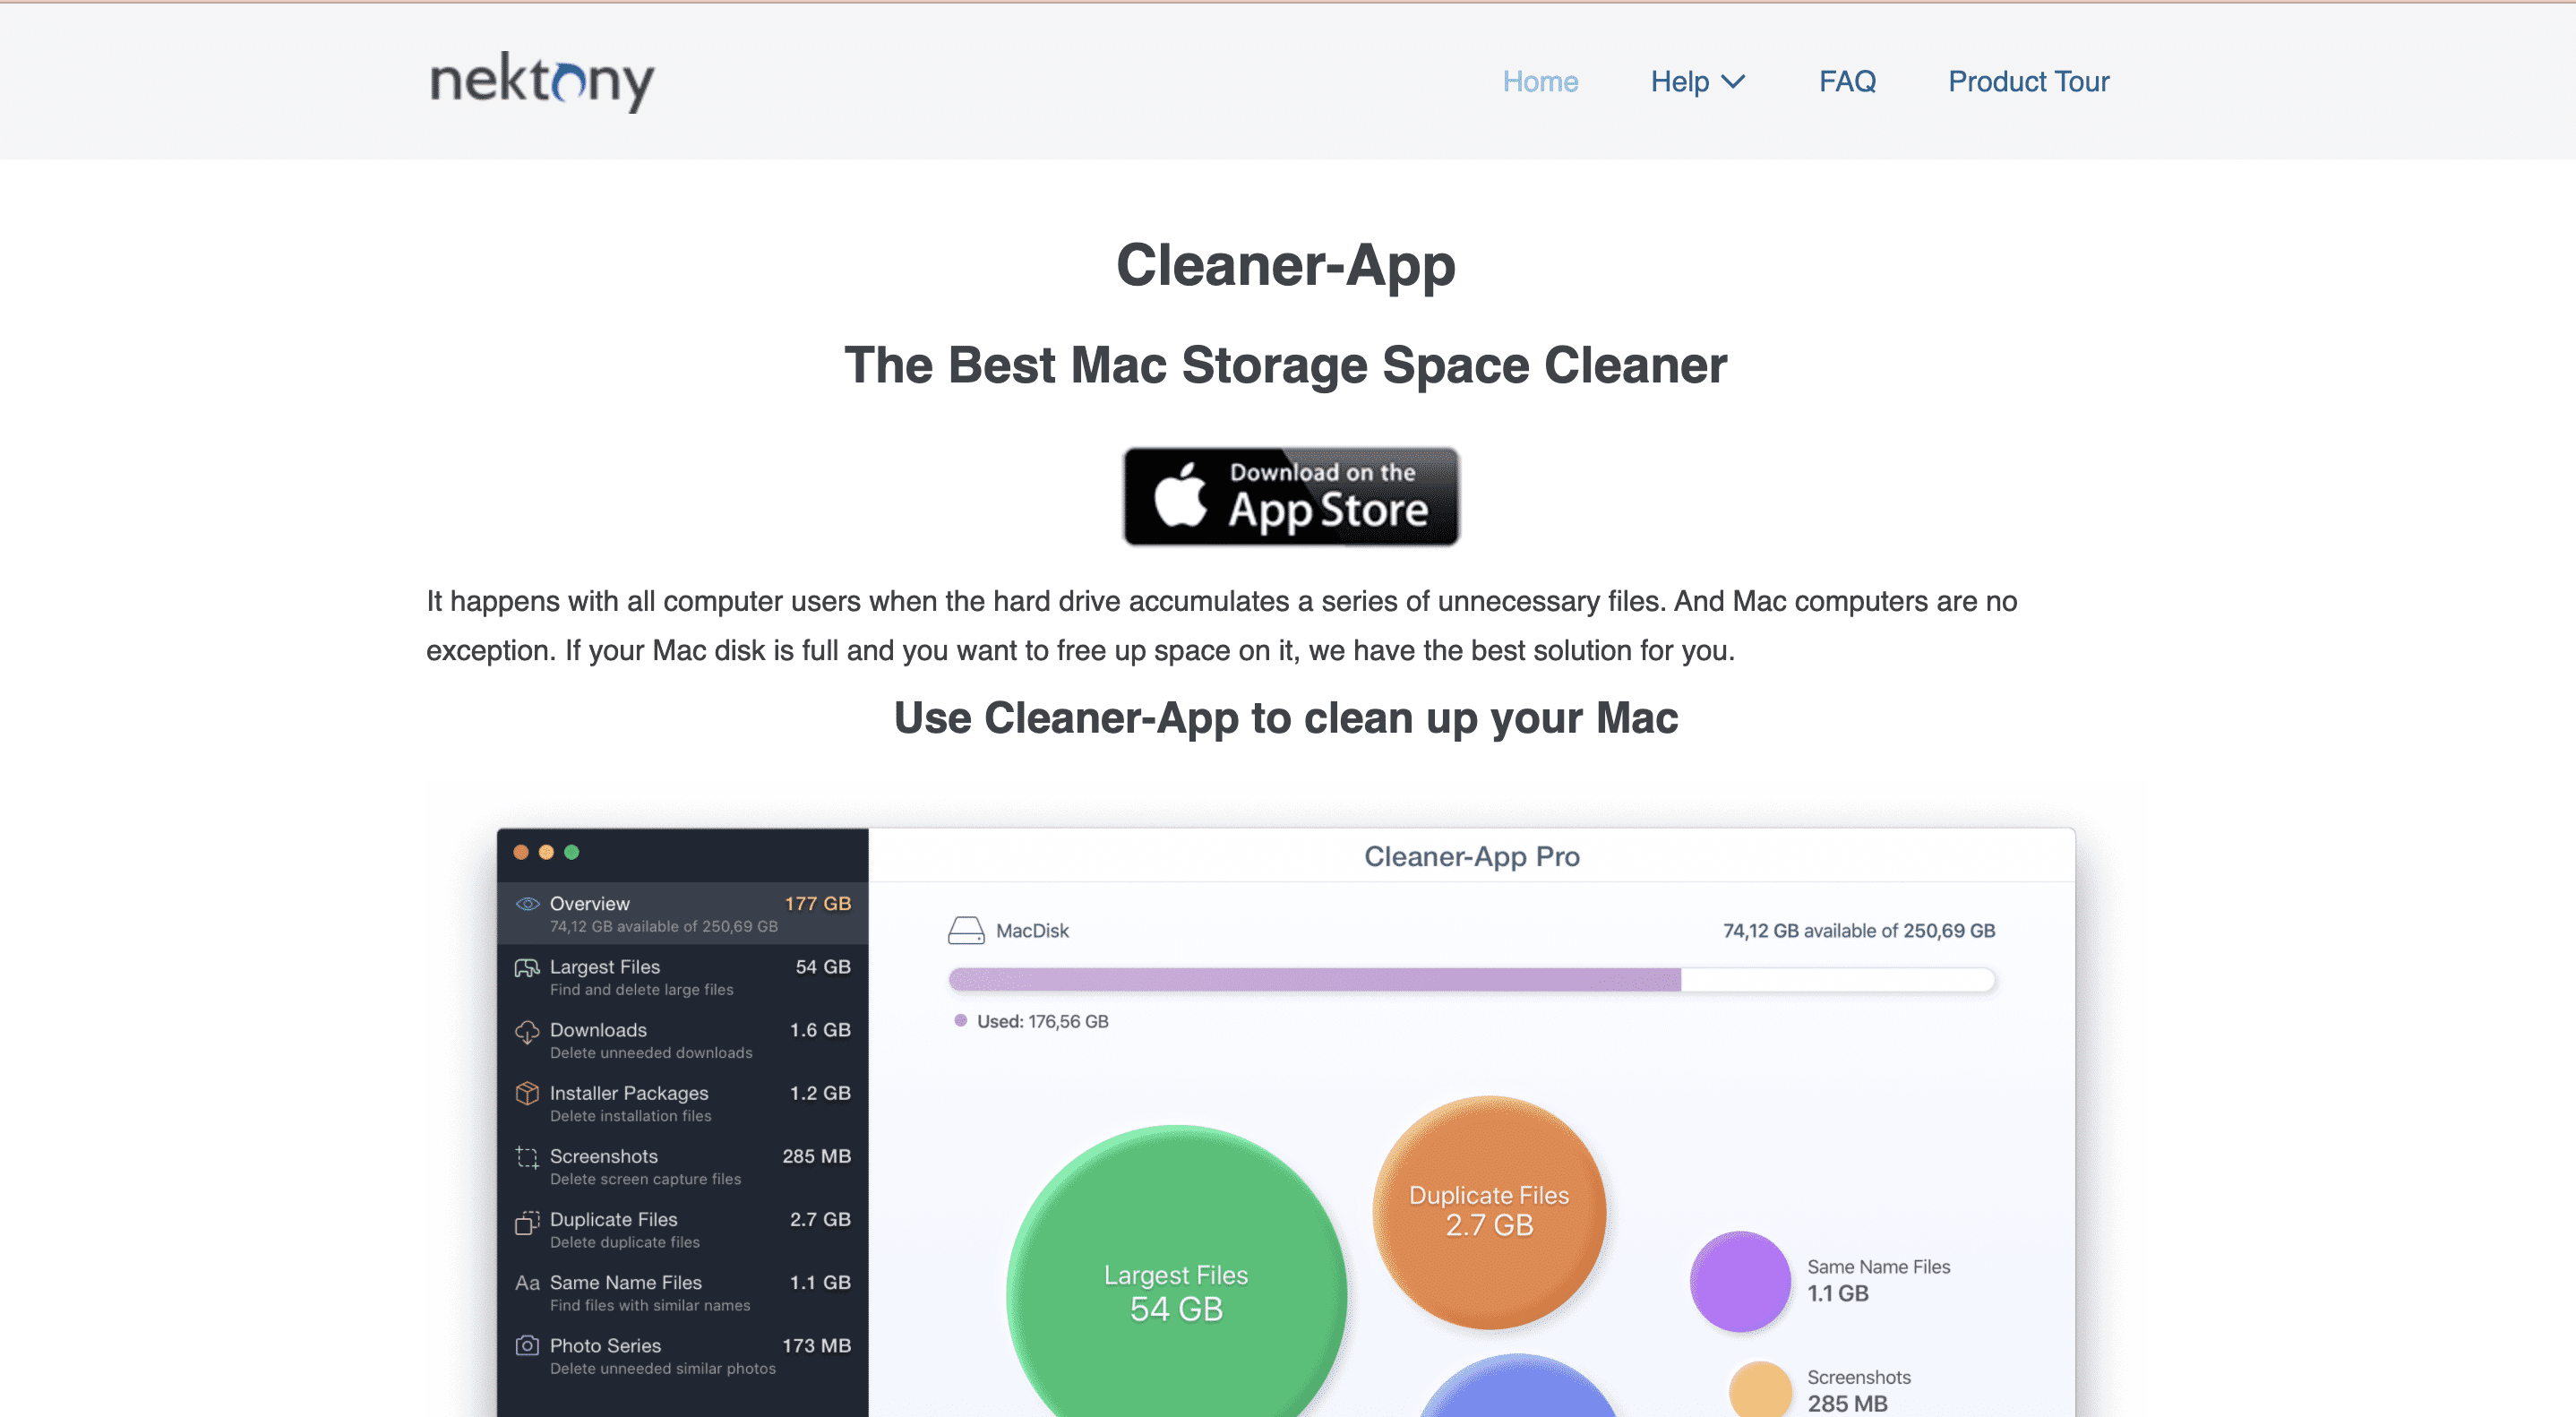
- Launch the Cleaner-App on your MacBook.
- Go to the Screenshots section. You can also sort the screenshots by size, name, or data.
- Select the unnecessary screenshots that you want to delete.
- You can also click Select All if you want to delete all the screenshots.
- Click the Review and Remove button.
- Skim the screenshots that you want to be deleted.
- Click Remove.
Where Do Screenshots Go on a Mac?
By default, the screenshots that you capture on your Mac go to the Desktop with the name Screenshot (date) at (time).png. However, in Mojave or later macOS, you can change the default location of the saved screenshots by going to the Options menu in the Screenshot app. What’s more, there is also an option to drag the thumbnail to a document or a folder.
Related:
How to Delete Music Creation from Mac
How to Edit a Screenshot on Mac?
There are several ways to edit a screenshot on a MacBook. Some of them are mentioned below.
1. Via Screen Utility App
If you want to edit the screenshots with the Screen Utility App, you must select this option in advance. Here’s how to edit the screenshots.
- Open the Screenshot app.
- Go to Options and choose Show Floating Thumbnails. With this option turned on, you will see a small thumbnail in the right corner of the screen the next time you take a screenshot.
- Click the thumbnail to edit, crop, or rotate the screenshot.
- Click Done once you are finished.
2. Via Preview App
You can also edit your screenshot through the Preview App with the help of the following steps.
- Control-click the screenshot. It will be opened in the Preview App by default.
- You can now edit, rename, or share the screenshot.
- Close the window once you’re done.
How to Change the Default Screenshot File Format in Mac?
The default format for screenshots on macOS is .PNG. However, you can change the default format of the screenshots on Mac with the help of the following methods.
1. Via Preview App
The instructions to change the default screenshot file format in Mac vie Preview App are mentioned below.
- Open the screenshot in the Preview app.
- Click File at the top menu bar.
- Choose Export and convert the PNG format screenshot to your desired format.
2. Via Terminal Utility App
The Terminal Utility app lets the users change the default screenshot file format with the help of the following steps.
- Press Command + Space simultaneously to open Spotlight.
- Type Terminal in the search bar and hit Enter.
- Type defaults write com.apple.screencapture type followed by the file format you want to select. Your current options are JPG, PDF, GIF, PNG, and TIFF.
- Click Enter.
- Restart your MacBook and the screenshots will now appear in the format that you’ve selected.
How to Set Up a Custom Directory for the Screenshots?
Finding the screenshots might become difficult when you have dozens of files on your desktop. So, creating a dedicated directory is the best possible solution for all your current and future screenshots. Let’s find out how to create a custom directory below.
- Create a folder where you want to save all the current and future screenshots.
- Move all your saved screenshots to the new folder.
- You can also drag the folder into the Finder sidebar and add it to your favorites. This will help you reach the folder quicker.
- Press cmd + spacebar simultaneously to open Spotlight Search.
- Type Terminal in the search bar and hit Enter.
- Type defaults write com.apple.screencapture location.
- Drag and drop the Screenshots folder that you’ve previously created into the window.
- Press Enter to confirm.
- All new screenshots saved to the custom directory.
How to Permanently Delete Screenshots on Mac?
Deleting the screenshots from the main folder isn’t enough. You need to delete it from your laptop to free up space permanently. Here’s how to delete screenshots on Mac permanently.
- Go to the trash icon visible in the Dock on your Mac and click on it.
- This will open the Trash Bin on your MacBook.
- Click the Empty Bin option.
- This will clear your bin and delete screenshots on mac permanently.
Related:
How to Change Printer Settings on Mac