
Keeping the Photos Library updated to its newest version will help you catch up on the latest features and get rid of bugs and glitches. If you have no idea how to get the latest version of Photo Library, worry not because we have got your back.
Let’s first discover how to update photo library on Mac, and then move on to why you should do so. We will also talk about some incredibly amazing tips to repair and restore it and much more.
How to Update Photo Library on Mac
It is important to keep the Photos app updated to the latest version on your Mac. The latest versions are a part of the software updates of your system. In short, if there is any new version of the Photos app available, it will download automatically when you update your Mac.
Below is a short guideline on how to update your Mac:
- Launch the Apple Menu on your Mac.
- Click on System Preferences.
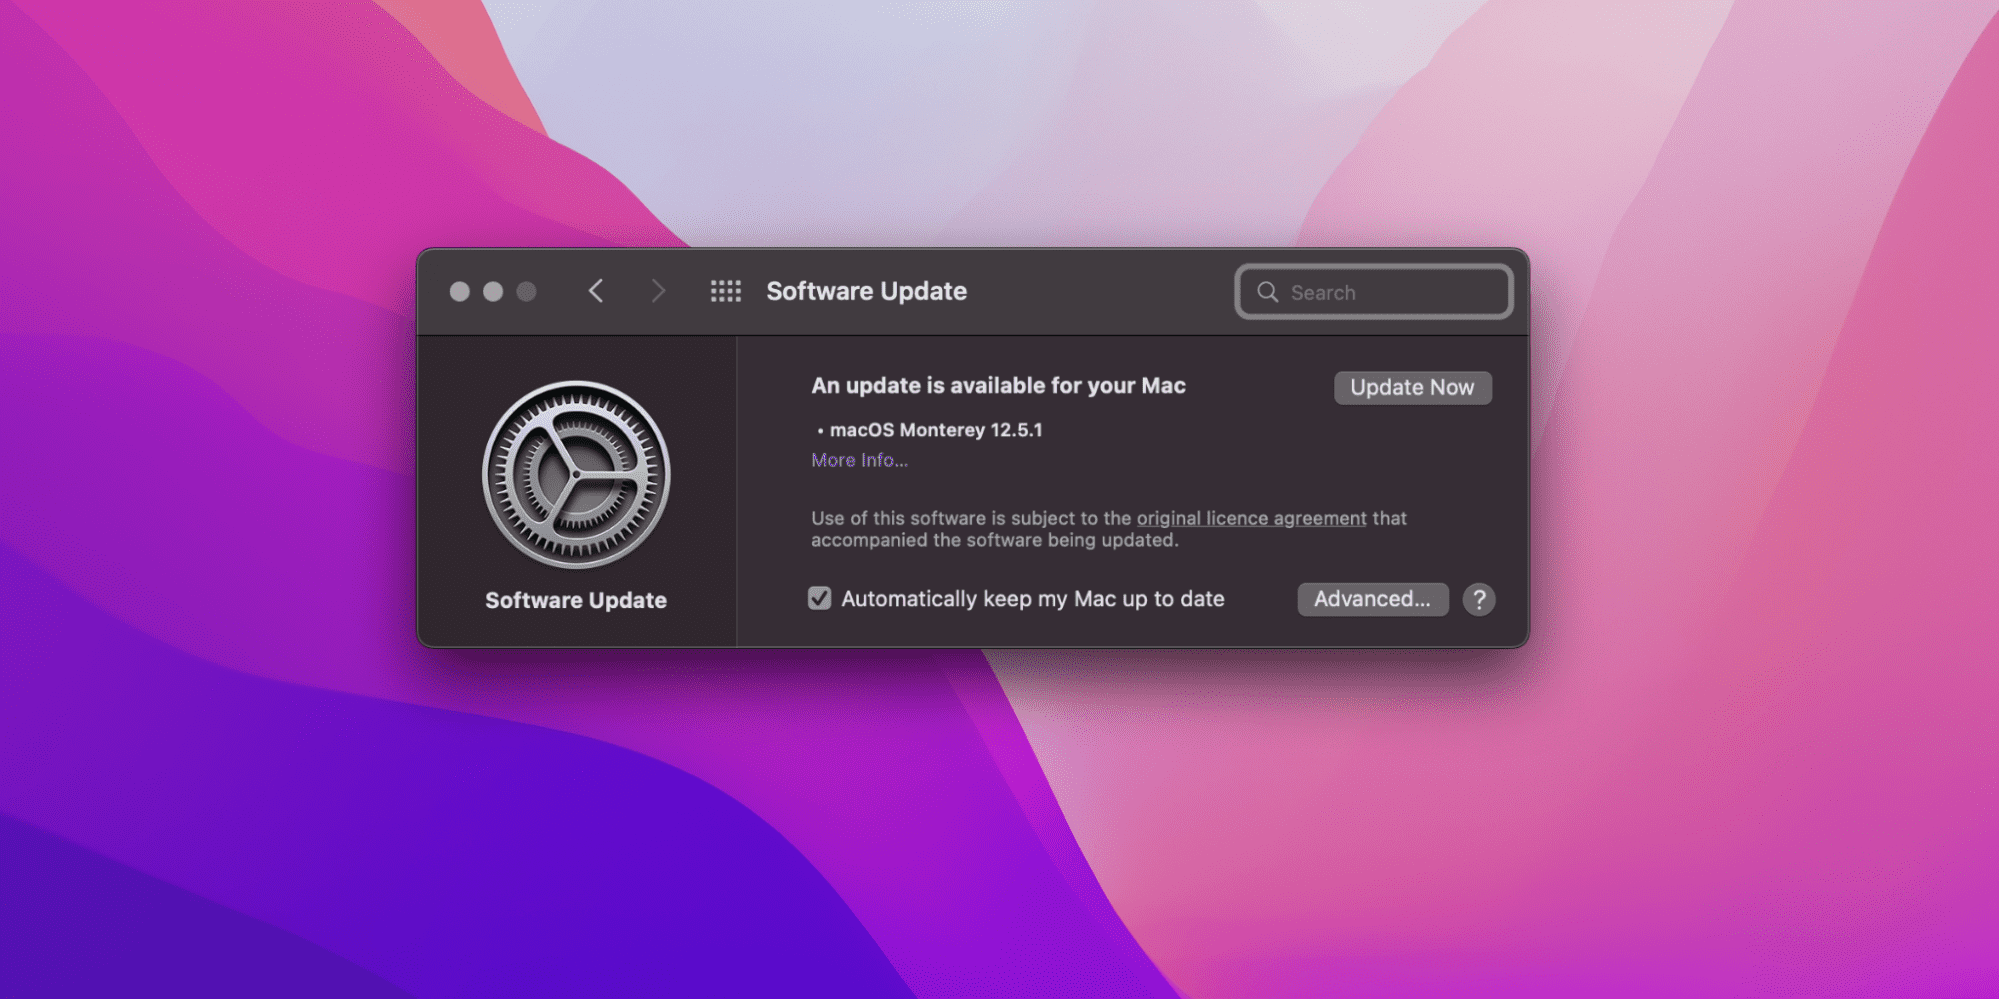
- Select the Software Update option.
- If there is any new software update available, it will show up on that window.
- Click on the Update Now option.
You are all caught up now and can enjoy the latest version of Photos for Mac. Currently, the latest Photos version on macOS is 7.0.
Why Should You Update Photo Library on Mac
Each new Photo Library update comes with better features, management, and synchronization with other apps and offers much more than the previous versions. To answer why you should update photo library on Mac, we have listed a few reasons.
- When you update the Photos app, it ensures there are no bugs in the app, and the app works smoothly.
- Updating the Photos app also ensures seamless iCloud synchronization. This means that whatever device you use to take a photo, the photo automatically uploads to iCloud, and you can access the picture with any other device that uses the same iCloud ID.
- The newer Photo app versions will also allow you to hide duplicate photos using its intelligent algorithm.
Related:
How to Open Pub Files on Mac
Why Is the Photos App Not Updating on Mac
There might be a variety of reasons why the Photo app is not updating on Mac. These include:
- Less space on your system.
- Bad or no internet connection on your device.
- Apple ID not logged in.
- Bugs and glitches.
Wondering how to solve these issues? Let’s move forward to fixing them.
9 Ways to Fix iCloud Photos Not Syncing on Mac
If your iCloud photos are no longer syncing to Mac due to glitches, library corruption, incorrect configuration settings, or any unknown reason, we have got you covered. Whatever the reason may be, below are a few solutions to help you fix it.
1. Use the Same Apple ID
Sign in to your Mac with the same ID as the one on the devices you want to sync with. You can find out your Apple ID in the System Preferences. If you want to change the Apple ID, simply log out from there and sign in with the desired Apple ID.
2. Reactivate iCloud Photos
You can disable and again enable your iCloud in the Preferences option from the menu bar in your Photos app. After you reactivate iCloud Photos, restart your system and check if the problem has disappeared.
3. Fix the Server Issues
The syncing problem might also be a result of any issue on the server side. You can look over it by checking the status on Apple’s System Status page. In case of any issue, you will have to wait until Apple resolves it.
4. Activate iCloud on Mac
The issue might be simply because you haven’t activated iCloud on your Mac. You can connect the iCloud by following the steps below:
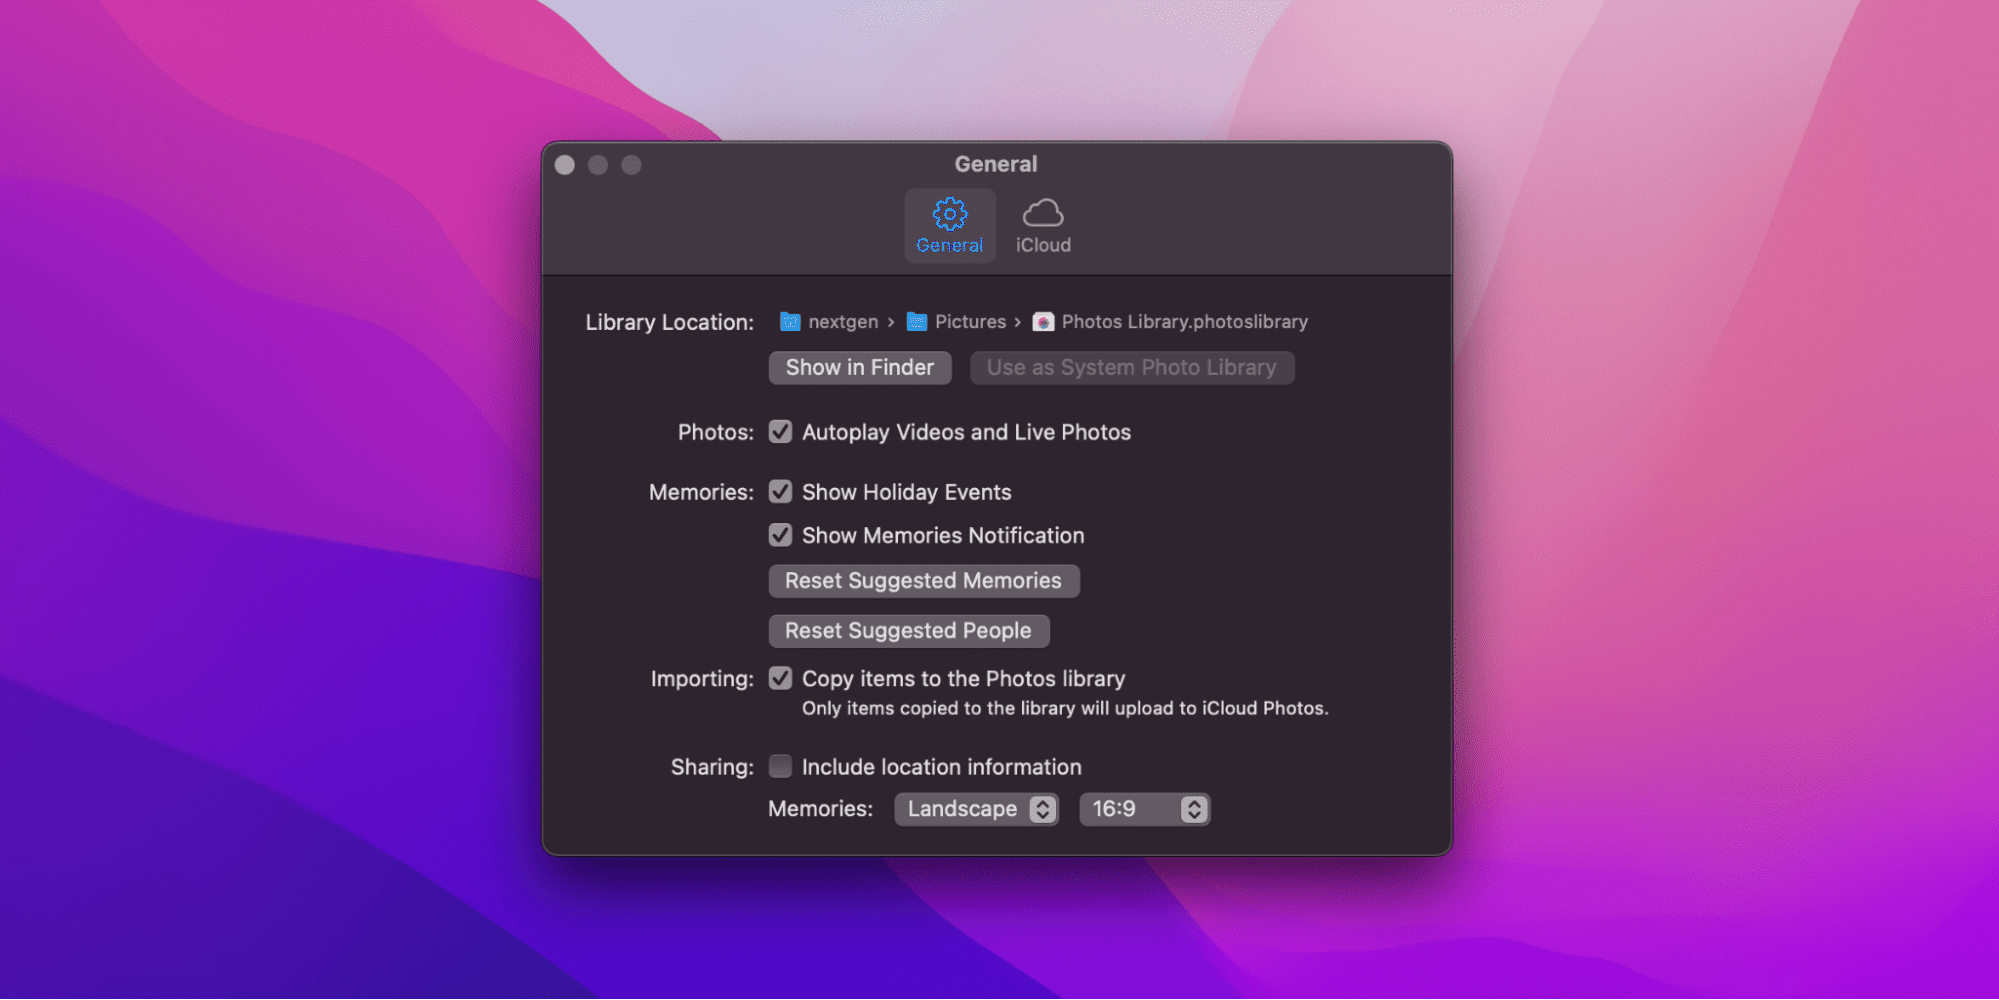
- Launch the Photos app.
- Select Photos.
- Click on the Preferences option on the menu bar.
- On the iCloud tab, check the box next to Cloud Photos.
- Choose from the option you need.
Related:
How to Access iPod Files Without iTunes on Windows 10
5. Reboot the System
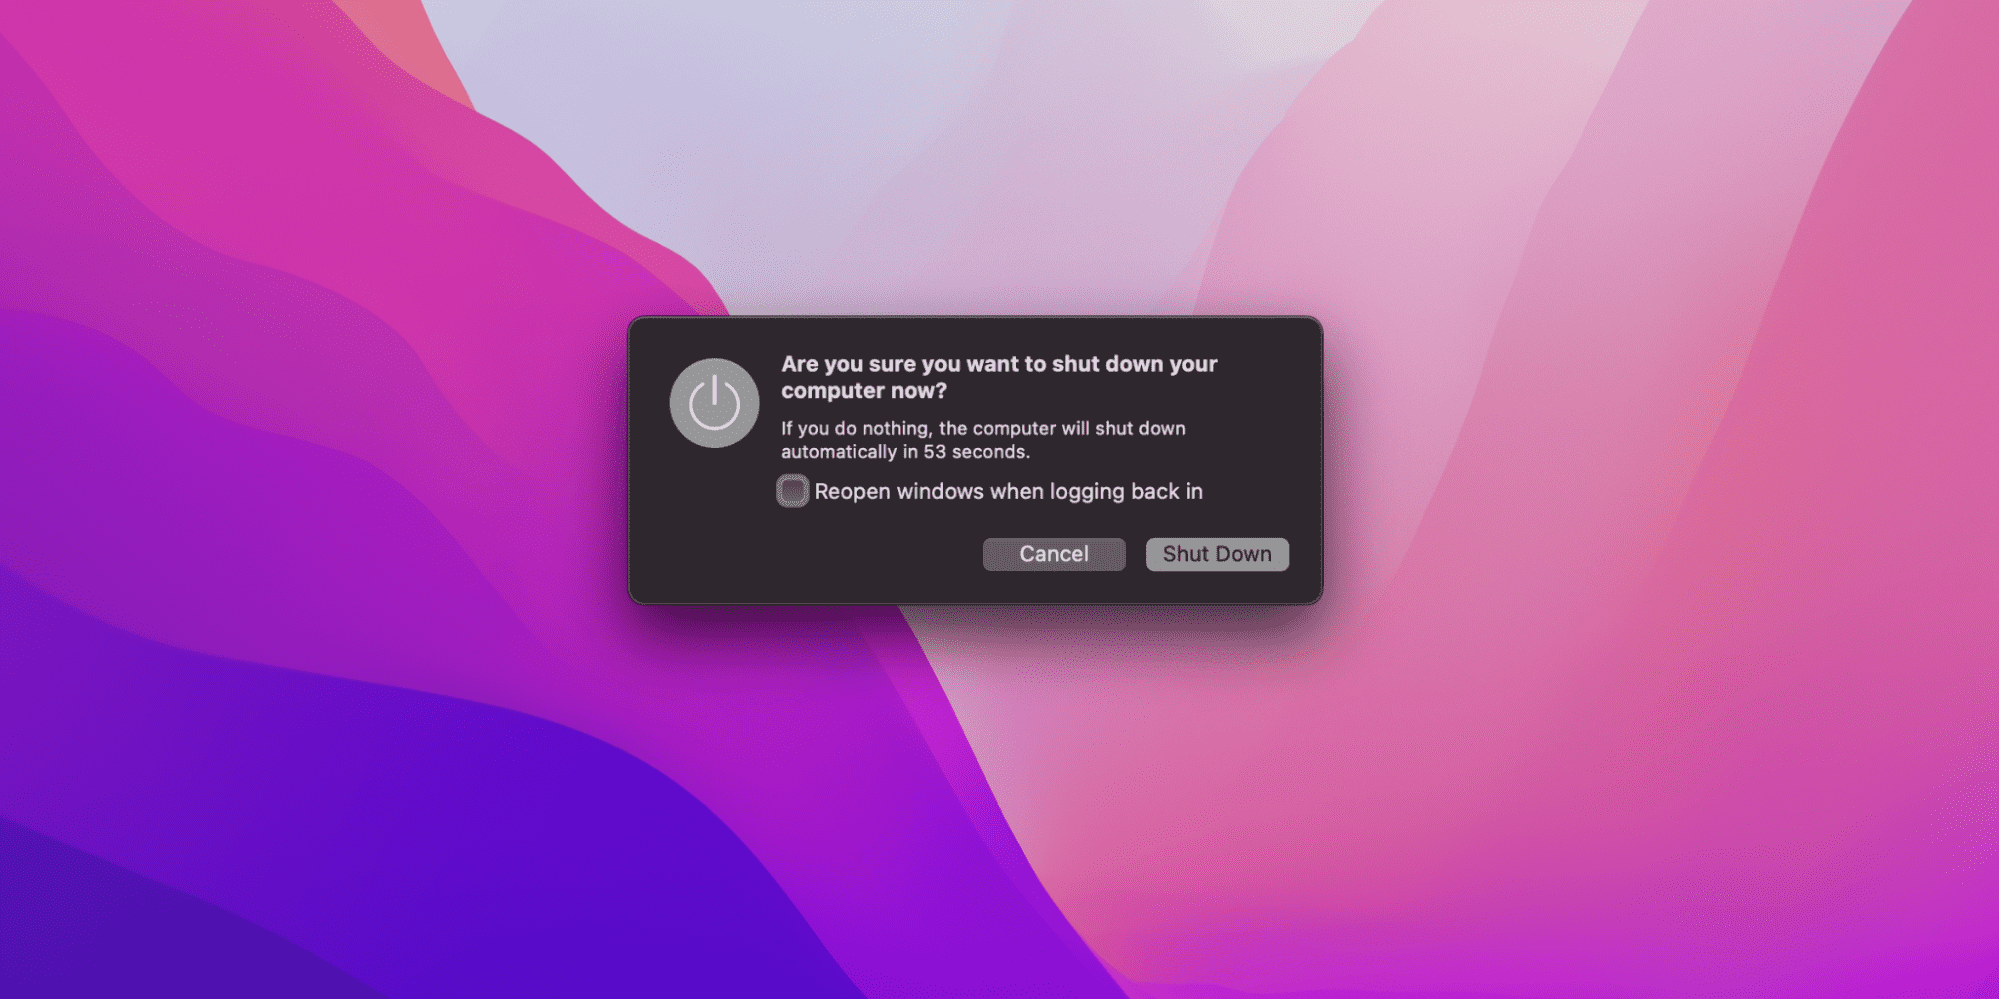
f the issue persists, try restarting your Mac. Rebooting it fixes many app-related and network-related issues. But before you restart, uncheck Reopen windows when logging back in.
6. Free Up Space on Mac
Another common reason is that your Mac might be running low on storage. In such a scenario, simply free some space by following the steps below:
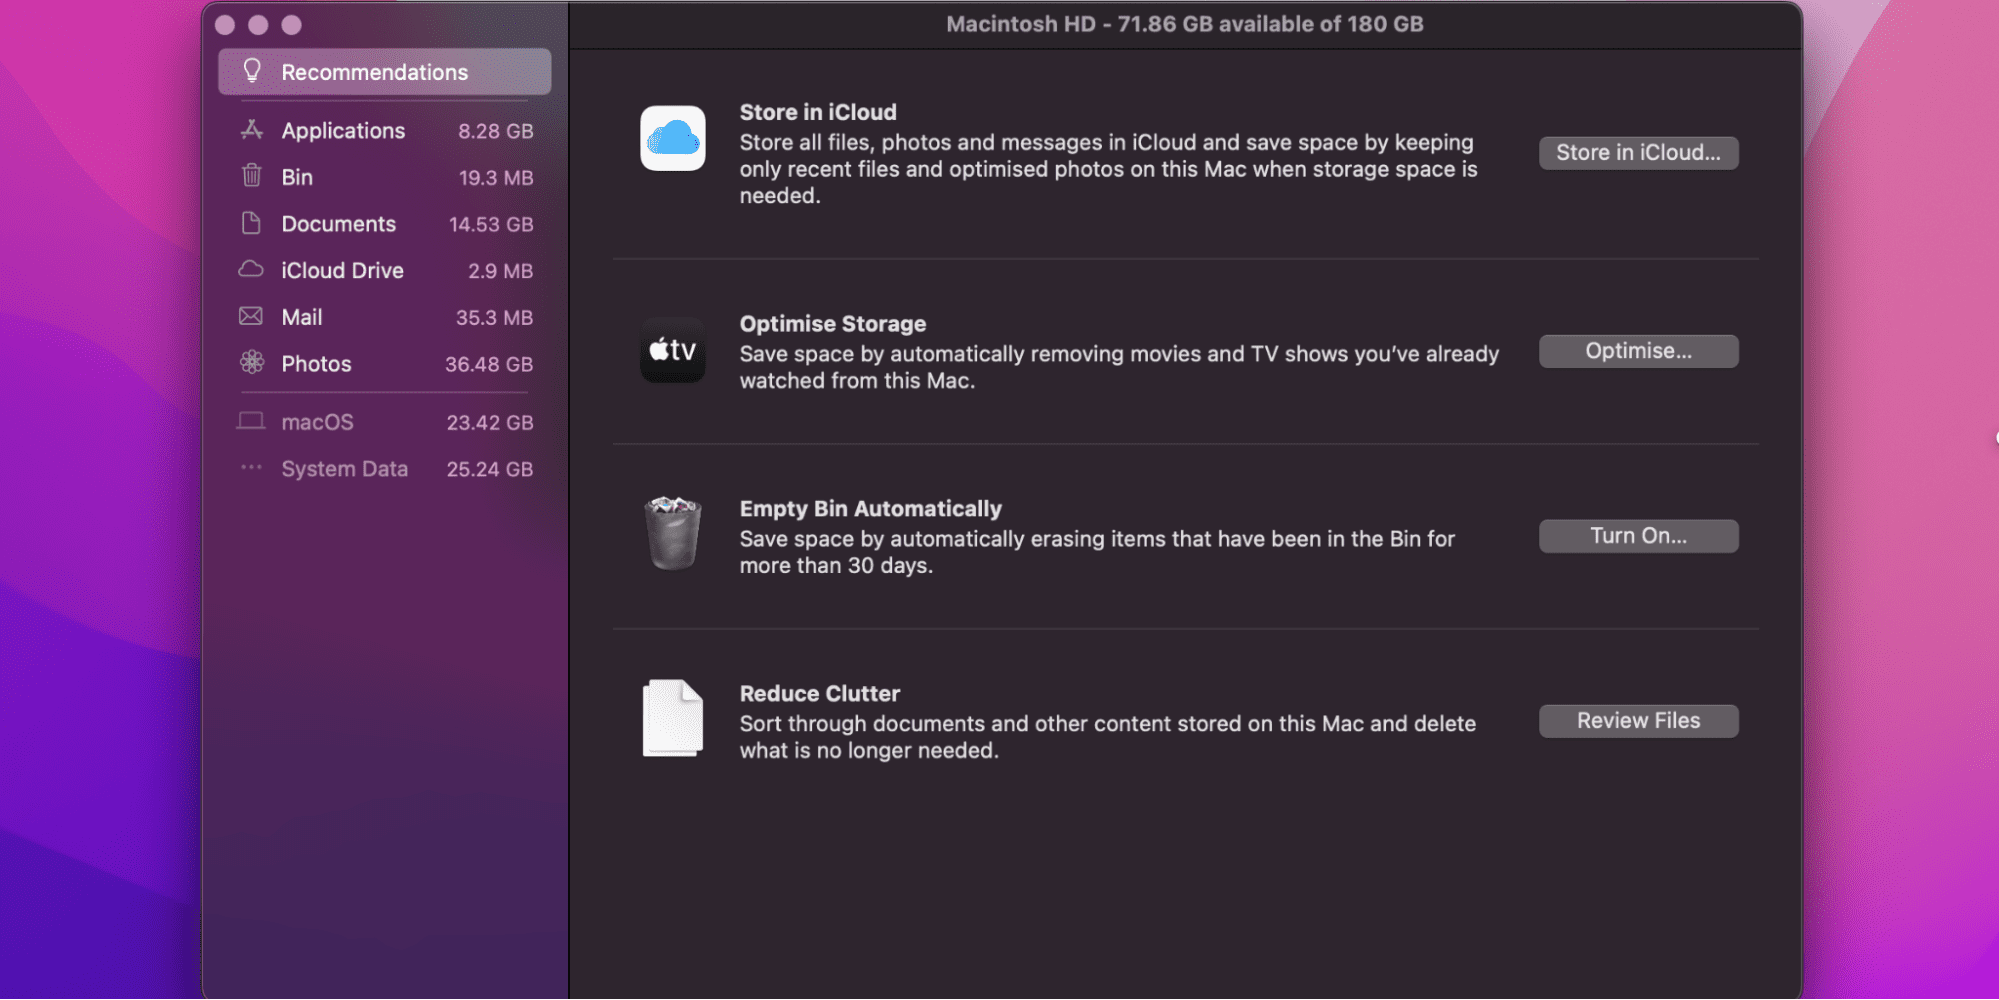
- Open the Apple Menu.
- Select the About This Mac option.
- Click on Storage.
- Click on Manage.
Freeing up space might allow your photos to start syncing again.
7. Update Operating System
Updating the operating system of your Mac to its latest version will help you get rid of a lot of glitches and bugs. If the iCloud photos are not syncing, then there is a good chance updating your operating system can fix it.
Follow the steps we have discussed above to update your Mac.
8. Delete the Sync Index
Another fix to iCloud photos not syncing is deleting the index files that hold the app’s sync data. Here is the step-by-step procedure to do so:
- Close the Photos app.
- Launch the Finder
- Select the file that has your photo library.
- Control-click it.
- Choose the Show Package Contents option.
- Navigate to the resources folder.
- Click on CPL and then select CloudSync.noindex
- Delete all the files within the selected folder
- Open the Photos app again.
Related:
How to Delete Screenshots on Mac
9. Force Quit Photos App
If none of the above solutions help fix the syncing issue, then you can simply try force quitting the Photos app. This may not be the best solution, but sometimes, Mac stops syncing for no reason, which can be fixed by force quitting the app.
Here is how you can force quit the Photos app
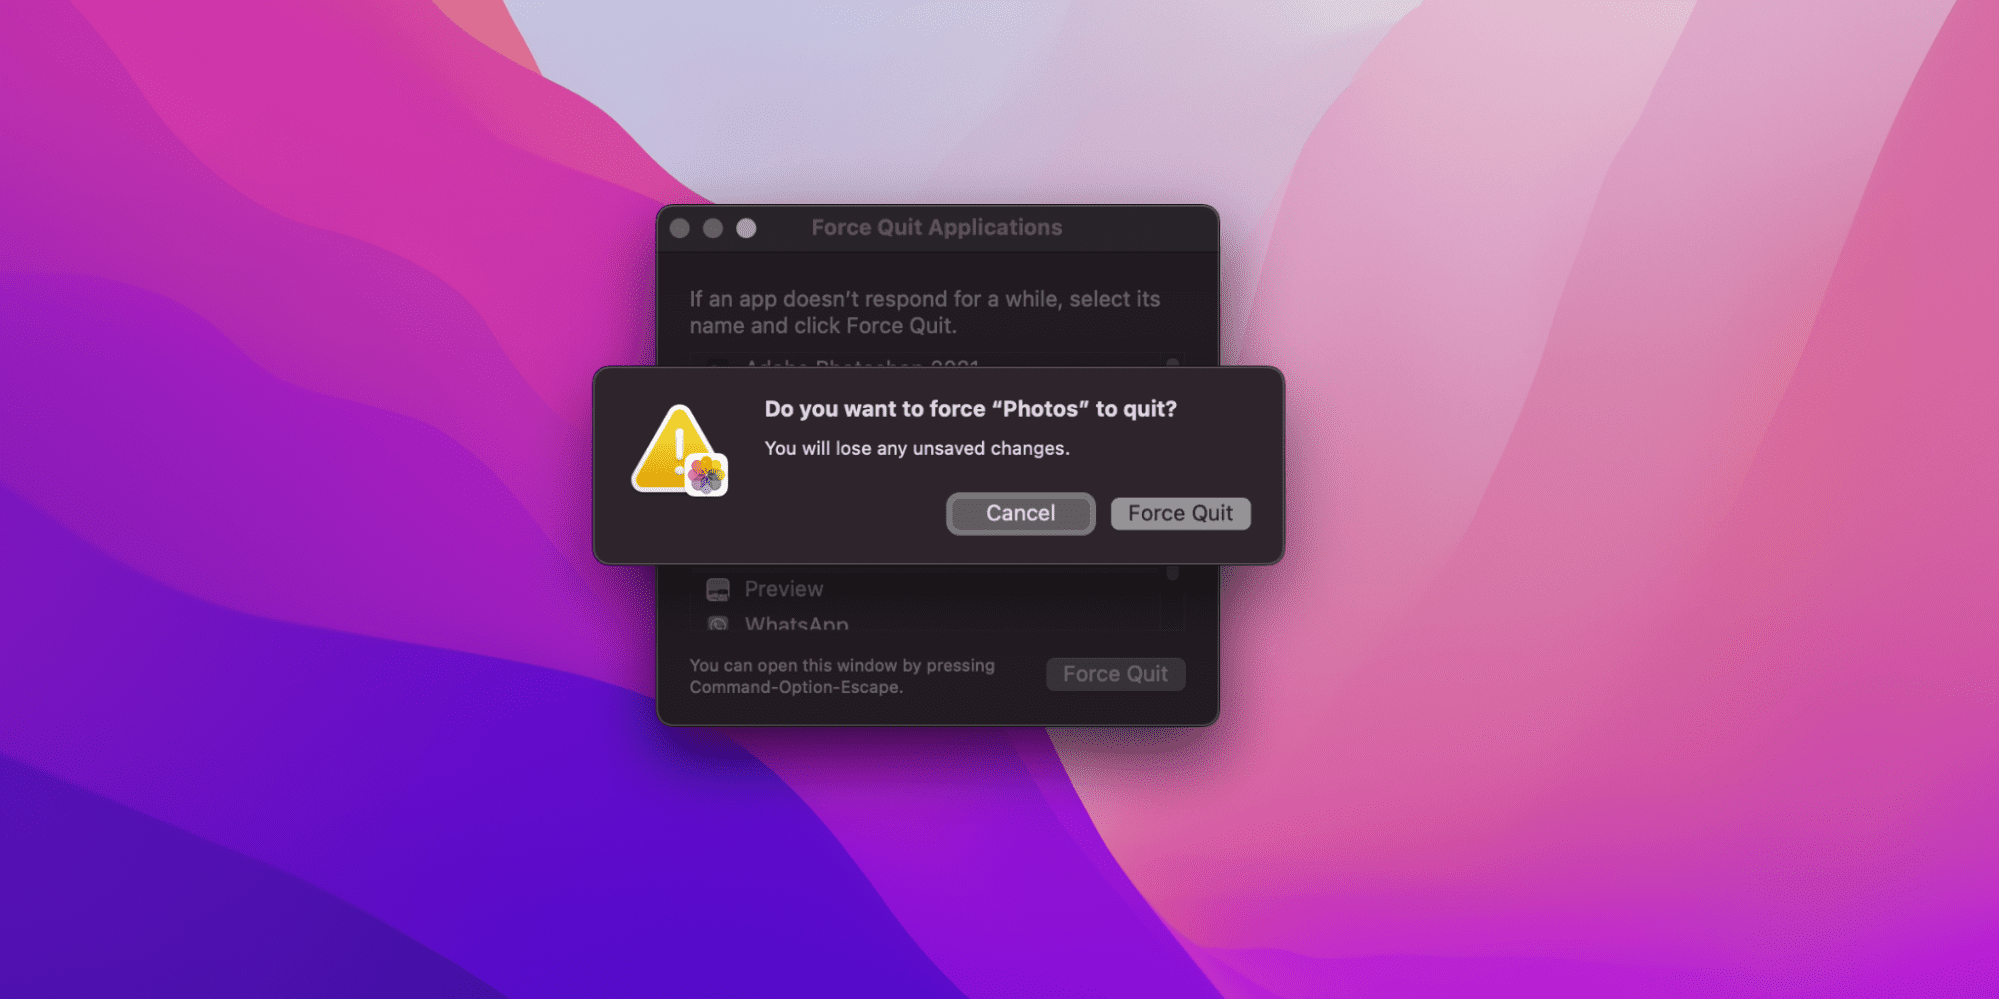
- Launch the Apple Menu.
- Click on Force Quit.
- Click on Photos.
- Click on Force Quit.
- Open the Photos app again.
It is a simple procedure, and it is likely that when you open the Photos app again, the data will start syncing.
How to Repair the Library on Photos App
If you face problems with your photos in the photo library, you should try repairing them. Here is a step-by-step procedure on how you can repair the photos app on your Mac:
- Back up your photo library to avoid losing your data.
- If you have opened the Photos on your Mac, click on Photos and then select Quit Photos.
- Press the Option + Command keys.
- Double-click on the Photos app in the Application folder.
- Click on the Repair option in the Repair Library window. Doing so will rebuild your photo library.
Are you still facing issues with your photos despite repairing them? Restoring your library from a Time Machine will definitely help you. Let’s discover how.
How to Restore the Library from Time Machine
Time Machine backup works wonders in recovering missing or corrupt photos from the Photo Library. Below are the steps to recover a Photo Library:
- If you have opened the Photos app, click on Photos and then select the Quit Photos option.
- Launch the Apple Menu.
- Click on System Preferences.
- Select Time Machine.
- Click on Enter Time Machine.
- Click on the backup you want to restore.
- Navigate to the backup of the photo library and select it.
- Click on the Restore option.
Once the process completes, you will be able to see all the photos in the Photos app on your Mac. Remember not to store the Photo Library on a shared network. Else, the app will not run properly, and it can even cause data loss in the worst-case scenario.