
Adobe Lightroom is a great software that helps you with photo management and editing. It is in almost every photographer’s toolbox and they rely on it to streamline their workflow.
However, you may want to uninstall Adobe Lightroom on mac to make some more space on your Mac’s storage, or maybe you just want to use a different photo editing software. Well, whatever your reason might be, worry not because this blog covers a detailed guide on how to uninstall Adobe Lightroom on Mac.
We will also walk you through several ways to permanently remove its residual cache files which can take up your Mac’s storage.
3 Ways to Uninstall Adobe Lightroom on Mac
There are three ways to uninstall Adobe Lightroom on Mac, but before you proceed with either one of them, make sure that Adobe Lightroom is not running.
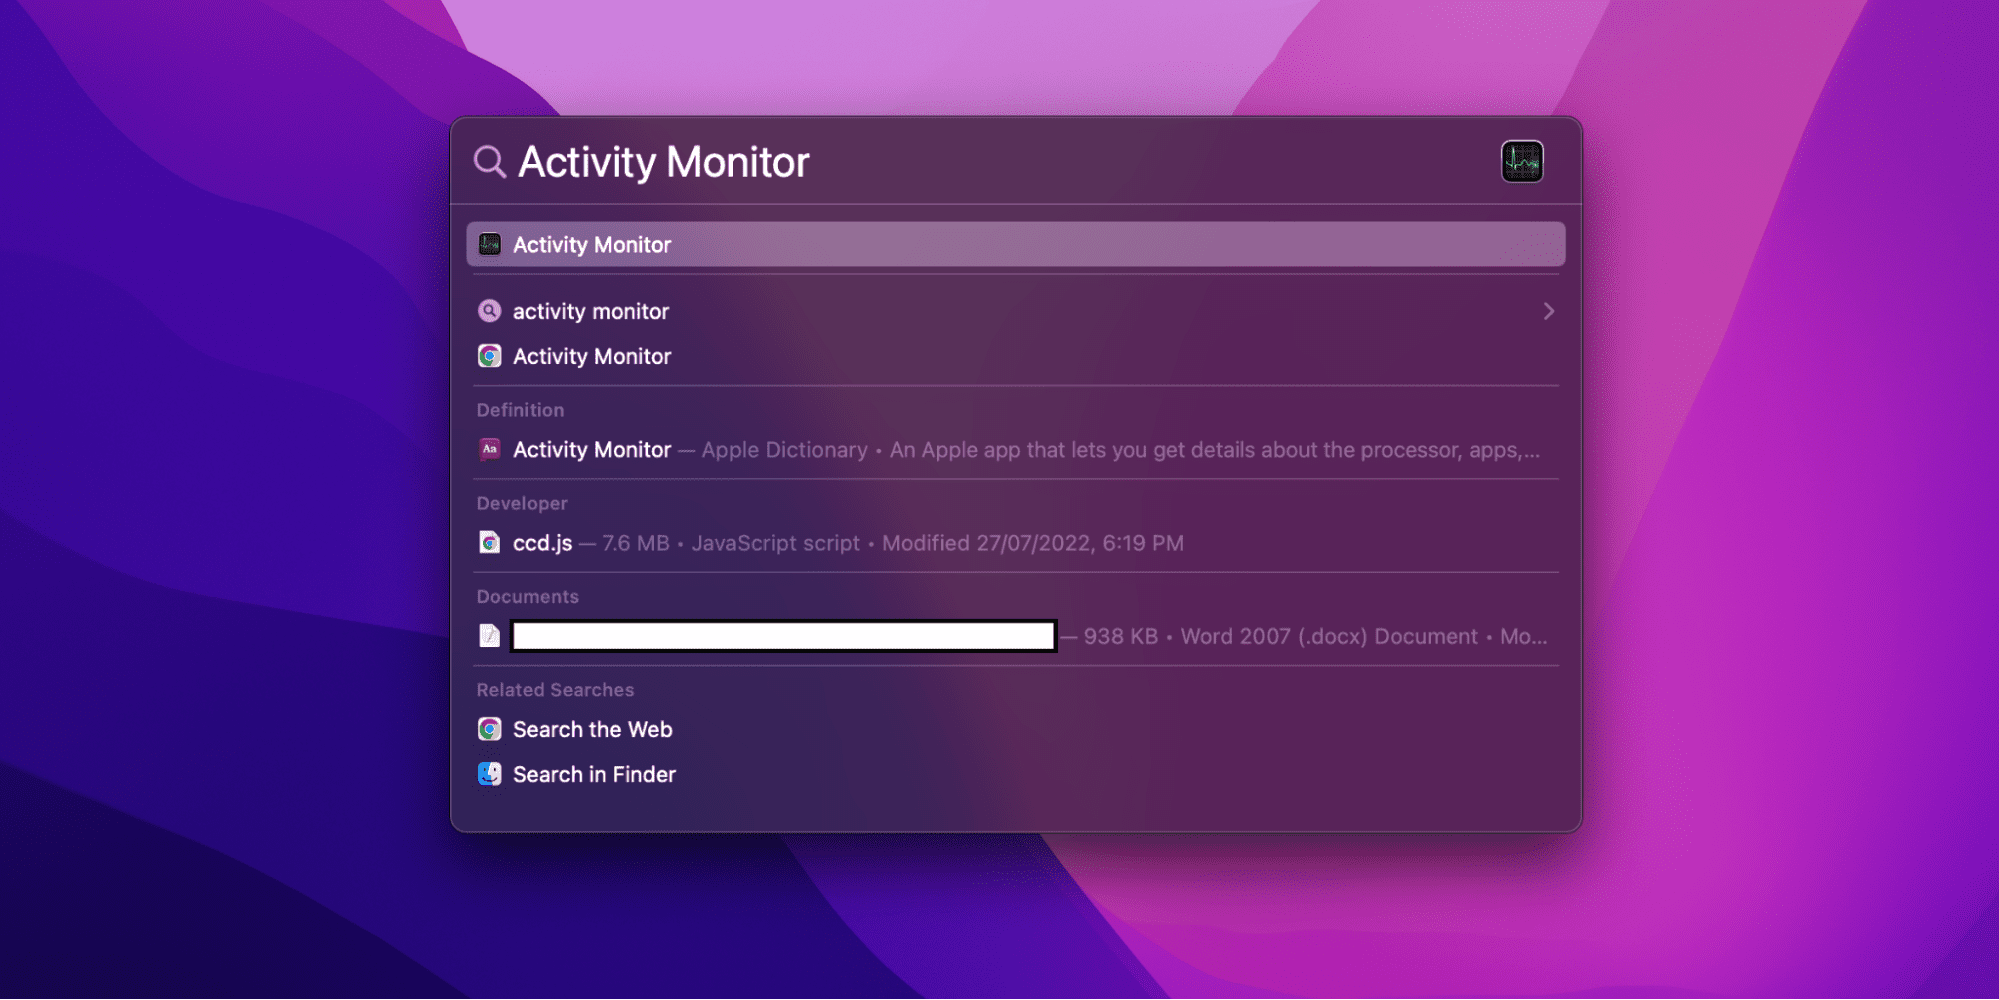
- Press Command + Spacebar to bring up Spotlight, now search and open Activity Monitor.
- At the top of the window, select All Processes from the drop-down menu.
- Now look for process(es) associated with Lightroom. Select them and click on Quit Process.
- Click Quit in the pop-up dialog box.
You can also press Command + Option + Escape and select Lightroom to Force Quit if it is not responding.
1. Using the Built-In Installer
Some editions of Lightroom come with a built-in uninstaller. Here’s how you can use it to uninstall the software:
- Launch the Finder app from the Dock.
- In the Finder window, click on Applications on the sidebar.
- Look for and click on the Utilities folder.
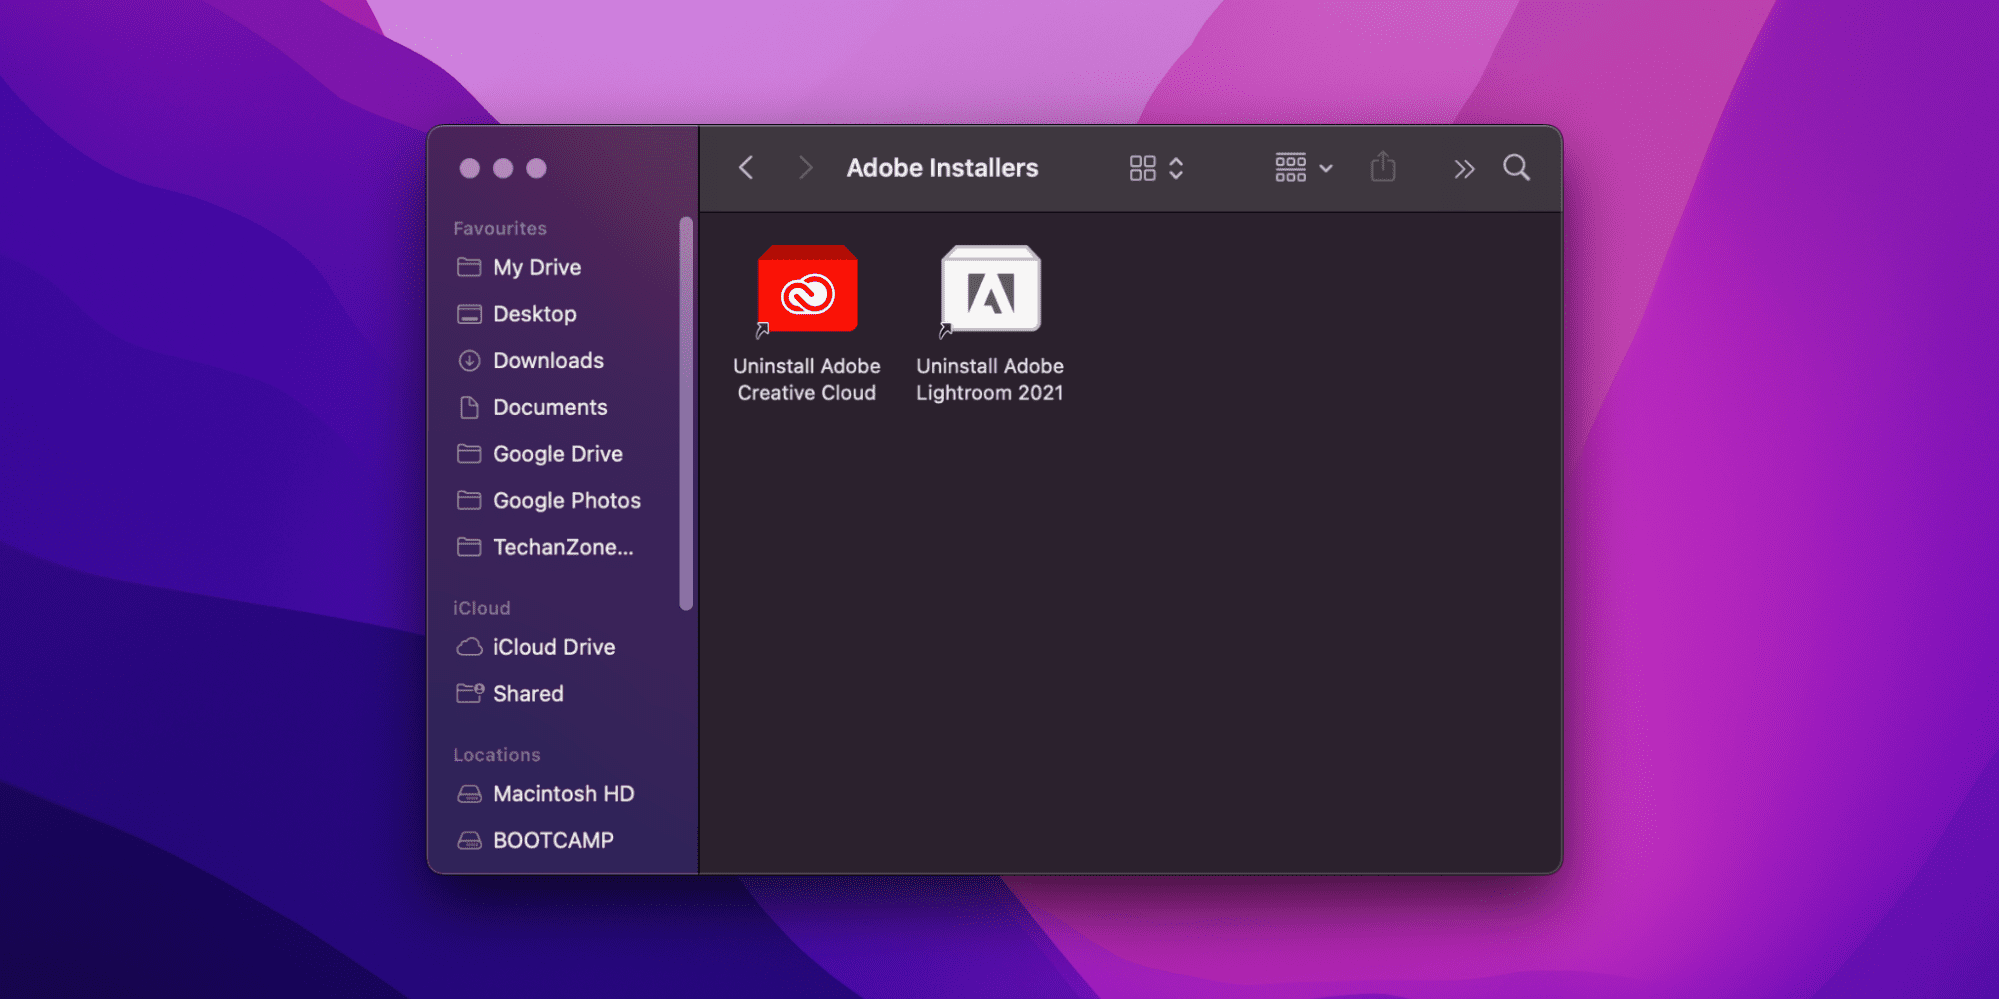
- Search for the Adobe Installers folder and open it.
- Double-click on the Uninstall Adobe Lightroom icon.
- Follow the on-screen instructions to complete the uninstallation process.
- Finally, restart your Mac by clicking on Apple menu > Restart.
Once your Mac boots up again, Adobe Lightroom will be removed from it. If you could not find the Lightroom uninstaller in the Utilities folder, then head over to Applications > Adobe Lightroom and double-click on the Uninstall Adobe Lightroom file if it exists.
Related:
How to Delete FaceTime Calls on Mac
2. Using the Applications Folder
If the edition of Lightroom you have installed does not come with a built-in uninstaller, then worry not because you can still uninstall it from the Applications folder. Here’s how:
- Press the Command + N keys to open a new Finder window.
- Navigate to the Applications folder. You can find it under the Favorites section in the side-window.
- Now look for Lightroom in the Applications folder and right-click on it.
- Click Move to Trash from the drop-down menu. macOS might ask you to enter your administrator password. Enter your password and click OK.
- Once Lightroom has been moved to Trash, right-click on the Trash icon on the dock and select Empty Trash.
If you don’t want to navigate through the Applications folder to move Lightroom to the Trash, then you can also use Launchpad to do the job. Just open Launchpad by clicking the rocket icon on the dock, and right-click on Lightroom then select Move to Trash.
3. Using the Terminal
The Terminal is a powerful tool that offers a lot of functionalities. It gives you the ability to control your entire Mac from it. However, when it comes to removing applications using the Terminal, you must proceed with caution because you can delete your important data from it.
Files deleted from the Terminal will not be moved to the Trash, which means you cannot recover them later. Many people use the Terminal as it is quicker and in fact simpler when used correctly. Here’s how you can use it to remove Adobe Lightroom from your Mac:
Once you have emptied the Trash, Adobe Lightroom will be permanently removed from your Mac.
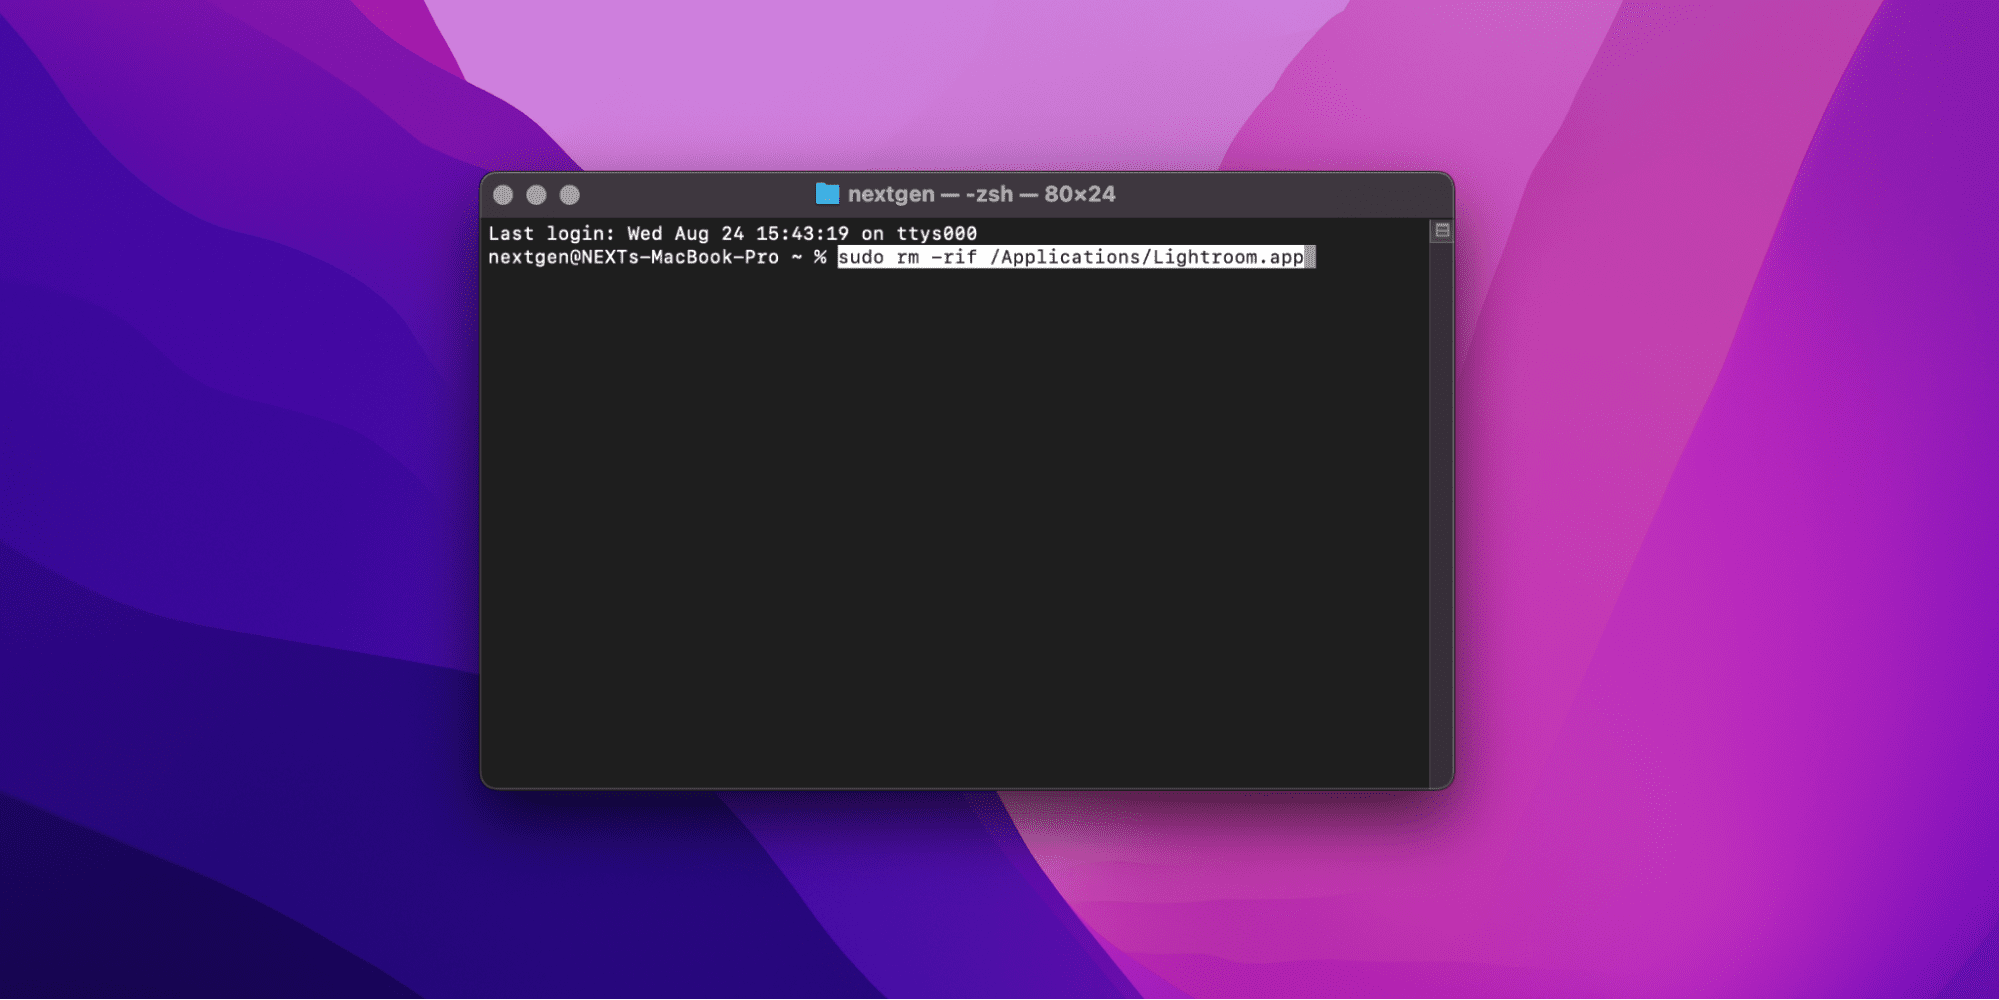
- Launch the Terminal from the dock.
- In the Terminal window, type this command sudo rm -rif /Applications/Lightroom.app exactly as written and hit Return.
- Now macOS will ask you to enter your administrator password. When you type the password, the Terminal window will not show you the key presses so don’t worry about that.
- Recheck that the command you wrote is correct and hit Return.
Adobe Lightroom will be removed from your Mac.
How to Remove Residual Adobe Lightroom Files on Mac
Once you have uninstalled Adobe Lightroom by using the methods we have discussed above, its residual cache files and logs will still be on your Mac taking up storage. So, you need to remove them as well.
You can do this by following these steps:
- Press the Command + N keys to open a new Finder window.
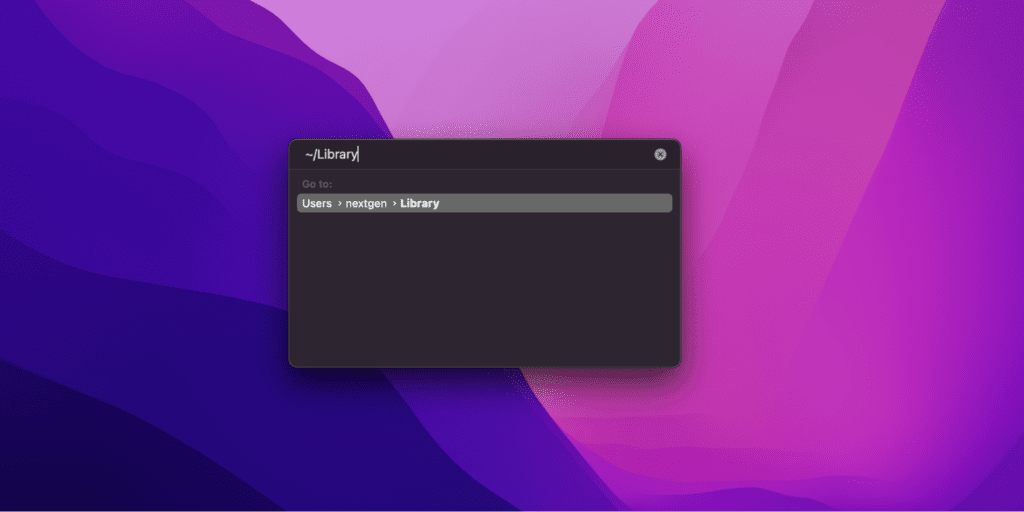
- Click on Go on the top of the Finder window, and select Go to Folder from the drop down menu.
- Type the ~/Library path and hit the Return key. Make sure to add the tilde as it will take you to the Home folder’s path.
- Now you need to go over the following locations, and look for files and folders associated with Lightroom.
~/Library
~/Library/Caches
~/Library/Preferences
~/Library/Application Support
~/Library/LaunchAgents
~/Library/LaunchDaemons
~/Library/PreferencePanes
~/Library/StartupItems
- If you are having difficulties in finding files named Lightroom, then you can also type Lightroom in the Search box to look for them.
- Select all the files with the Lightroom name, and right-click on them. After that, click on Move to Trash from the drop-down menu.
That’s it. Now all the residual cache files and logs will be deleted from your Mac. However, you still need to empty the Trash to permanently remove them. To do so, right-click on the Trash icon on the dock and select Empty Trash.
Related:
How to Delete Desktop Pictures on Mac
Use Osx Uninstaller to Permanently Remove Adobe Lightroom from Mac
If you find the entire process too lengthy or tiresome, and you want to uninstall Adobe Lightroom along with its residual files quickly, then you can rely on a third-party software to do the job.
Osx Uninstaller is one such software that you can use to completely wipe Adobe Lightroom from your Mac. It not only uninstalls Lightroom, but also permanently deletes its cache and residual logs. Follow along to download Osx Uninstaller on your Mac:

- Head over to the Osx Uninstaller website to download the free trial version.
- Double-click on the setup file, and move the Osx Uninstaller icon to the Application folder.
- Make sure Lightroom is not running by following the steps we have discussed above.
- Next, click on the rocket icon on the Dock to open Launchpad.
- Launch Osx Uninstaller.
- In the Osx Uninstaller window, look for Lightroom and click on the Run Analysis button.
- Wait for Osx Uninstaller to go through your entire Mac and look for files related to Lightroom.
- Finally, click on Complete uninstall and then Yes to permanently remove Adobe Lightroom.
That’s it, after following these steps, say goodbye to Lightroom along with its residual files.
2 Alternatives to Adobe Lightroom
After uninstalling Lightroom, if you still want to edit your photos, then you may be looking for some alternatives. Well, worry not because we have listed down a few for you to pick from.
1. Apple Photos
If you’re not looking for professional high-end editing, then Apple Photos should be your software of choice. It comes pre-installed with Mac, and it is the best software to tweak around with pictures a bit while keeping your photo library streamlined.
Apple Photos is completely free-to-use, and you can also use it to sync your photo Library with other Apple devices via iCloud. This means that you can capture great pictures from your iPhone, and edit them right-away from your Mac without having to transfer them.
When it comes to editing capabilities, it supports RAW files, and offers a handful of tools like white balance, sharpen, levels, curves, selective color and much more. You can also use Apple Photos to trim your videos and save them as a new clip.
Overall, Apple Photos is a great Lightroom alternative if you don’t want professional editing. To start editing your photos with Apple Photos, follow these steps:
- Head over to the Photos app from the Dock.
- Double-click on a photo.
- Select Edit from the toolbar.
2. RawTherapee
Another great alternative to Adobe Lightroom is RawTherapee. It is a high-end editing tool that offers excellent RAW files compatibility. Just like Adobe Lightroom, RawTherapee is also non-destructive. It means that you can go back to your original image with just a click of a button.
RawTherapee is not a basic photo editing software, you can use it to produce professional photos. It is completely free and open source which makes it even more desirable. Some of the features that RawTherapee offers are:
- Supports JPEG, TIFF, PNG, and floating-point HDR images in the DNG format on top of most RAW formats.
- You can queue your photos to export them later which frees up your CPU.
- Offers a before/after view to compare your edits.
- Comes with a dedicated command line support so you can use scripts to automate RawTherapee or call it from other applications.
- Uses SSE optimizations to utilize CPU resources for better efficiency.
- Allows you to delete, edit, or preserve metadata from your pictures.