Traditional keyboard and mouse offer lots of keys and functions which can be difficult for some gamers to memorize. On top of that, prolonged mouse usage can cause Carpal Tunnel — a common condition that causes tingling, numbness, and pain in the hand.
So what’s the solution? Well, using an Xbox 360 controller eliminates all of these issues. However, you need a receiver to connect a wireless Xbox 360 controller to PC. Many people want to connect XBOX 360 controller to pc without receiver.
In this guide, we will walk you through the steps to connect Xbox 360 Controller to PC without receiver on Windows 10.
Let’s get started.
How to Connect Xbox 360 Controller to PC Without Receiver Windows 10
For the best plug-and-play experience, you should use a wired Xbox 360 controller. It does not require any receiver to connect to PC, and it provides you all the benefits of using a controller while eliminating the need for tedious configurations.
Here’s how you can connect Xbox 360 Controller to PC Without Receiver.

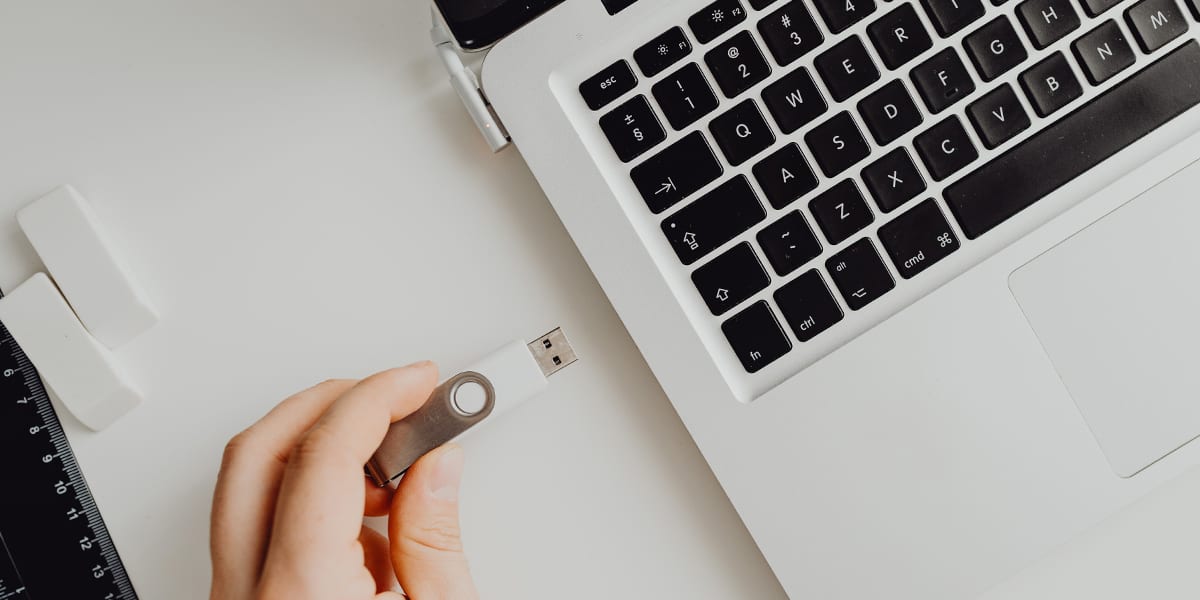
- Look for any empty USB 2.0 or 3.0 ports on your computer, there are a few on the front and back depending on your PC.
- Plug in the Xbox 360 controller.
- You will notice that Windows 10 automatically recognizes your controller and installs the necessary drivers.
- Once the drivers have been installed, you will receive a pop-up notification.
Launch the Xbox app or a game to test your controller. Try pulling a trigger, or pressing a button to check whether the controller is working or not.
If your controller is not working, or if it is not detected by Windows 10, then:
- Make sure the controller is not broken by connecting it to a different PC or an Xbox 360. Try using different ports to check if the issue is fixed.
- Make sure your Windows 10 is fully updated. If there are any updates pending, then install them first.
Related:
How to Fix Xbox 360 Controller Won’t Turn On
How to Connect a Wireless Xbox 360 Controller to PC
If you don’t want to use a wired Xbox 360 controller, or if you already have a wireless one, then there’s no way to connect it directly to your PC.
You cannot use Bluetooth or Wi-Fi to connect your Xbox controller because Microsoft’s wireless controllers do not rely on these signals. Instead, they use an encrypted signal called the “proprietary wireless protocol”.
So what’s the solution? Well, the only way is to purchase an adapter and use it to connect Xbox 360 controller to PC without receiver.
Purchase an Adapter

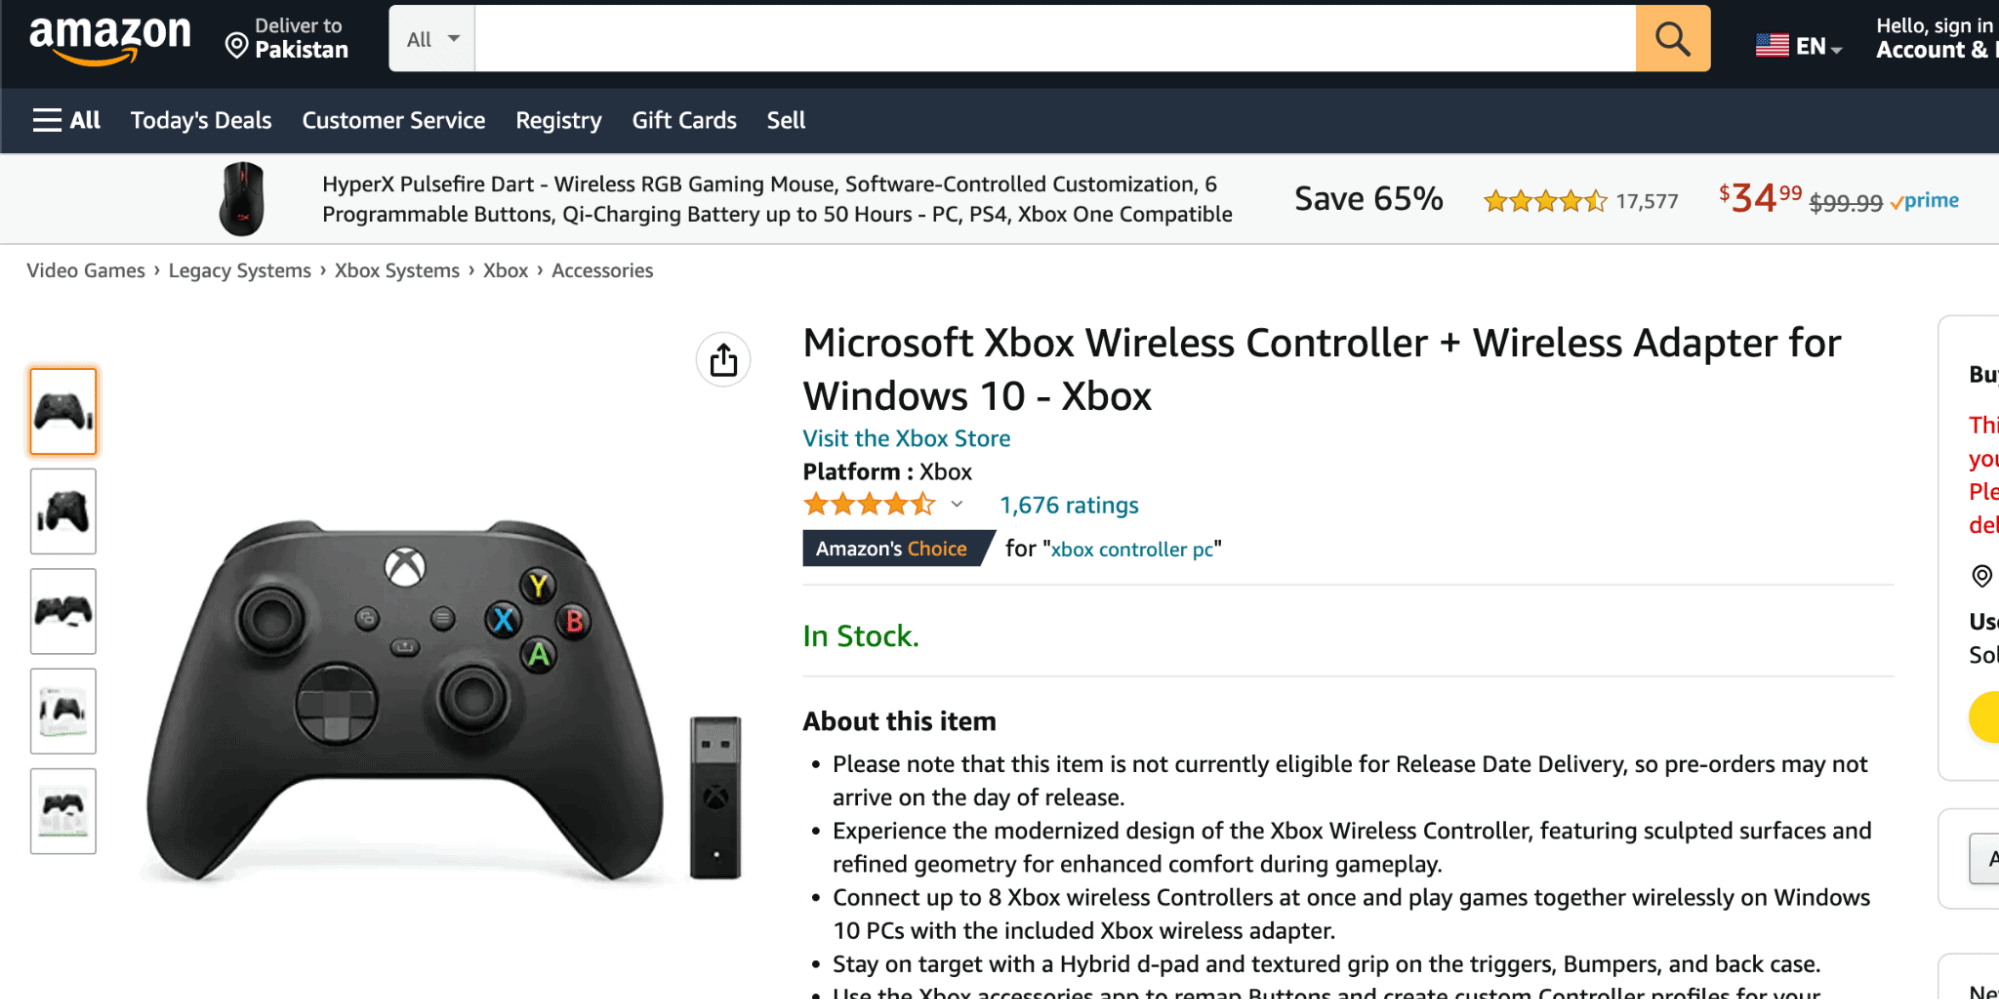
You can purchase a knock-off adapter from any website. However, it will have an inferior quality and it may not work very well. You can also get a Microsoft Xbox 360 Controller Package that includes a new controller, an adapter, and other accessories.
This is an expensive option, but you can always sell the additional stuff on Ebay.
Set Up the Adapter
Once you have purchased an adapter, it’s time to set it up. Here’s how:
- Plug the adapter’s USB connector into one of the USB 2.0 ports of your computer. If the front ports don’t work, try the ones on the back.
- A green light on your adapter will indicate the successful connection.
- Next, you need to install a software to properly sync the adapter with the controller. If the Add New Hardware Wizard opens up, select Install the software automatically (Recommended) and click Next to automatically install the software.
- If the wizard does not launch automatically, then you can insert the disc that came with the adapter to install the software. Other than that, you can also download and install the software from Microsoft’s website.
Connect the Controller
Once the software is installed and the adapter is connected to your PC, you can sync the wireless Xbox 360 controller to the adapter and start gaming. Here’s how:
- Press and hold the Xbox Guide button to turn on the controller.
- On your adapter, press the circular button which is located in the middle. The green light will flash.
- Finally, press the Connect button on your controller. It is located between the R and L buttons beside the USB terminal.
Your controller and adapter will flash green lights to indicate that a connection is being established. Once they are both in sync with each other, the lights will stop flashing and the green light around the Guide button will remain lit.
Now, you know how to connect XBOX 360 controller to pc without receiver.
Related:
How to Connect Xbox 360 to Internet Through Laptop in Windows 10
How to Test an Xbox 360 Controller on PC
Once your Xbox 360 controller is plugged in, you can test the connection and check whether all the buttons and joy-sticks are working correctly or not. Follow these steps:

- Press the Windows key to bring up the Start menu.
- Search for “game controllers” and launch Set up USB game controllers.
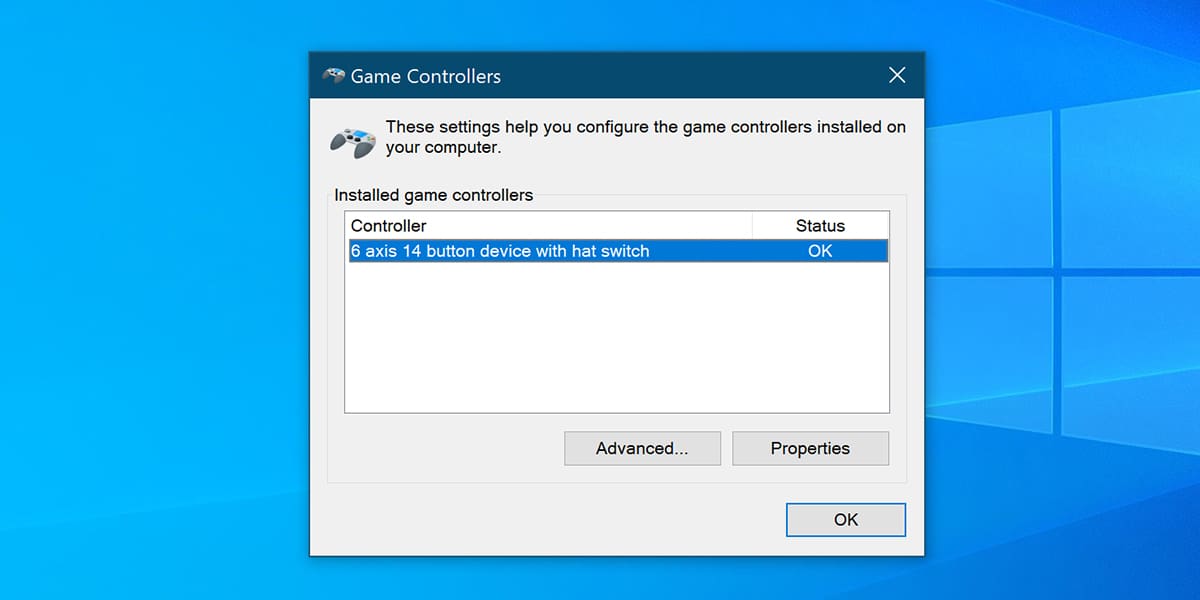
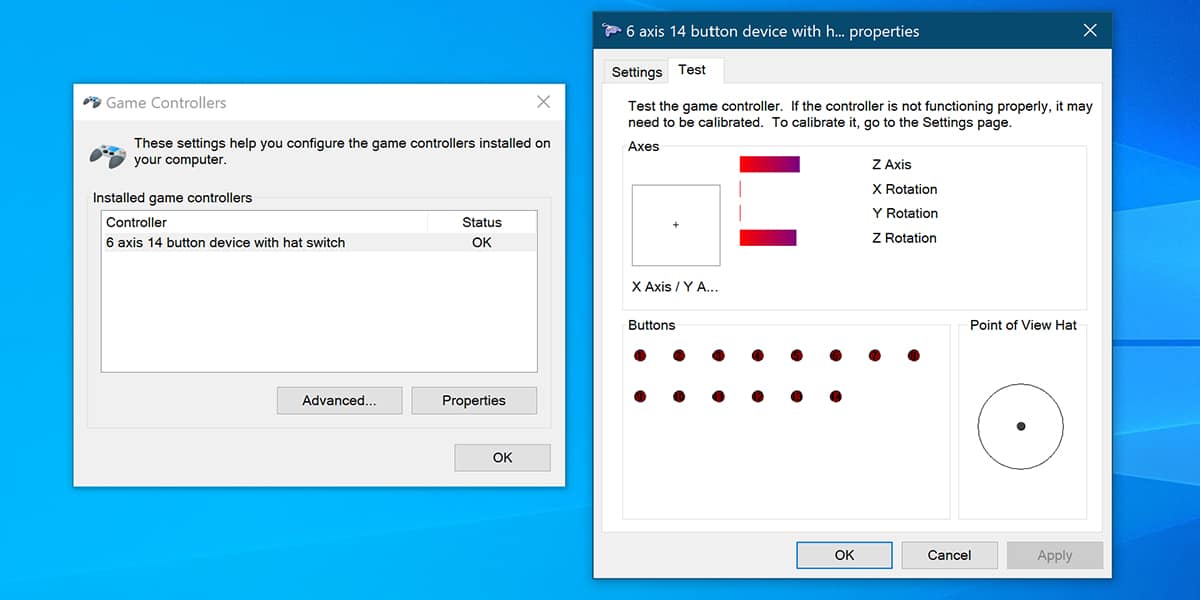
- In the Game Controllers window, you will see a list of installed game controllers. Select your Xbox 360 controller and click on Properties.
- Head over to the Test tab.

- Check whether or your controller is working or not by pressing all the buttons, turning the joysticks, and pulling on the triggers. If everything is correct, you will see the corresponding actions in the Test tab.
If your controller is working perfectly, you can start gaming.
How to Replace the Batteries of Wireless Xbox 360 Controller
If your Xbox 360 controller is powered by disposable batteries, then it’s best to replace them with new AA disposable batteries instead of the rechargeable ones.
- Flip over your controller, and press the tab on the top of the battery pack.
- Pull down the battery pack to detach it from the controller.
- Gently remove the old batteries, and insert the new ones. Look at the diagram on the bottom of the battery pack and position the positive and negative ends correctly.
- Once the new AA batteries are inserted, slide the battery pack back into the controller.
If you are storing your controller for a long time, then you should remove the batteries to prevent fluid leakage. Always handle batteries with care as they can cause overheating or explosion.
